Floors and ceilings mostly take care of themselves: close a ring of walls and the editor lays both. This page covers the cases where you draw them yourself, and how to add the floors above and the stairs between them.
Let the room make its own floor
When walls close a room, the editor adds a floor slab and a ceiling inside it, fitted to the walls. You only need the Slab and Ceiling tools for shapes the walls do not describe, such as a deck, a step or a dropped ceiling over part of a room.
Draw a slab or a ceiling
- In the Build tab, choose Slab or Ceiling.
- Click each corner of the outline.
- Press
Enterto finish once there are at least three corners, orEscto cancel.
Select a slab to set its elevation and thickness, or a ceiling to set its height. Both have Add Hole, for a stairwell or a skylight shaft.
Add a level
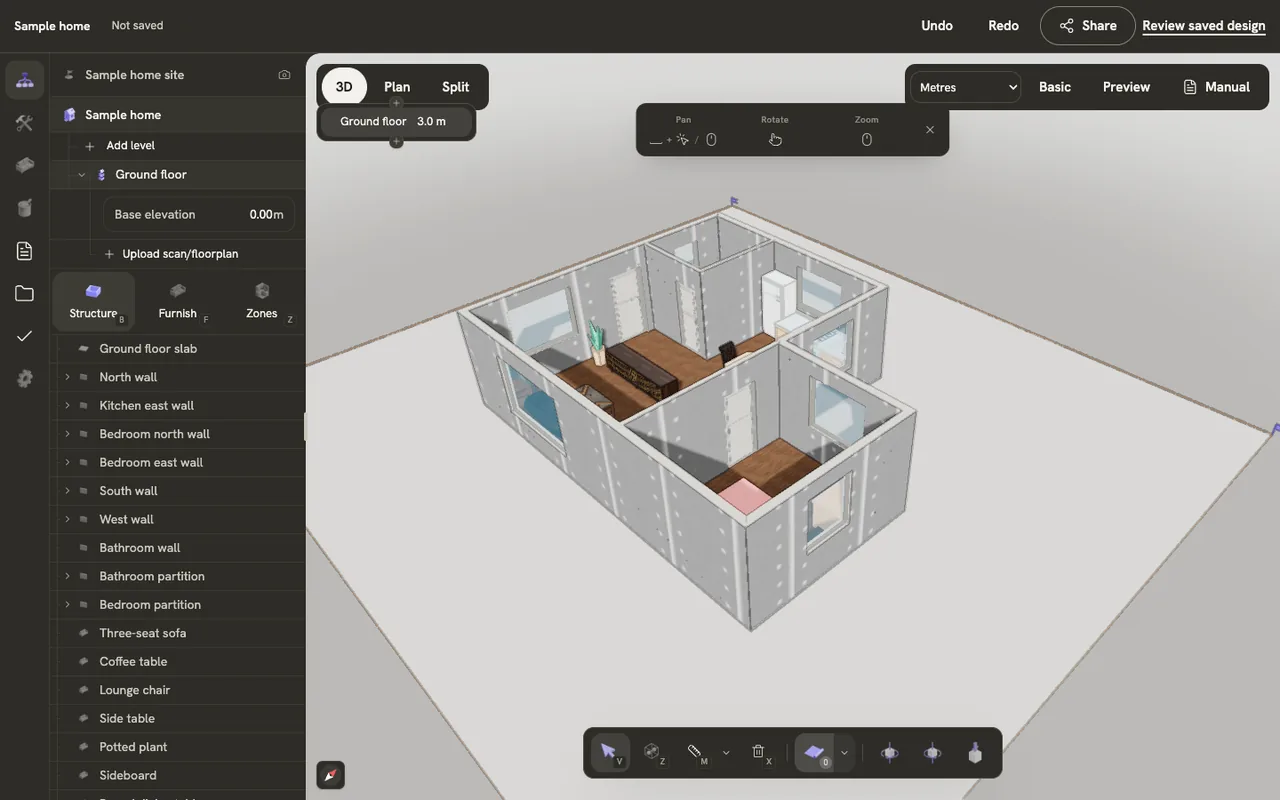
Open the Scene tab and choose Add level under the building. The new level becomes the one you draw on. In the Scene tab you can also rename a level, set its base elevation, duplicate it, or delete it; the ground level cannot be deleted.
Move between levels
Cmd/Ctrl + Arrow Up and Arrow Down step to the level above or below. The level selector at the edge of the view lists them too. To see them all at once, open the command palette with Cmd/Ctrl + K and choose Level Mode: Stacked, Exploded, Solo or Manual.
Add stairs and an elevator
Choose Stairs in the Build tab, turn it with R or T before you click, and click to place it. Select it to choose Straight, Curved and Spiral, add flights and landings, set the width, rise and number of steps, and pick the railing side. Auto Cutout opens the floor above where the stairs arrive.
Elevator works the same way: choose it, turn it with R or T, and click to place it.