Every tool you need to draw a home exactly.
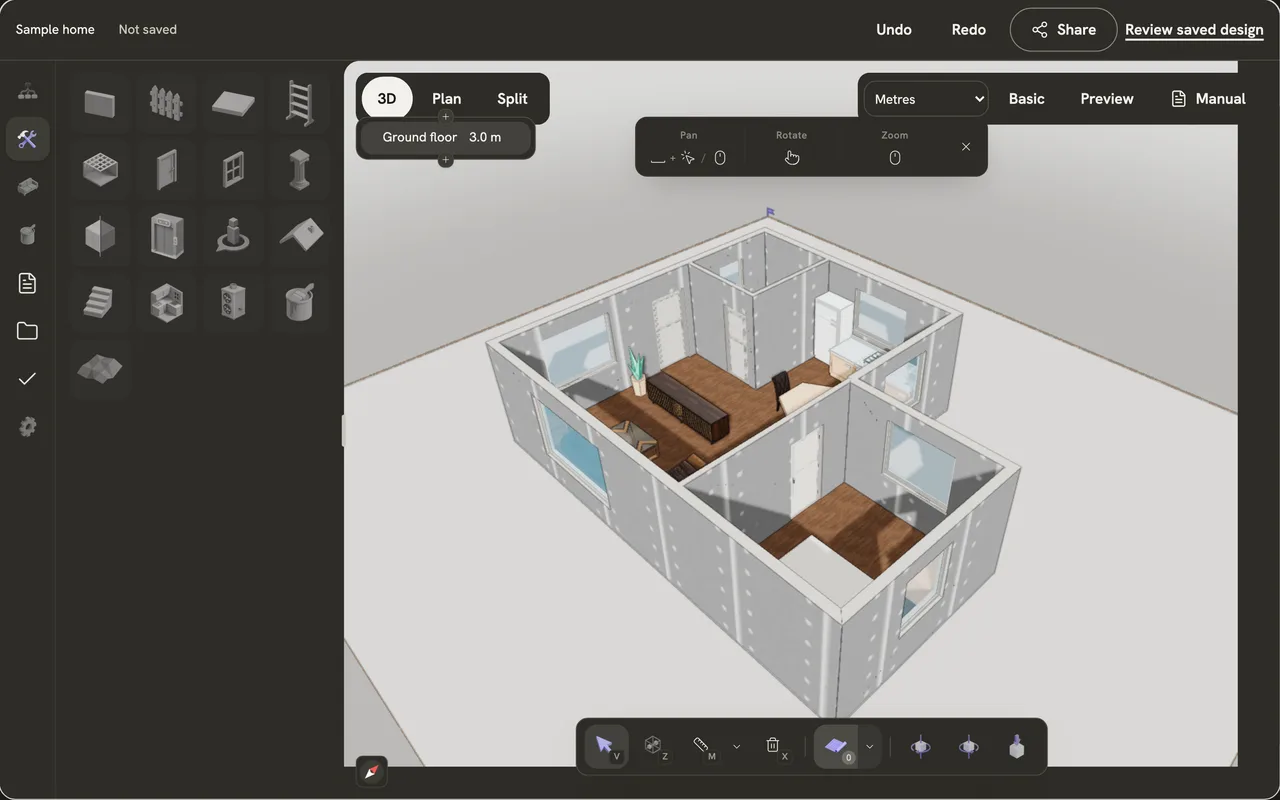
The expert editor opens the same model as the AI editor. Use plain words for quick changes and switch here when a wall, a door swing or a sill height has to be exact. Both edit the same home, and every change is saved as a revision.
- 17
- build tools
- 15
- ways to measure and dimension
- 8
- roof types, with 12 roof features
- 1 key
- for each of the five modes
Modes and drawing setup
Five modes cover everything. Press a key to switch. Esc cancels the current step, then goes back to Select.
- SelectVPick any wall, room, opening or object to see its sizes and change them in the inspector.
- BuildBStarts a wall. The Build tab holds seventeen tools for structure, openings, interiors, services and the site.
- MeasureMReopens the last measuring tool you used.
- ZoneZDraw a room as a polygon, point by point. Rooms carry their name, area and finish.
- DeleteXClick anything to remove it. Undo brings it back.
- Grid, lines, angles or off
- Tap Shift to cycle
- Tap Ctrl to change the grid step
- Metres
- Feet and inches
- Basic
- Expert: adds grids and dimensions
Walls and structure
Draw the shell the way you would on paper. Walls chain from corner to corner and snap as you go.
- WallDefault 0.10 m thick, full level heightClick to start, click to end. It chains until the room closes, it meets a wall, or you press Esc.
- FenceDefault 1.80 m tall, 0.08 m thickClick each corner. T makes it curved.
- SlabDefault 0.05 mClick each corner, then press Enter.
- CeilingDefault at the level heightClick each corner, then press Enter.
- ColumnDefault round, 0.44 m acrossClick to place.
- ElevatorDefault 1.84 × 1.84 mClick to place.
Doors and windows
Openings belong to a wall. Place them on the wall you want, then set width, sill and swing in the inspector.
- DoorRDefault 0.90 m wide, hinge leftClick a wall to place it. R flips the swing, and E opens and closes the selected door.
- WindowDefault 1.50 m wide, 0.50 m sillClick a wall to place it.
Stairs and roofs
Connect floors and close the building. Roof features sit on the roof and move with it.
- StairsDefault 10 stepsClick to place it, and R turns it. Set its width, rise and number of steps in the inspector.
- RoofDefault gable, 40° pitchPick a roof type, then click two corners, or pick Room and click a room.
- Hip
- Gable
- Shed
- Flat
- Gambrel
- Dutch
- Mansard
- Conical
- Canopy
- Box vent
- Ridge vent
- Turbine vent
- Cupola
- Eyebrow vent
- Chimney
- Solar panel
- Skylight
- Dormer
- Gutter
- Downspout
Kitchens, furniture and finishes
Furnish and finish over the structure. Every library piece is drawn at its real footprint, so you see what fits.
- Kitchen runDefault modules 0.60 m deepClick to place one cabinet. Press C, then click where a run starts and ends to fill it with modules.
- ShelfDefault 1.00 × 0.50 m, 1.80 m tallClick to place.
- Furniture libraryBrowse by collection, place a piece and rotate it with R. Each card shows its width and depth.
- PaintingPick a material, then click a room floor or a wall.
- Collection or style
- Furniture role
- Search pieces
- Wood Fine 1
- Wood Fine 2
- Wood Parquet
- Finewood 27
- Terracotta Tile
- Stone Tile
- Terrazzo
- Rustic Brick
- Aged Brick
- Stone Wall
Services and the site
For work that goes beyond rooms: services runs, the ground around the house, and where a walkthrough begins.
- Services (MEP)Draw ducts, linesets, liquid lines and DWV pipes, and place registers, HVAC units and fittings.
- TerrainRaise, lower, smooth and flatten the ground in the 3D view.
- Spawn pointSets where the walkthrough starts.
- Elbow
- Tee
- Cross
- Reducer
- Transition
- End cap
- Balancing damper
- Access panel
- Elbow
- Wye
- Sanitary tee
- Cross
- End cap
- Cleanout
- Reducer
- Coupling
Measuring and dimensions
Measure without changing anything, or add dimensions that stay on the plan. Sizes in the viewer say whether they are measured or approximate.
- MeasureMPick a measurement type and click the points. Measurements stay in the drawing until you delete them.
- DimensionsIn Expert, add dimension lines that stay on the plan and follow the model.
- Smart
- Distance
- Angle
- Area
- Perimeter
- Volume
- Linear
- Continuous
- Radius
- Diameter
- Center mark
- Chord
- Arc length
- Angular
- Coordinate
Views, levels and guide images
Work in plan, check in 3D, and walk through. Stack floors or pull them apart to see how they connect.
- Plan and 3DSwitch between 3D, Plan and Split. Top view snaps the camera straight down.
- WalkthroughIn Preview, walk through the home at eye height, starting from the spawn point.
- LevelsAdd a level above the top one, jump between levels, and rename or hide them.
- Guide imagePut a plan image under the model, scale it from a known length, set its opacity, lock it and trace over it.
- Cutaway
- Up
- Down
- Translucent
- Stacked
- Exploded
- Solo
History and files
Nothing you do is final. Every change is a revision, and the model leaves the app in the format the next person needs.
- Command paletteCtrl KSearch every tool and action by name.
- Undo, redo and revisionsStep back through changes, or compare a saved revision with the current one.
- Snapshot and screenshotFrame the view and save it as a WebP image, or save the view as it is as a PNG.
- ExportExport the home in 20 formats: plans, 3D models, data and images. Some formats depend on your plan.
Keyboard shortcuts
Everything is a click away, and the common things are one key away. Press Ctrl K to search every command.
AI editor or expert editor?
Use whichever is faster for the job. Switch at any time; both work on the same home and every change is a revision.