Change how you look at the home without changing the home: plan or 3D, which walls and levels show, a visitor’s view, a walk through the rooms, and a picture of what you see.
Plan, 3D or both
The toolbar above the model switches between 3D, Plan and Split. Plan draws the floor from above, 3D shows the model, and Split puts the two side by side, so a change in one shows in the other as you make it.
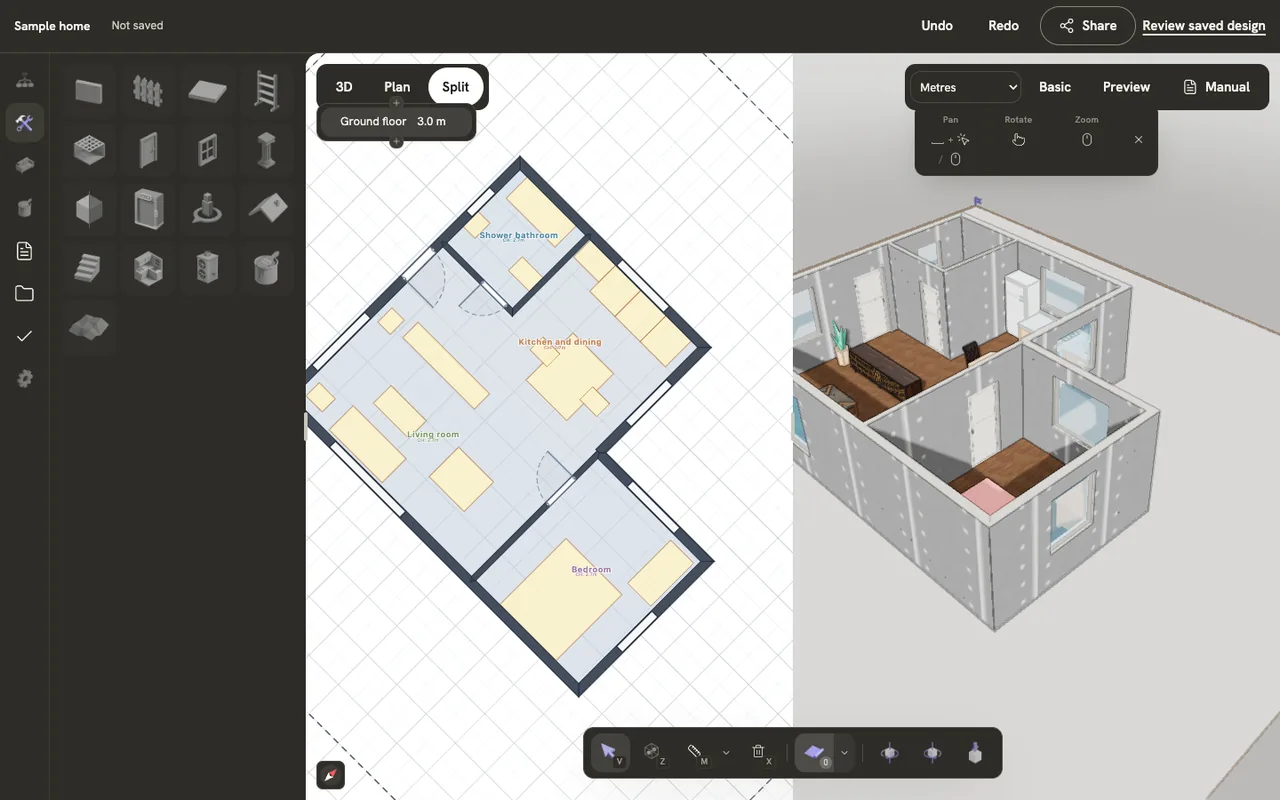
In 3D, the camera buttons at the end of the bottom toolbar turn the view: Orbit Left, Orbit Right and Top View.
Walls and levels
Open the command palette with Cmd/Ctrl + K. Wall Mode sets how walls display: Cutaway, Up, Down and Translucent. Level Mode sets how the floors of a building show: Stacked, Exploded and Solo. The palette also switches between solid and rendered shading, and between a perspective and an orthographic camera.
Preview and walk through
Preview, in the toolbar above the model, hides the editing tools and shows the home the way a visitor sees it. Its bottom bar has the level and wall views, and Walkthrough.
- Choose Walkthrough to stand inside the home. Move the mouse to look around.
W,A,SandD, or the arrow keys, walk. HoldShiftto go faster, and press Space to jump.- Look at a door or window and press
Eto open or close it. - Press
Escto leave the walkthrough.
Choose Back to design, or Preview again, to return to editing.
Save a picture of the view
- Open Settings and choose Export current view image, or run Take Snapshot from the command palette.
- Pick the crop: Standard, Viewport and Area. Choose Standard again to pick its shape: 16:9, 9:16, 4:3, 3:4 and 1:1.
- Frame the shot. On a computer you can move the camera in Orbit, Walk and Drone mode and set the field of view.
- Take the snapshot. The picture downloads as a WebP file named inktobrick-view with the date.
Esccancels.
Rendered images and exports
For finished images of the home in PNG, JPEG or WebP, use the export dialog, where image formats are on the Plus, Creator, Studio, Business and Project Pass plans. Export your model covers every format, and How to generate photorealistic images shows how to get a good one.