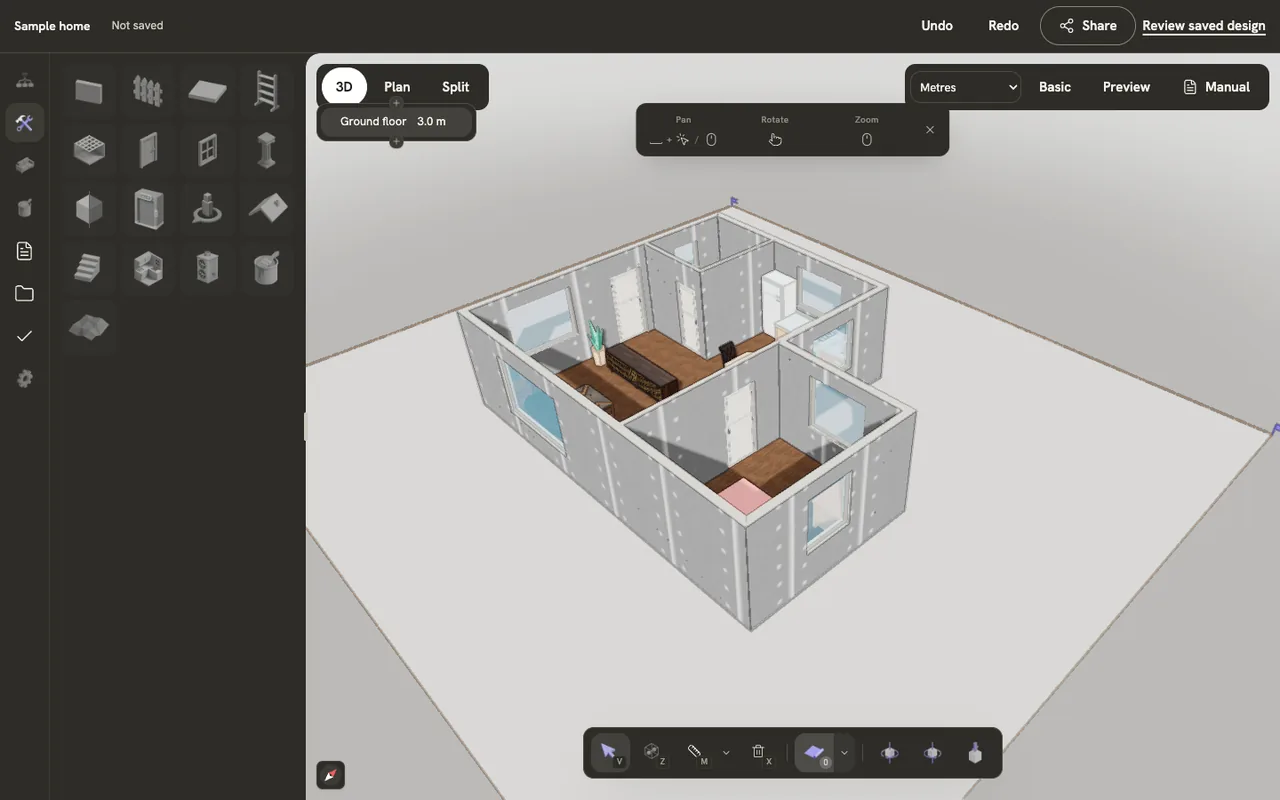
New to the editor? Start here. Every page works on the sample home, with nothing to install and no account.
1 Your first scene Draw a room, add a door and a window, furnish it and look around, on your own home or the sample home. 2 The editor at a glance The top bar, the nine side tabs, the view toolbars, the bottom toolbar, the inspector and the command palette. 3 Keyboard shortcuts Every key the editor answers to, grouped by what you are doing, and checked against the editor on every build. Building Walls, floors, rooms, roofs and openings: the structure of the home.
04 Walls, fences and columns Draw walls corner by corner, control snapping and continuation, reshape a wall, and draw fences and columns. 05 Guide images and scans Lay a scanned plan or a 3D scan under the model, set its scale from a known length, and trace over it. 06 Floors, ceilings and stairs Automatic floors and ceilings, drawing your own slabs, adding levels, moving between them, and placing stairs. 07 Rooms and zones Mark out rooms with zones, name and colour them, read their measurements, and reshape or delete them. 08 Roofs Pick one of eight roof types, draw its footprint over the walls, set the pitch, and add chimneys, dormers and more. 09 Doors and windows Place doors and windows on a wall, choose their type and size, flip them, and open and close them. 10 Blocks Place a block and shape it face by face: pick vertices, edges or faces, then move, extrude, inset, bevel and cut. Items and materials Furnish the rooms, check what fits, and choose the surfaces.
11 Finding items Browse the furniture catalog in the Items tab, filter it by collection, role or name, and read a piece’s size and clearance before you place it. 12 Placing and arranging Place, turn, select, move, copy and delete pieces, and build kitchen runs and shelves along a wall. 13 Check furniture fit Test one piece at one position in a room, read whether it fits, clashes or cannot be confirmed, and see how sure the answer is. 14 Paint and finishes Paint walls, floors and furniture from the material library, make your own materials, and apply catalog finishes to a room or the whole home. Measure and views Take measurements, change the view, and save a picture of it.
Files and sharing Hand the model to other software, or to the people you work with.
Connect an agent Ask the assistant for a change, or let your own AI agent read the plan.
The expert editor is built on the open-source Pascal editor (MIT ).