This page takes you from an empty patch of ground to a furnished room you can walk around. It takes about ten minutes, and every step works on the sample home, which needs no account and saves nothing.
Open the editor
On your own home, open the model and choose Open editor. The editor saves as you work, and the History tab keeps the versions you save. To practise first, open the sample home instead: the same editor, with the account-only buttons switched off.
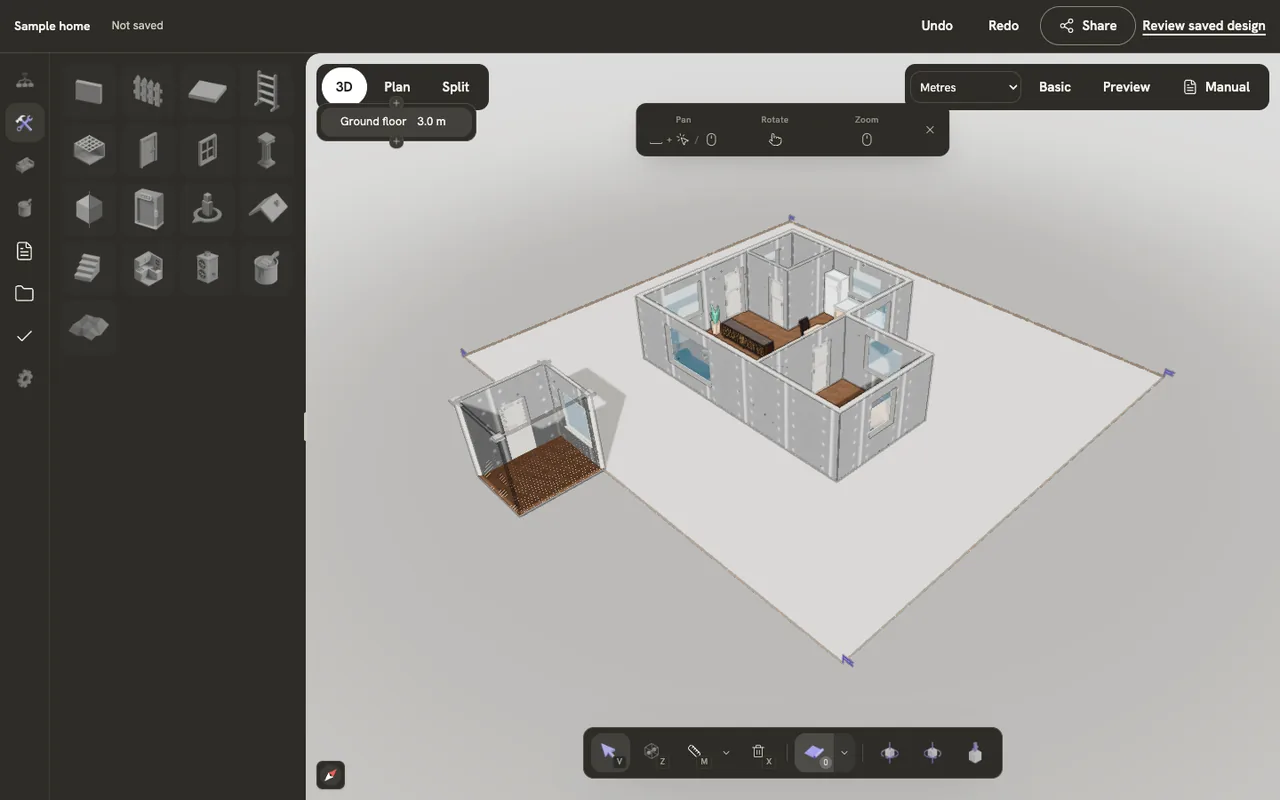
Find some clear ground beside the house before you draw. Right-drag to turn the view, scroll to zoom, and hold Space while you drag to slide the view sideways.
Draw four walls
- Press
B, or open the Build tab and choose Wall. - Click where the first corner goes. The wall follows the cursor and prints its length as you move.
- Click at each of the next three corners.
- Click the first corner again. The walls close into a room, and the editor lays a floor and a ceiling inside it for you.

While you draw, a small panel at the right edge of the view names the keys that apply. Tap Shift to change how the wall snaps, or tap Ctrl on its own to make the grid finer. C switches between drawing a whole room and drawing one wall at a time.
Add a door and a window
- In the Build tab, choose Door. Move the cursor over one of your walls: the door slides along it and stays inside the wall.
- Click to place it.
- Choose Window, move over another wall, and click to place it.
Select the door and press R to flip it to the other side of the wall, or E to open and close it. Doors and windows covers every type and setting.
Put something in the room
- Press
F. The Items tab opens with the furniture list. - Pick a piece, move the cursor into your room, and click to place it.
- Press
RorTbefore you click to turn it by 45°. PressEscto put the tool down.
Look around
Switch between 3D, Plan and Split in the toolbar above the model. Plan is the floor plan from above; Split shows it beside the 3D view. Preview hides the editing tools so you see the room the way a visitor would.
- Right-drag to orbit around the model.
- Middle-drag, or hold Space and drag, to pan.
W,A,SandDpan too. - Scroll to zoom.
Undo, and where to go next
Cmd or Ctrl + Z undoes the last change, and adding Shift redoes it. On the sample home, Start over puts everything back.
Next, take the interface tour to see what each tab holds, or keep the keyboard shortcuts open in another tab while you work.