There are two ways to change a surface. Paint mode colours any wall, floor, roof or piece with the editor’s own material library. The Finishes tab applies product finishes from the INK TO BRICK catalog to walls and floors, a room or the whole home at a time.
Enter paint mode
Press P, or open the Build tab and choose Painting. The material library opens in the panel with 114 materials in 12 categories: Colors, Wood, Stone, Brick, Tile, Concrete, Metal, Fabric, Leather, Roofing, Ground and Glass. Colors alone holds 45 paint colours.
Paint a surface
- Choose a category, then a material.
- Move the cursor over the model. The surface under it is the one the next click paints, and the key panel names it.
- Click to paint. Keep clicking to paint more surfaces.
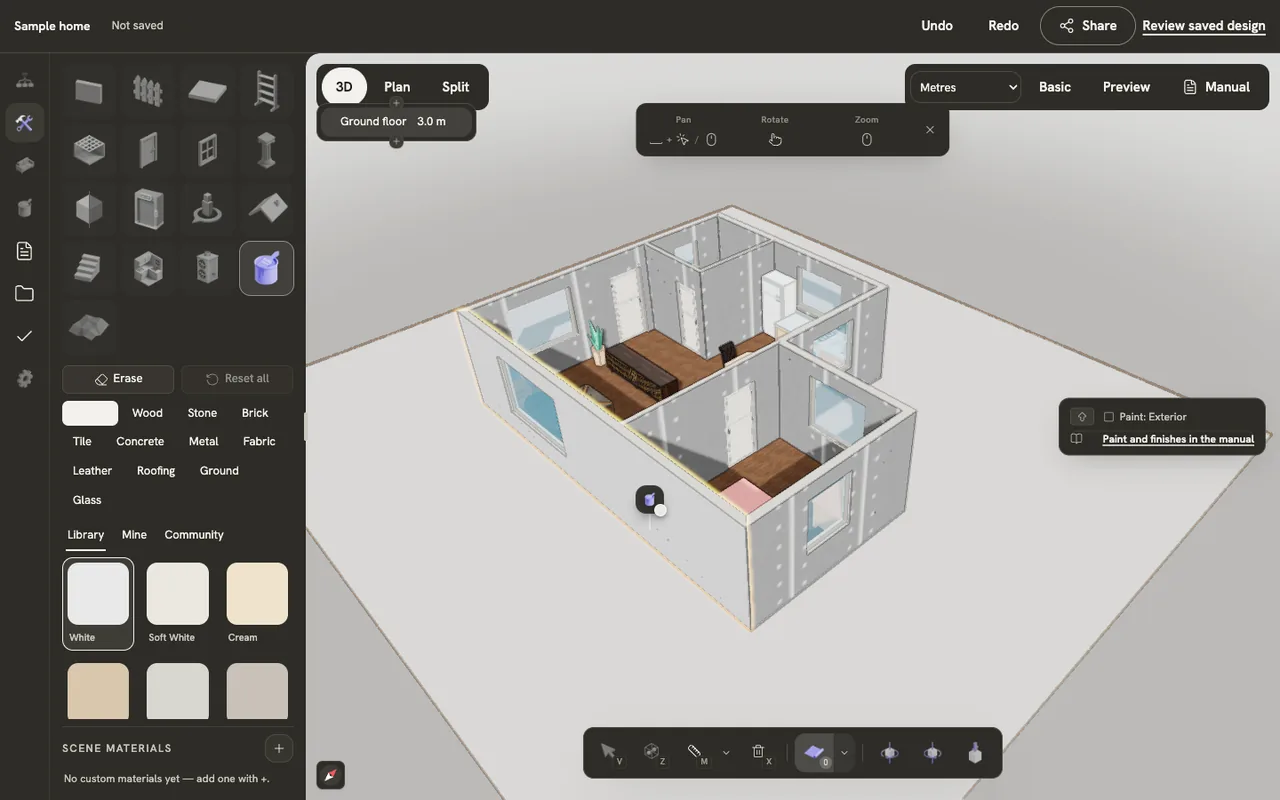
Tap Shift to change how much one click paints: this surface, the whole object, every matching object, or the whole room. Only the choices that make sense for the surface under the cursor appear.
Erase and reset
Erase turns the next clicks into an eraser that takes the paint off a surface. With an object selected, Reset all puts every surface of it back to how it started.
Make your own material
Under Scene materials, choose Add material. A new material joins the list and becomes your brush, with its editor open so you can set its colour and surface. Each scene material can be painted with, edited, duplicated or deleted, and editing one changes every surface painted with it.
Apply catalog finishes
- Open the Finishes tab and select a wall, room or floor in the drawing, or choose one under Surface.
- Under Apply to, choose how far the finish reaches: just the selection, or “This room · walls”, “Whole home · inside walls” and “Whole home · outside walls”.
- For a single wall, choose which side: Inside or Outside.
- Search by material or name, such as wood or stone, and choose a finish to apply it.