Choose wall and floor finishes in a 3D model
Compare wall and floor materials with consistent views. Preview Pascal’s finish controls and check surface boundaries before applying a wider change.
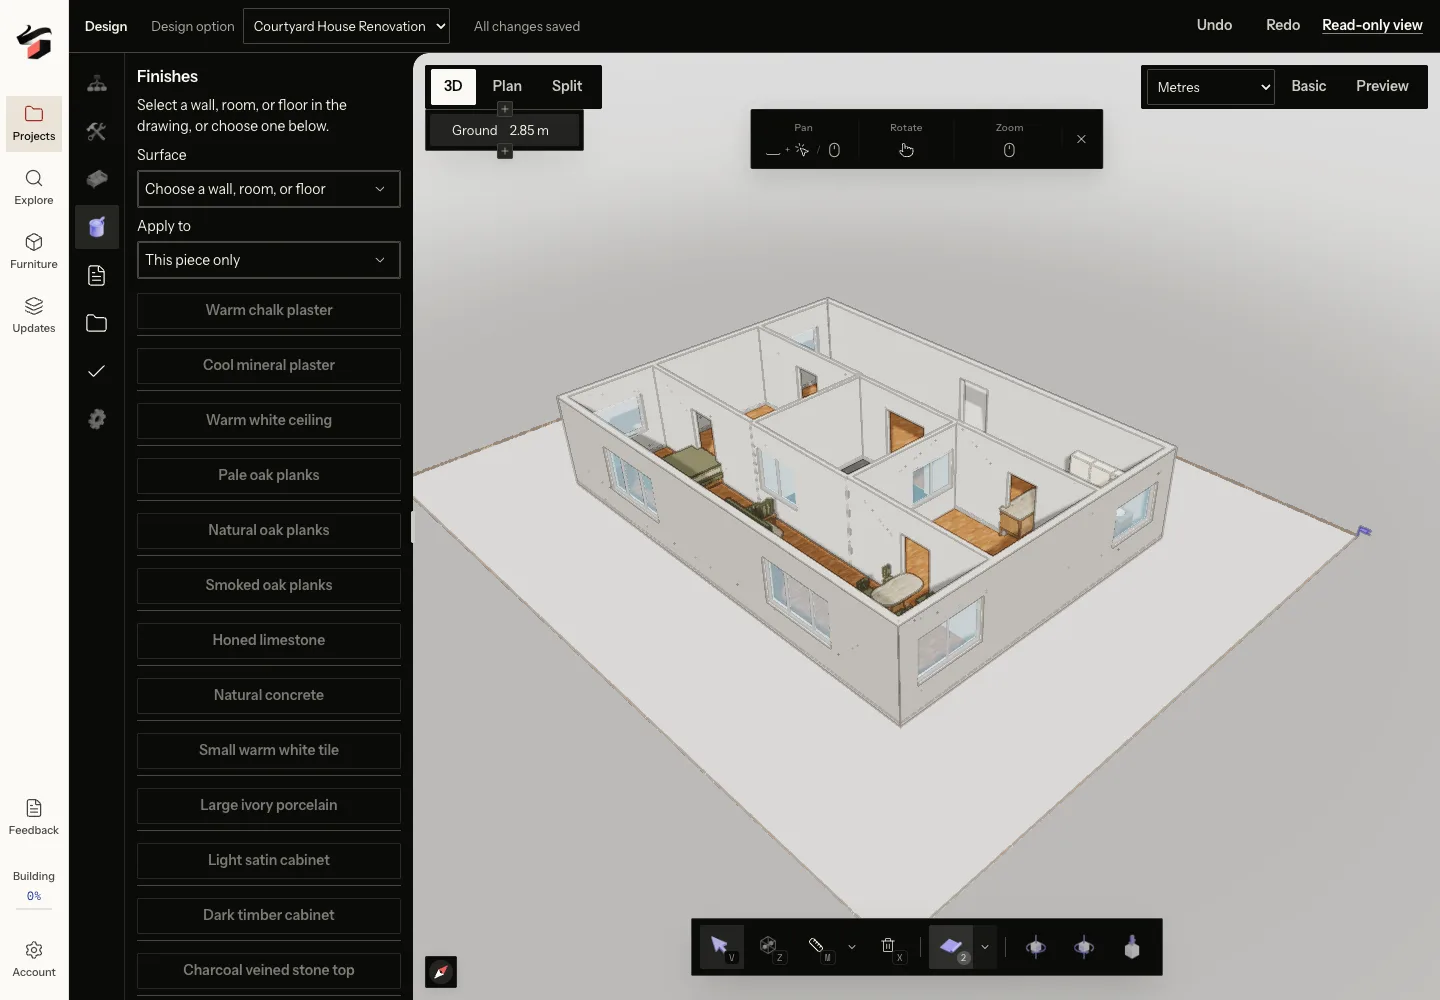
NoteIntegration preview · September 14, 2026. The Pascal integration is under review and has not been released to production. The screenshots show local test projects. Features and availability may change before release.
Changing the floor can alter how every wall in a room appears. To make that comparison useful, keep the geometry, furniture and camera stable while changing one finish at a time. The Pascal integration adds finish selection to the native model, with controls that distinguish a selected surface from a wider group of walls.
Choose the surface before choosing the material
Start by selecting the wall, floor or room surface you intend to change. Confirm the selection in the model and read the scope of the finish control. A wall selection and a floor selection are different targets. Applying a finish to all interior walls is a different decision from applying it to the single wall behind a sofa.
For a living room with an open kitchen, decide where the floor finish should stop. A continuous floor and a separate kitchen finish can both be reasonable proposals, but the room boundary in the model may not match the material boundary you want. Inspect that boundary before assuming a room-level operation describes your design.
Understand the scope of a finish change
| Scope | Useful for | Check afterward |
|---|---|---|
| Selected surface | Testing one wall or floor before extending the proposal. | The selected face and adjoining surfaces. |
| Room walls | Giving one room a consistent wall treatment. | Open-plan boundaries and walls shared with another space. |
| Interior or exterior walls | A coordinated treatment across a larger wall group. | Any accent walls or exceptions that need a separate finish. |
Floors do not inherit every wall scope. Use the controls offered for the selected floor or slab, and review the result from above. When a model contains several surfaces at a similar height, confirm which one received the material before repeating the operation.
Make a small, comparable set of options
Begin with two or three material directions that answer the design question. For example, compare a pale wood floor with a darker wood floor while keeping the walls and furniture unchanged. Once you choose the floor direction, compare wall colors against it. This sequence makes it easier to explain which change affected the room.
Name the options with the materials being tested. Save a wide room view to show the overall relationship and a closer view of an important junction, such as the floor meeting a kitchen cabinet or a wall beside a door. Use the same camera and lighting assumptions for each option. Otherwise, you may be comparing presentation choices as much as finishes.
Inspect texture scale, edges and neighboring rooms
A texture can look convincing in a thumbnail and appear too large across a room. Inspect the apparent plank, tile or grain scale in the model, especially near a familiar object such as a door. Check whether the material continues around corners, crosses a threshold or stops where you expected. Move into the adjacent room before considering a wider finish change complete.
The integration includes versioned catalog resources and surface filtering, which help the editor use a consistent material definition. Catalog publication is still part of the rollout work. Treat a preview material as a visual reference unless you have linked it to a specific product, size and finish from a supplier. A rendered texture does not supply an installation specification.
Keep model finishes and generated images connected
A material assigned to the model and a photoreal image generated from a view are separate outputs. The model records the surface assignment. The image proposes an appearance and can introduce differences in texture, furniture or lighting. Keep the source view beside the generated image when evaluating a finish direction.
Before ordering, inspect physical samples in the actual room under the light in which it will be used. Screens and rendered light cannot settle color, sheen or tactile quality. Use photoreal images for presentation after the model’s finish boundaries are clear, and keep the selected option with the views you share.