How to review wall, door and window edits in a 3D floor plan
A practical sequence for editing walls and openings: keep a baseline, check connected rooms and review the saved result in Plan and 3D.
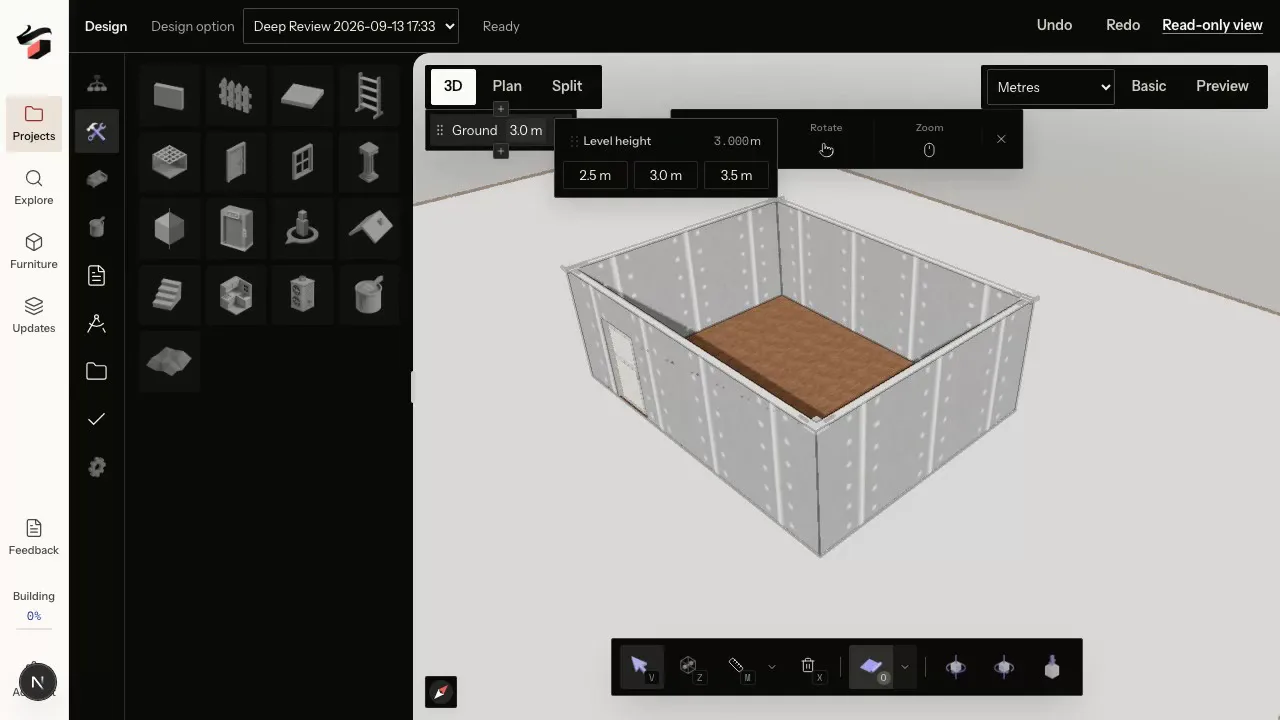
NoteIntegration preview · September 14, 2026. The Pascal integration is under review and has not been released to production. The screenshots show local test projects. Features and availability may change before release.
Moving a door in a 3D floor plan changes more than the gap in a wall. It can change where a bed fits, which way you enter the room and whether a nearby cupboard opens. Review a wall or opening edit as a small group of connected decisions. The Pascal integration introduces native building-model editing; the sequence below describes how to assess those edits when it becomes available.
Decide whether you are correcting or proposing
Suppose the drawing places a bedroom door near the corridor corner, but the reconstructed model puts it in the middle of the wall. Correcting that position is a source-reconciliation task. Moving the door away from the corner because you prefer a longer wardrobe is a proposal. Give the proposal its own option and retain a baseline that represents the existing layout.
Use the original plan to check the wall segment, opening width and position. If the drawing does not establish a value, record the uncertainty instead of borrowing a plausible dimension from another room. For physical alterations, have the building conditions and proposed work assessed before relying on the model. Editing software cannot establish what a wall supports or conceals.
Start in Plan with one wall or opening
- Open the intended design option and confirm that the previous work is saved.
- Find the wall in Plan and identify the rooms on both sides. Check that you selected the wall or opening you mean.
- Make one change with the available modeling control. For an opening, inspect its width, position and host wall together.
- Check nearby corners, door swings and furniture before extending the edit to another part of the layout.
A long sequence of simultaneous edits makes the result harder to diagnose. If you move a partition, widen a door and rearrange the furniture at once, a new conflict could come from any of them. Save a useful intermediate state after the geometry change, then develop the furniture arrangement.
Use 3D to inspect what Plan leaves out
Plan shows the opening along the wall. The 3D view helps you inspect its height, the wall above it and its relationship with nearby elements. Look from both rooms. A window that appears correctly placed from outside may be behind a tall cabinet inside. A door can have a plausible position in plan while its height or adjoining wall geometry needs attention.
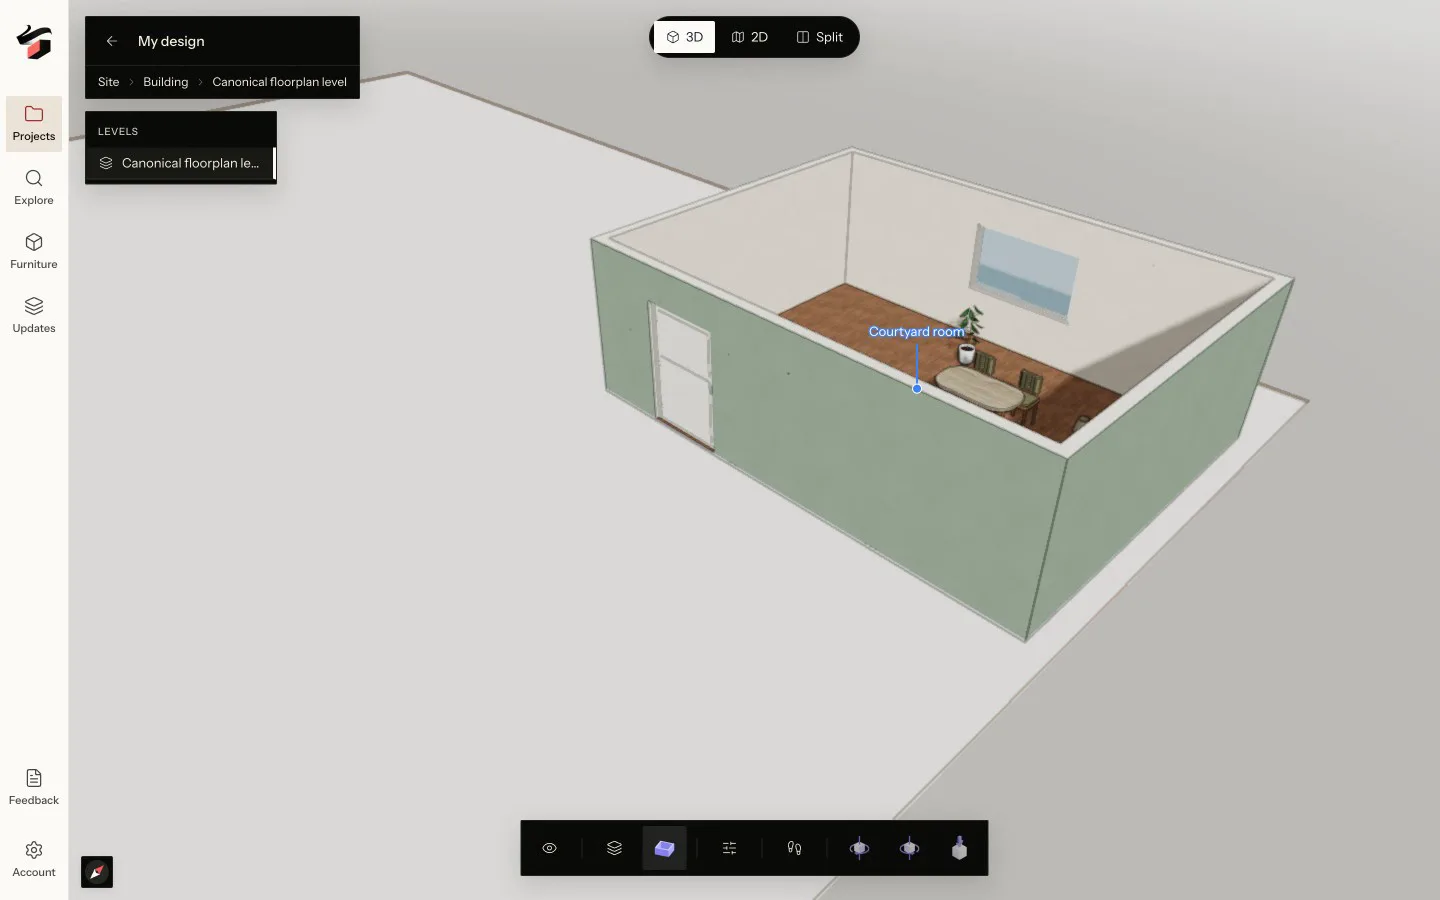
For work involving more than one level, inspect the level assignment and the elements above and below. A stair or opening belongs to a relationship between floors; a pleasing camera angle does not demonstrate that relationship. Keep a separate eye-level view for the room and an overview that shows the affected building elements.
Check the consequences around the edit
| Change | Follow-up review |
|---|---|
| Move a partition | Both room boundaries, adjoining walls, furniture positions and the route through each room. |
| Move or widen a door | Host wall, swing, usable clear opening, nearby storage and the corridor approach. |
| Change a window | Width, height, wall position and furniture that could obstruct it. |
| Change a wall height | Openings, ceilings, adjoining levels and the view from either side. |
Then inspect reported placement findings. If a finding refers to an older revision, return to the current saved design before deciding whether the conflict still exists. A clear check result only covers the information represented in the model; it cannot account for an unmodeled pipe, switch or existing structural condition.
Review the saved option before presenting it
Wait for the save state, reopen the relevant view and compare it with the baseline. Keep the camera consistent so the position change is visible. A useful review pair shows the old and proposed opening with enough surrounding wall to orient the reader. Label the question: “Does this entrance leave a continuous wardrobe wall?” is more useful than “Which looks better?”
Keep the source drawing with the proposal and state which dimensions remain to be verified. Continue with comparing floor plan options for a fair side-by-side review, or read the Pascal integration overview for the full preview feature set.