Buying an apartment that is not built yet
You left the sales office with a brochure: two or three unit types, a price for each, and a reservation or deposit deadline. The floor plan is printed small, and you cannot tell whether the bedroom takes your bed or where the living room ends. The condo is not built yet, and the model home may have a different layout. Use a conceptual 3D model to identify questions for the sales agent before you commit.
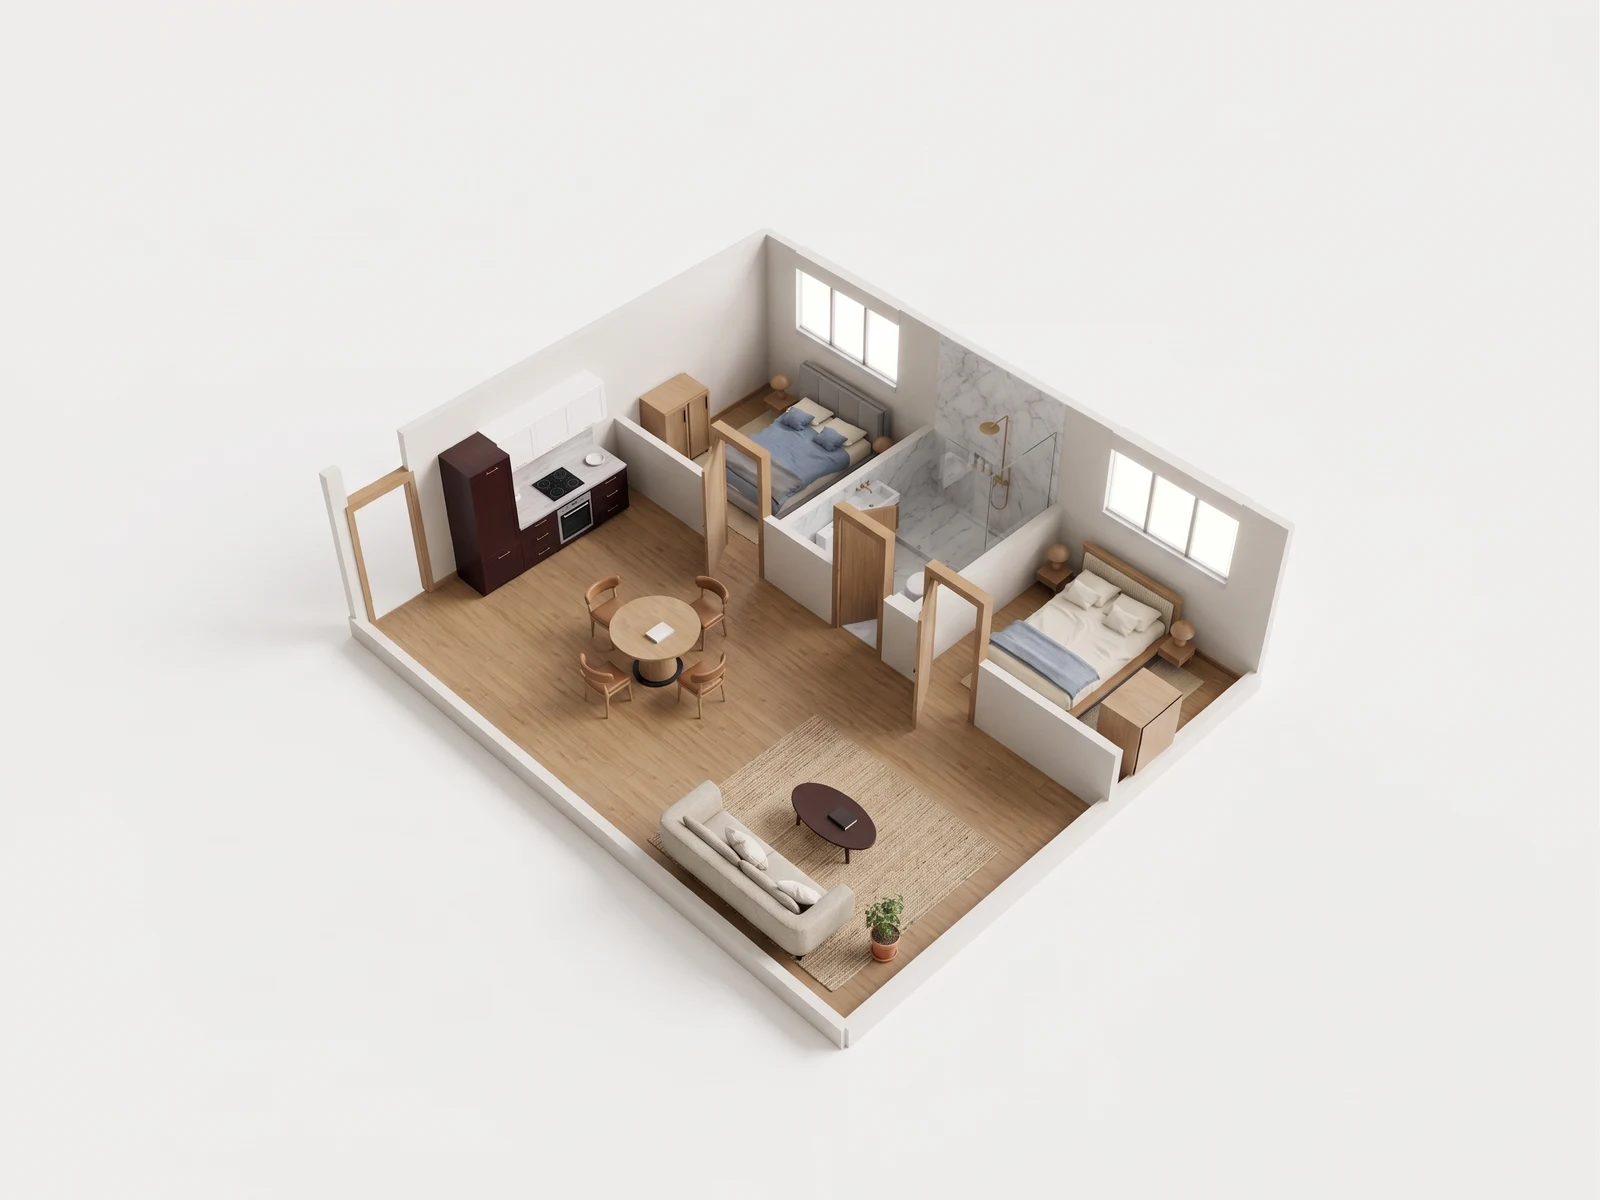
Read the shared rooms before the keys exist.
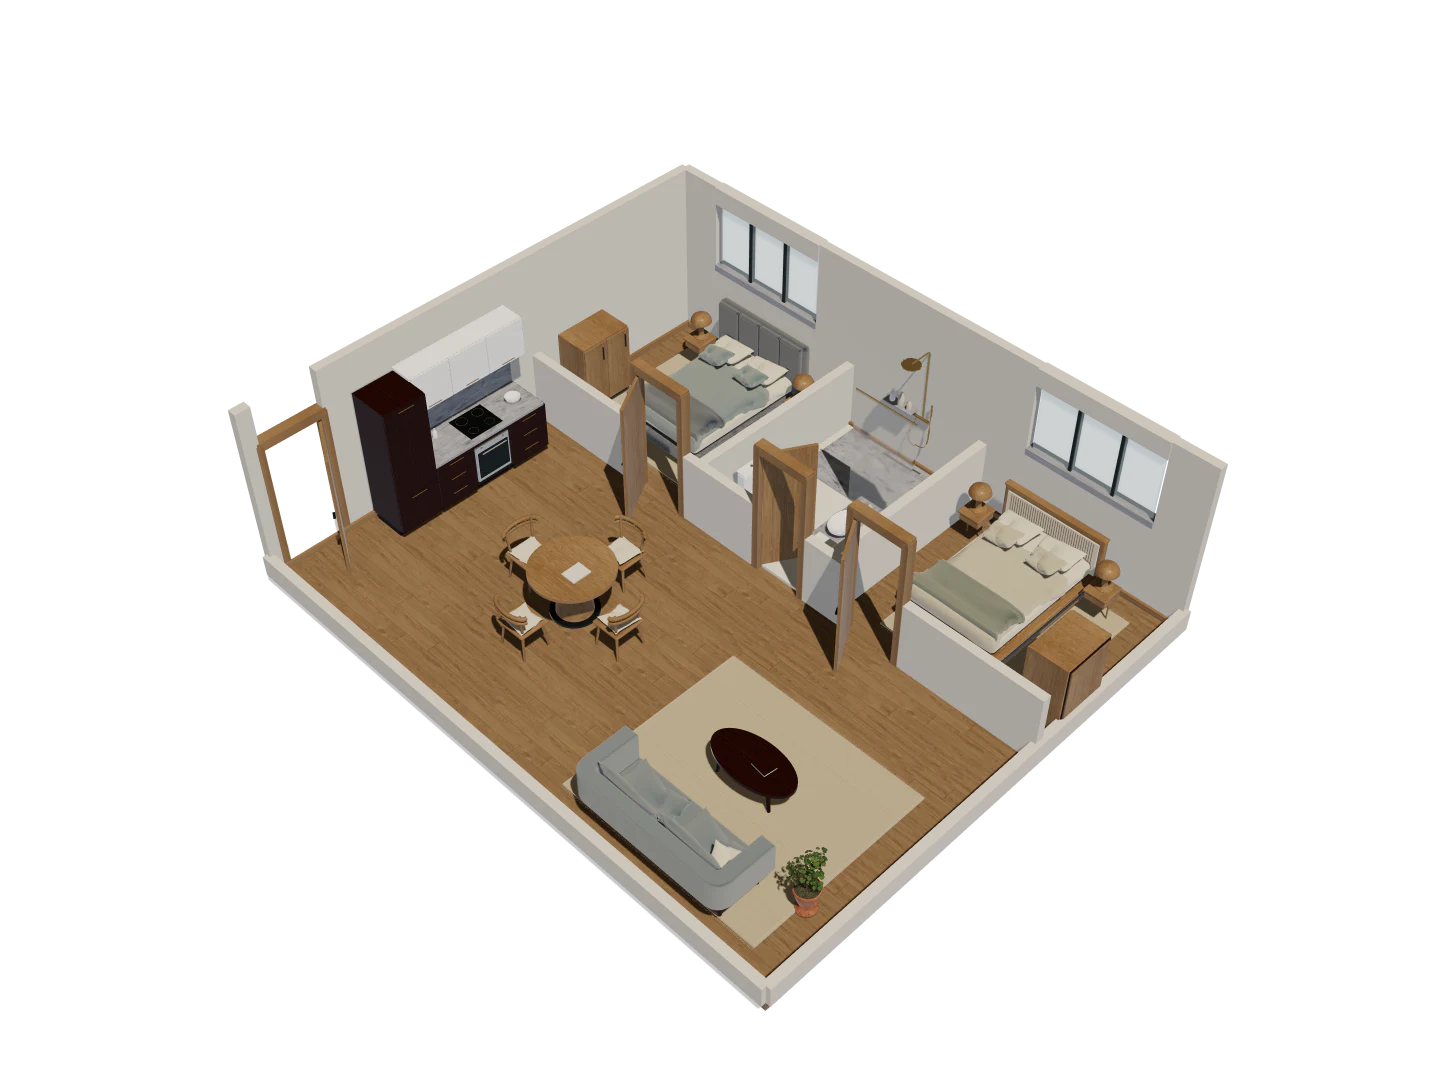
- Compare the bedroom, kitchen and living-room spans with the brochure drawing.
- Place the furniture you already own and inspect its footprint in each room.
- Keep critical purchase and building measurements for the source plan and site check.
Compact two-bed · Eight camera views
One model. A fuller picture.
Explore five overview angles and three eye-level interior views. Each image starts with a capture of this 3D model. Drag the divider to compare the image with its source.
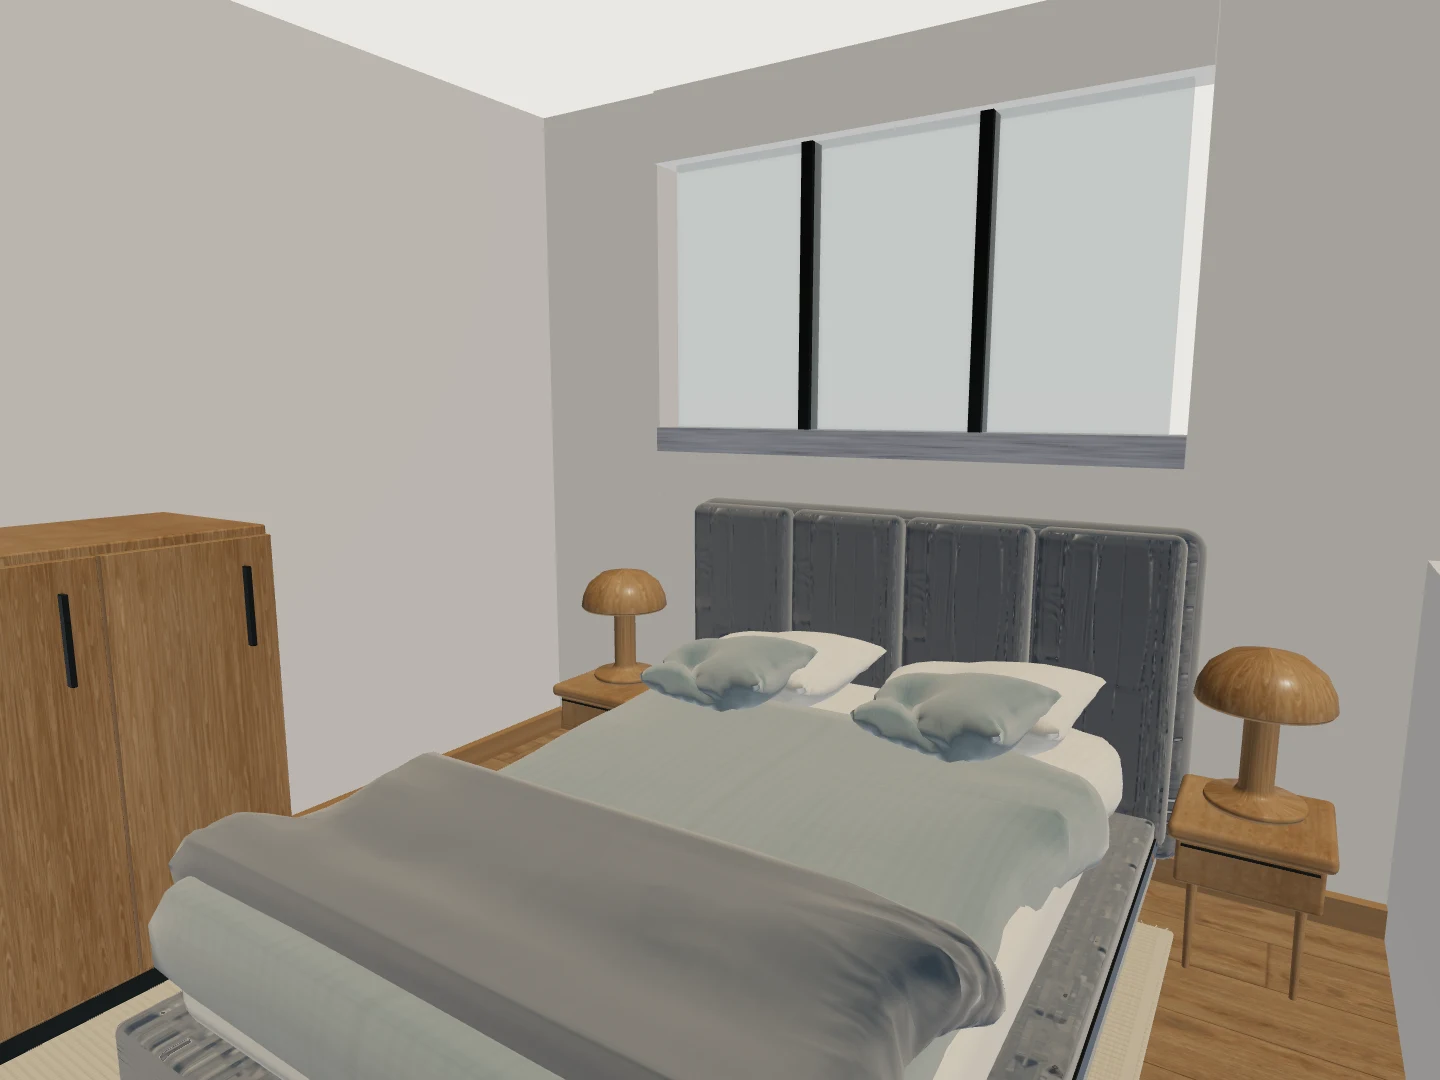
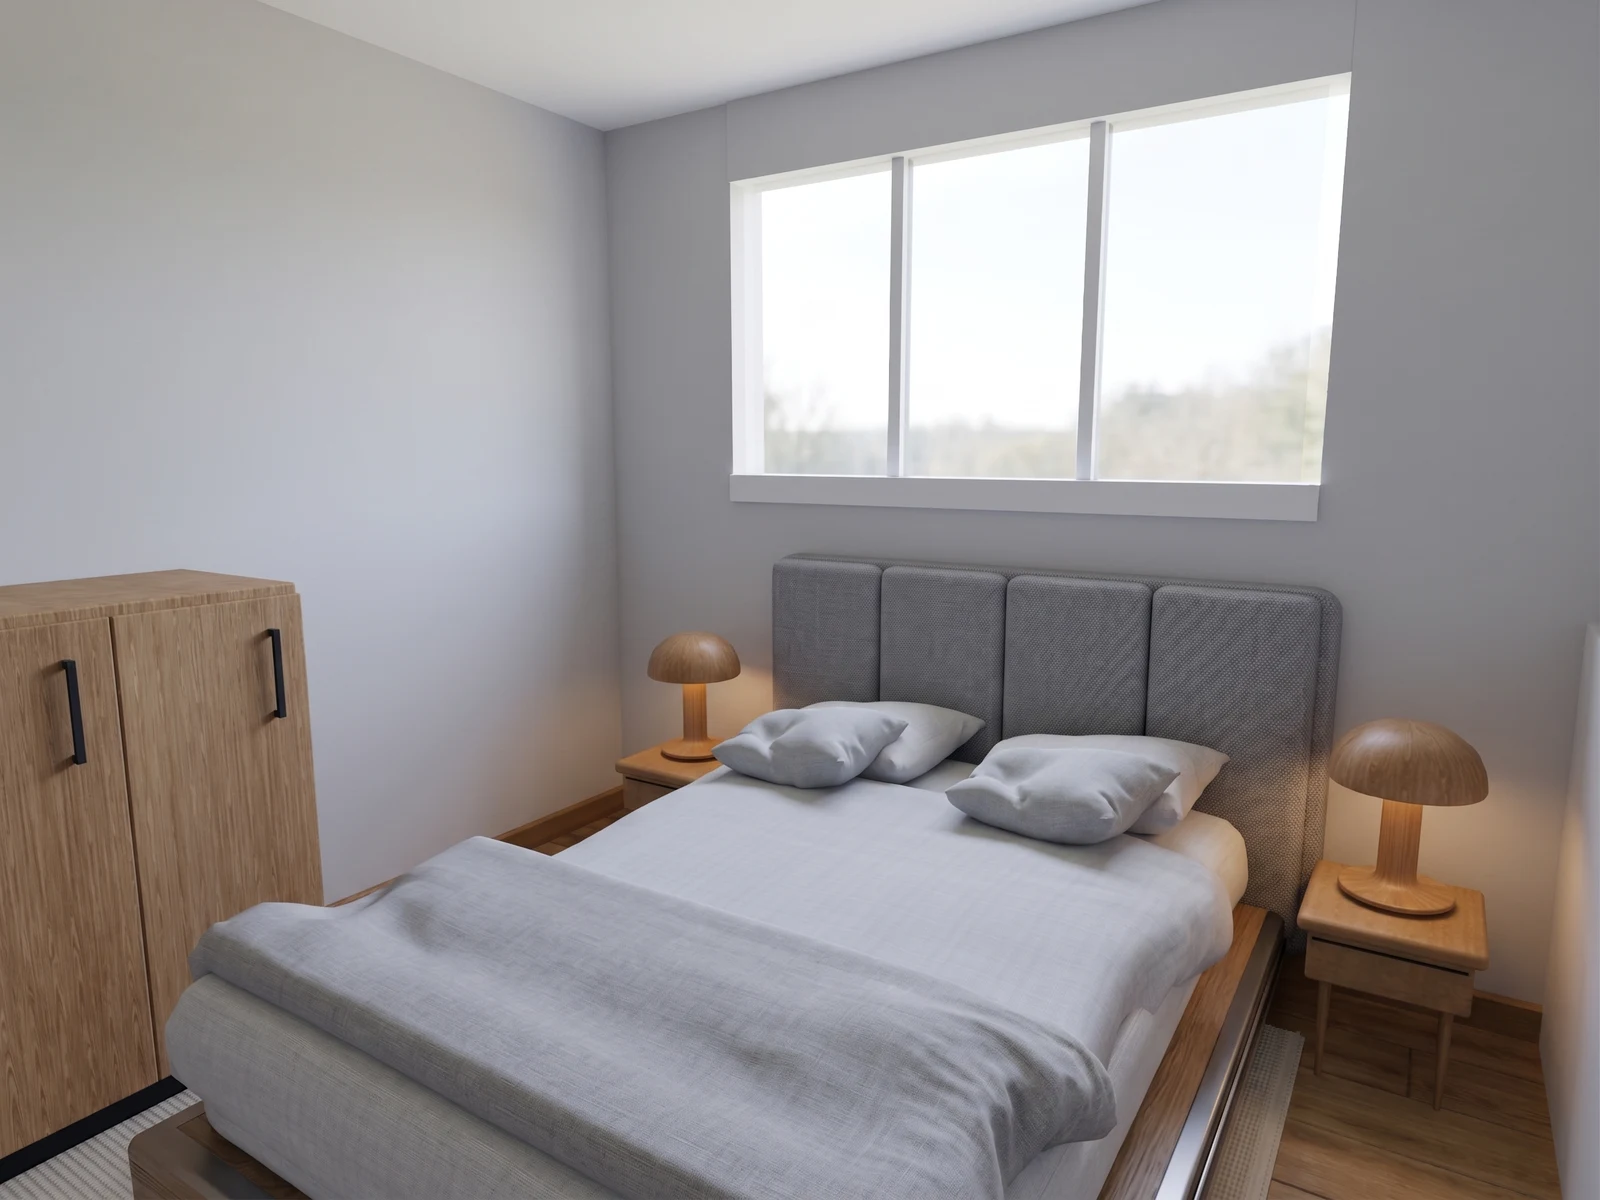
Inspect the bed, window and bedside furniture from inside a bedroom.
Drag the divider to reveal the source 3D view.
What happens when you upload the brochure plan
You create a project with a neutral unit-type name, such as “Two-bedroom A,” and upload one file: the brochure sheet that carries the plan. A published project title is public, so leave buyer names and private addresses out of it. The upload screen takes PDF, PNG, JPEG, SVG, or DXF, up to 25 MiB. Use a clear, uncropped plan with room boundaries and dimensions where available, and upload only a drawing you have permission to use.
A sales brochure is usually a long PDF and the single-floor upload reads its first page, so export the page that carries your unit plan before uploading it. Business supports a separate building flow where you select a drawing or PDF page for each floor. A PNG or JPEG of that page also works, as long as it is uncropped and the room boundaries are legible.
Then the plan is converted into a conceptual model. The wait screen reports which processing steps have finished and whether a 3D model was built. Progress does not report time remaining or measurement accuracy. You can close the tab and come back.
NoteThe conversion uses one available import, and some drawings cannot be converted automatically. Submit the plan when you receive it so there is time to review the model and ask questions before your reservation or deposit deadline.
When the model is ready it opens in your browser. The viewer gives you model-space area, space count, extent and height estimates. These describe the generated geometry; they do not establish the plan’s real scale. On a tablet or computer, the full editor adds furniture and finish changes. On a phone, you can upload and view a model, then edit finishes on an existing Design Option.
What to check against the brochure
The plan in a brochure is a drawing made to sell the condo. The furniture printed on it is part of that drawing, not a measurement of anything you own. Review the model before your reservation or deposit deadline, then check its dimensions against reliable plans. It does not verify the condo.
- Check the reported scale status, then compare two independent dimensions on the brochure plan with the same spans in the model. Any difference is a reason to check the source or ask for dimensioned plans, not proof of the real condo size. See getting real measurements off a plan.
- Read the floor area and room count in the viewer, then compare them with the interior area quoted in the brochure. Ask the sales agent how that area was measured and what it includes. The model estimate and the sales figure may describe different boundaries.
- Place a piece from the furniture library in the bedroom and look at it. Each piece carries a catalog width, depth and height, and its footprint drawing is labeled catalog bounds, not a product image. See will a queen bed fit.
- If construction has started, arrange an authorized site measurement through the sales agent or developer. Ask the developer for current dimensioned plans; do not rely on brochure furniture to establish clearances.
| The brochure | The model you get back |
|---|---|
| A plan printed at whatever size the page allowed | A conceptual reconstruction whose displayed dimensions still require verification |
| An interior area quoted in text | Model-space area and space-count estimates, plus approximate model extents on the published page |
| Furniture drawn as part of the layout | Furniture you place yourself, each piece carrying a catalog width, depth and height |
| A render of an apartment nobody has built yet | A model you can rotate and pan, and publish as a page anyone can open |
Worth checkingConceptual model only. Not a survey or construction document. It does not establish interior area, gross building area, or any figure your purchase contract turns on, and it does not replace current dimensioned plans from the developer.
Keep the model review focused on questions you can resolve: which unit type the drawing represents, whether the plan is current, what the quoted area includes, and which dimensions need confirmation. For a buyer’s checklist, read buying new construction from a floor plan.
Reviewing the plan from a distance
If you intentionally want a public model, publish the project release and then the profile. The project gets a page anyone can open without an account, listed on Explore beside other published projects. A relative or a proxy can open it, rotate the model, and read the approximate dimensions and the space count.
The comment thread under the project is readable without an account, but writing in it is not: the page offers a visitor a sign-in link before they can comment or follow. If you want the reply written under the model, the proxy signs in first.
Worth checkingA public showcase is not private sharing. For private review, keep the project nonpublic on a paid plan and have the project creator export a file to share through an agreed channel. A recipient can copy or forward that file. Public comments are a flat thread on the project; they cannot be pinned to a wall.
Free is for public projects; private work needs a paid plan. The uploaded source drawing, private image gallery and internal processing records are not part of the public project page. The full data boundary is listed on Your floorplan and your model.
Continue from review to a design option
Once you have reviewed the conceptual model, create a Design Option to try furniture and finishes without changing the reconstructed walls, doors or windows. Use a tablet or computer for the full editor; a phone supports uploads, viewing and finish edits on an existing option.
Before move-in, use the furniture library and direct editing inside a Design Option to try arrangements without changing the reconstruction. Saved directions remain available with plan access, but new AI furnishing generation and refinement are not currently available. Plan details are on the pricing page.
Floorplan upload
With floorplan processing enabled for your workspace and allowance available, upload one PDF, PNG, JPEG, SVG, or DXF file up to 25 MiB. Your file is checked before conversion starts.
Processing progress
The wait screen reports which processing steps have finished and whether a 3D model was built. It does not report time remaining or establish measurement accuracy. You can close the tab and come back.
3D model viewer
The conceptual model opens in your browser with model-space area, space count, extent and height estimates, and a camera you set to orbit or to orbit and pan.
Start with the plan you already have.
Free is for public projects. Private work needs a paid plan.