How to generate photorealistic images from your 3D floorplan
Frame a view, render it, compare the result with the source and download it. A practical walkthrough using the same photoreal feature behind our reference images.
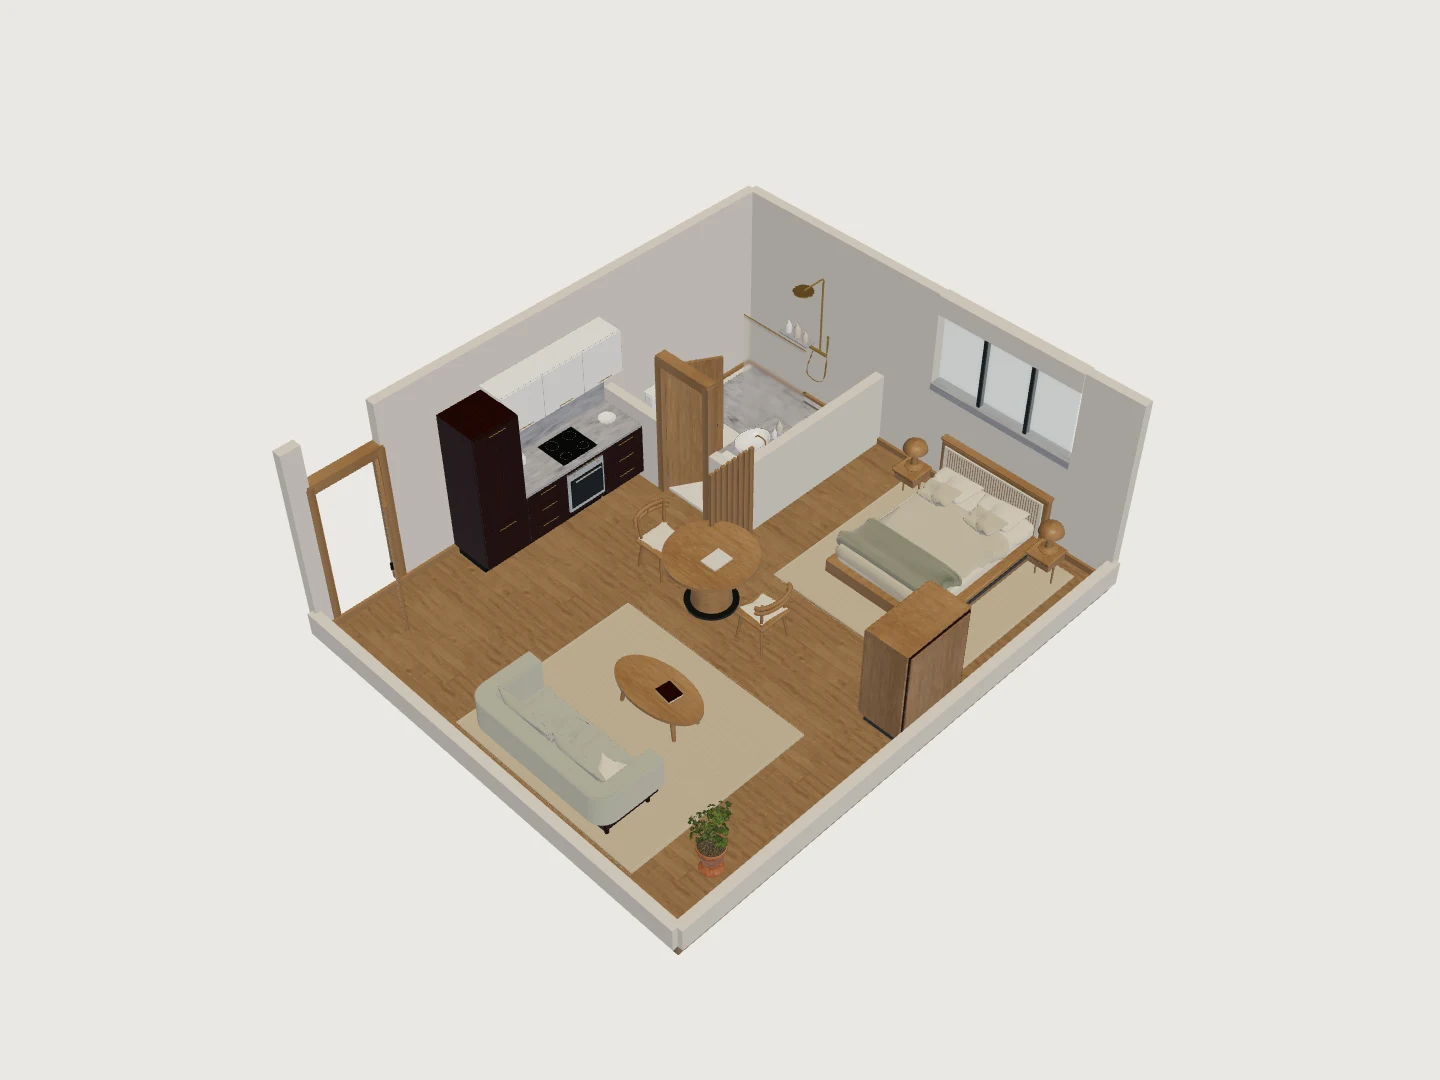
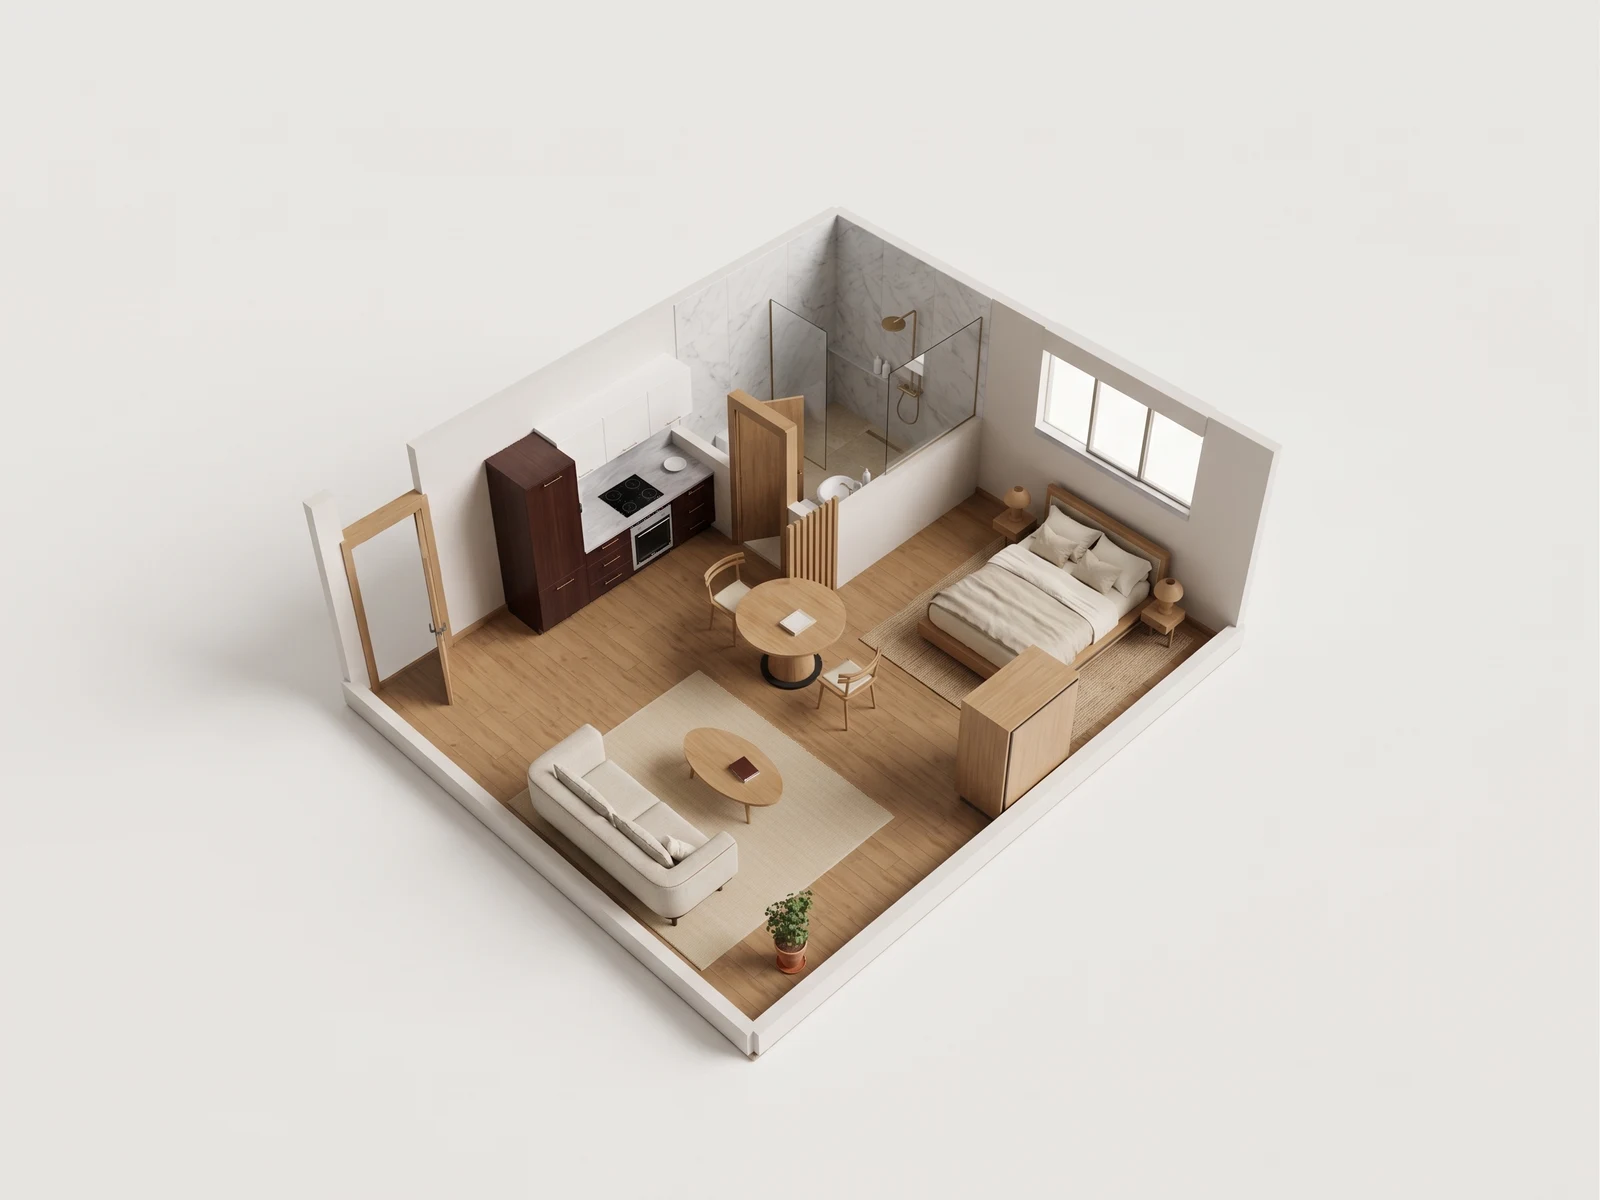
To generate a photorealistic image in INK TO BRICK, open a project’s 3D viewer, frame the camera, then choose Render current view under Project images. The result appears in the project gallery, where you can compare it with the captured model view and download the image. Start with the arrangement you want to communicate: the camera and visible model guide the image.
Prepare the room you want to show
Upload your floorplan and open the completed model. Review the room layout, doors and windows against the drawing. If you are preparing a furnishing proposal, place the furniture and assign the finishes in the model first. Save the arrangement before rendering so you can return to the version you presented.
A photoreal image adds a presentation layer to a view. To move a sofa or change a finish, make that edit in the model and capture another image. The renderer is guided to preserve the visible composition, but generated details still need comparison with the source.
Frame the camera before you spend an image credit
Choose the question the image should answer. A higher camera explains how rooms connect; a lower approach gives furniture more presence; a closer view helps with a material discussion. Orbit, pan and zoom until the relevant furniture and openings are visible. Leave a little margin around a whole-space view so the floorplate and corners remain inside the frame.
- Start with an overview that shows the complete arrangement.
- Move to a second approach that reveals something the first view hides.
- Inspect the opposite side before settling on the final presentation angle.
- Use a higher view when the room sequence or walking route matters.
- Move closer when the conversation is about furniture and surface finishes.
The galleries pair these five overview angles with three eye-level interior captures of the same model. You can use fewer views when one image already answers the question.
Bring the camera inside
Move the camera into the room and lower it to a natural eye level. Aim toward a useful subject: a kitchen and dining area, a sitting arrangement, a bedroom or a booth display. Keep the camera clear of walls and furniture, and check the captured view for an obstructing door or cupboard before generating. Our interior examples use three separate camera positions so each image explains something different.
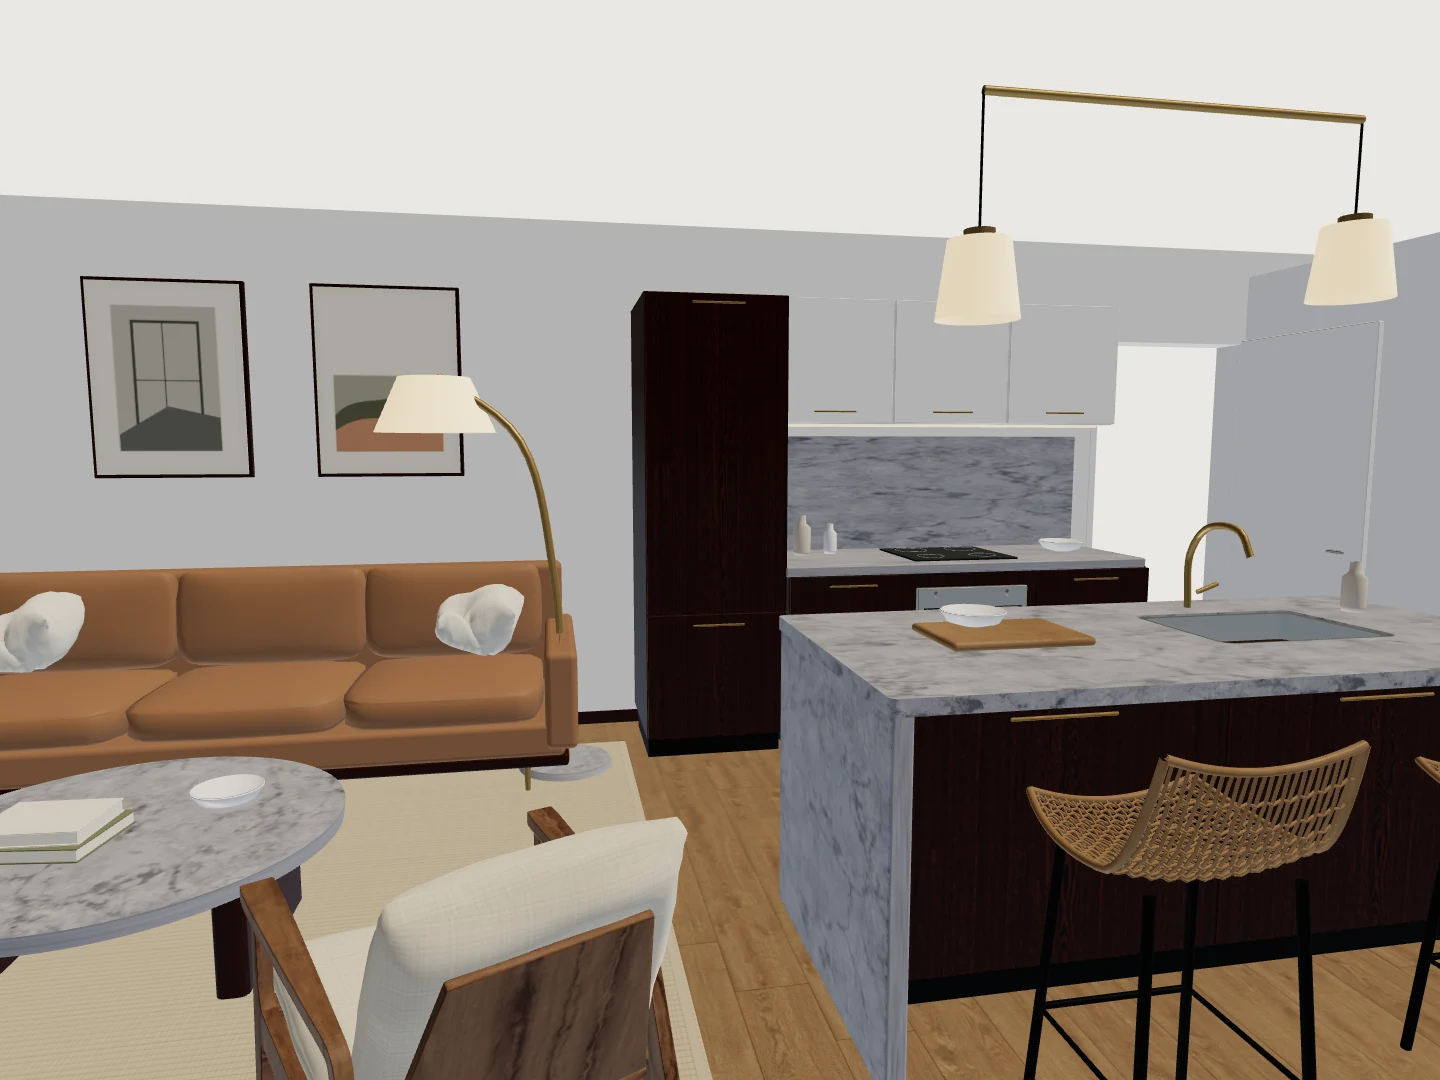
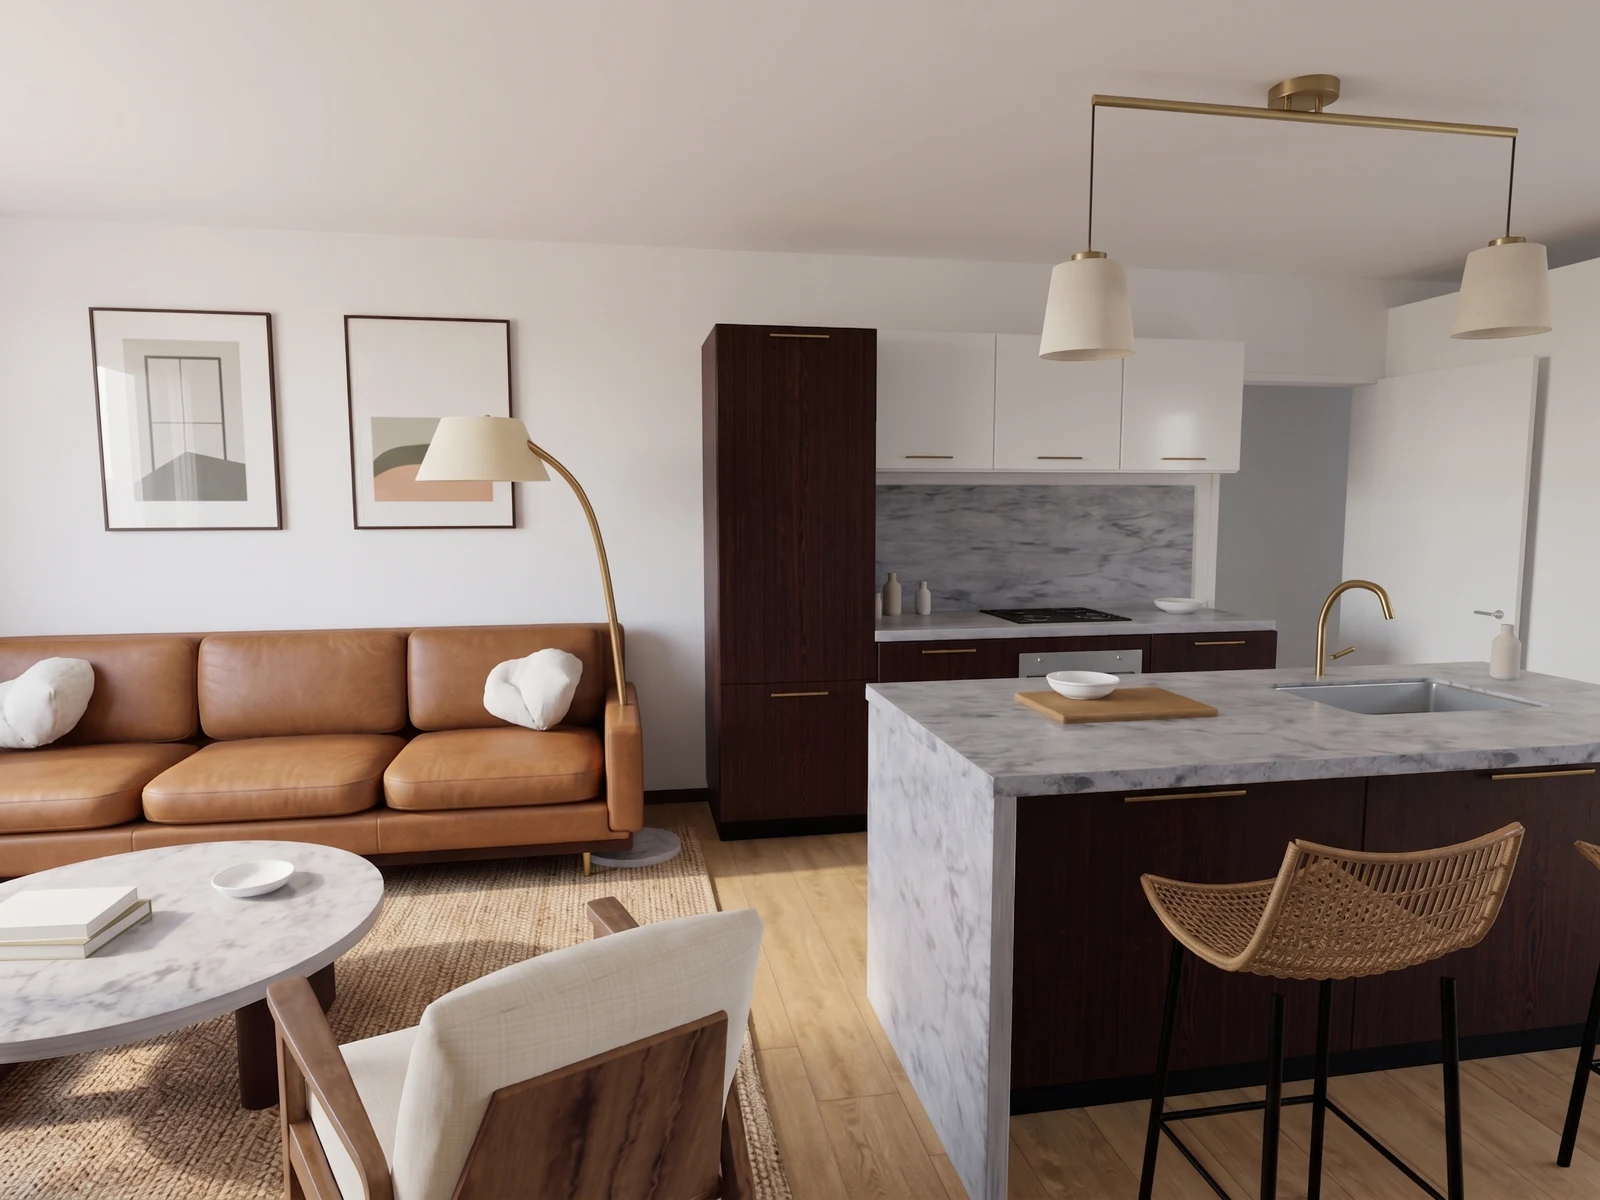
Generate the current view
- Open Project images below the viewer and check the displayed image-credit balance. You need editing access and available image allowance.
- Choose Render current view. The app captures the visible model and camera, then submits the image-generation request.
- Wait for the queued or rendering image to finish in the gallery. The finished image stays associated with the model revision used for its capture.
- Open the image and choose Compare captured view to inspect the original 3D capture. Choose Show generated image to return to the result.
If the request reports a problem, read the message before submitting another view. The gallery offers Retry request when a submission can be retried and Refresh images to reload its state. If the allowance is exhausted, use Review plans and image packs to see the options for that workspace.
Compare the result with its source
Compare the doorway shapes, window positions, furniture count and material colors. Pay special attention to thin furniture legs, glass, small fittings and any signage. An attractive surface treatment can still contain an altered detail. Use the source toggle to make the comparison from the same camera, rather than judging from memory.
The photoreal renderer can also repair visible modeling defects, such as pinched cushions, intersecting upholstery or jagged furniture edges. These are small realism corrections, not a furniture redesign. Check that the result still shows the intended pieces, placement and finishes; the original model and source capture remain available for comparison.
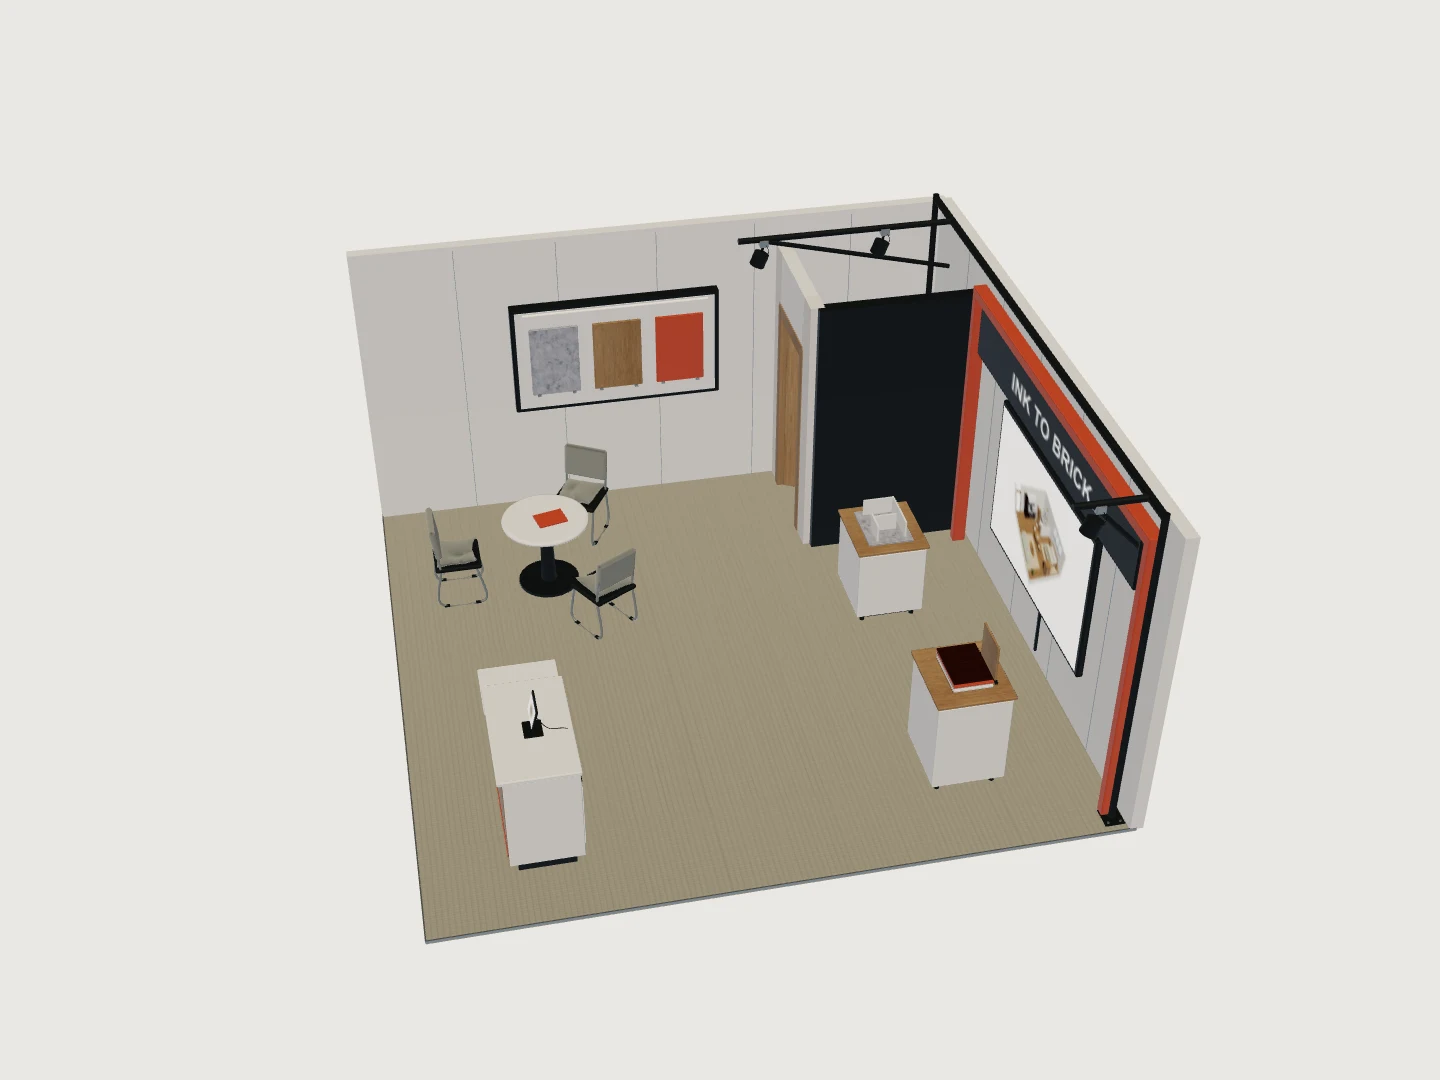
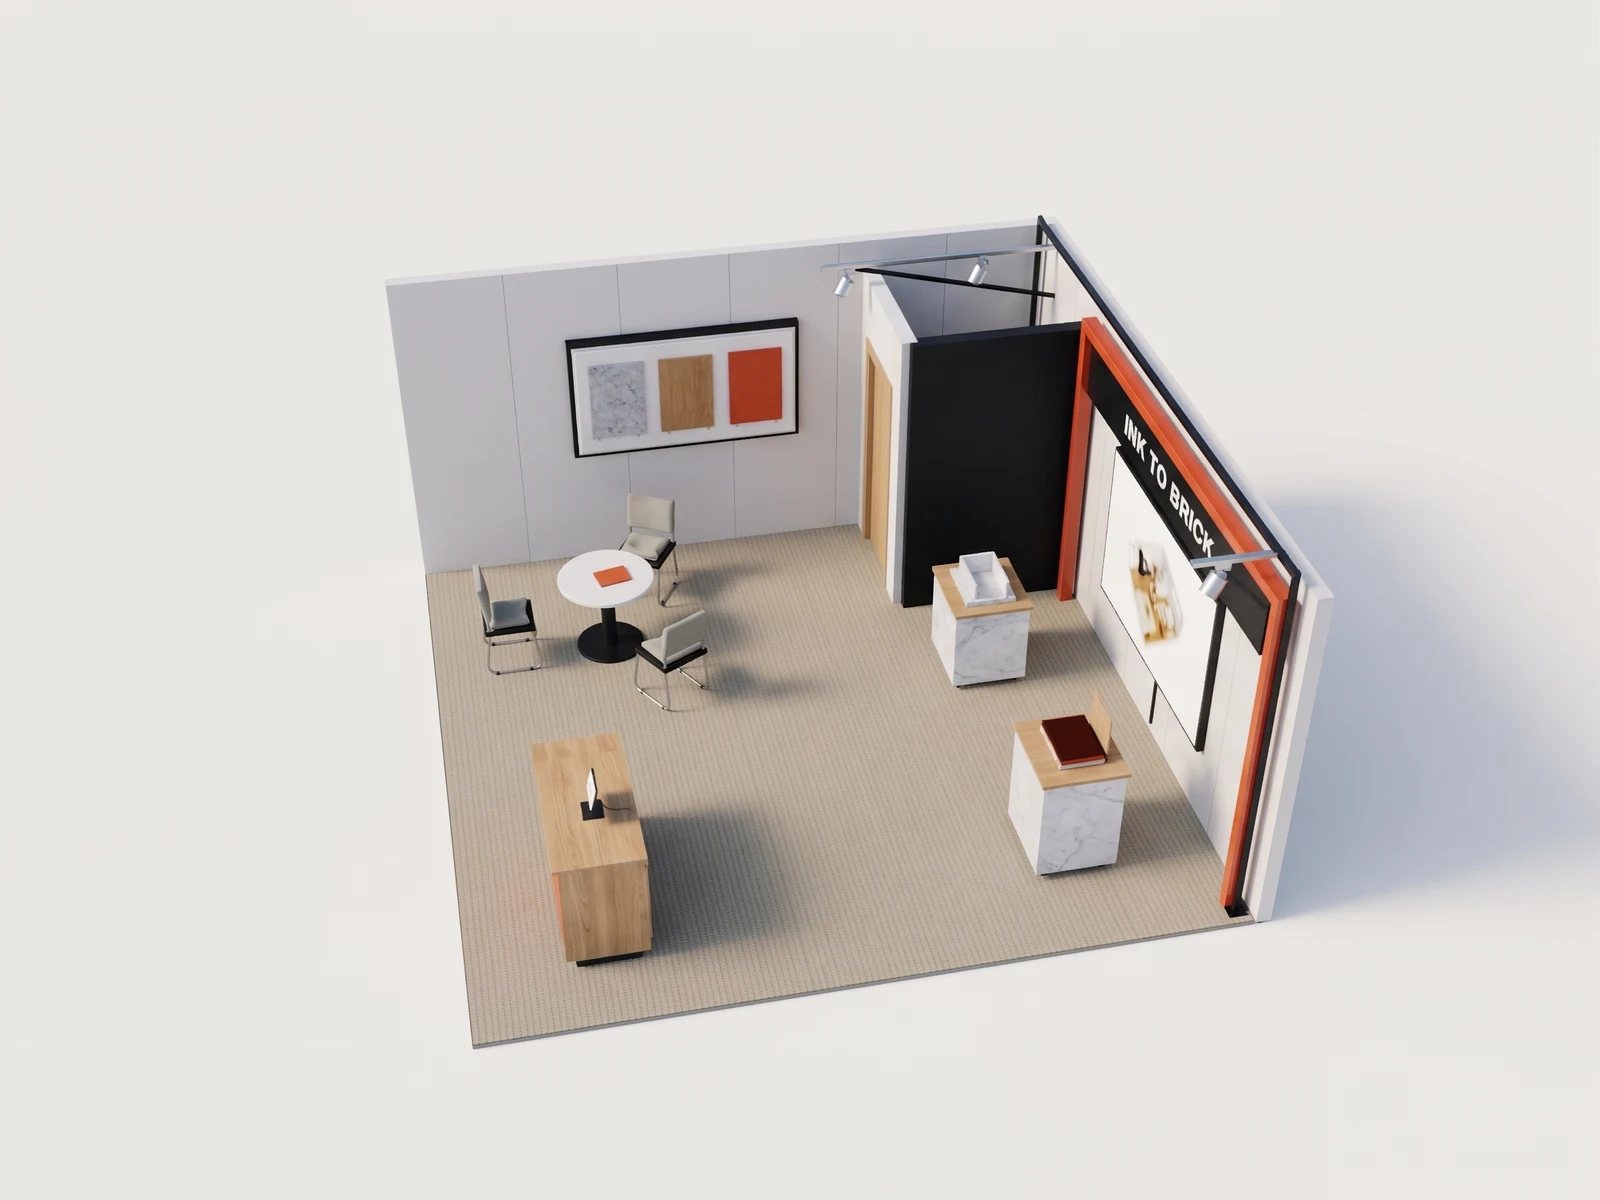
The booth makes this check especially useful: the reception counter, two aisle approaches, product plinths and meeting area all need to remain readable. Review the display graphics separately before using a generated image in a brand presentation. Explore the booth’s eight generated views to compare how each camera changes the emphasis.
Download an image with enough context to use it
Choose Download image in the project-image dialog. Download source model gives you the GLB tied to that image, while Open model revision returns to its revision in the viewer. Keep the selected view with its model when handing work to a designer or visualization collaborator.
Describe it as a generated visualization when you share it. A useful caption names the proposed arrangement and the decision it supports. For ways to build a client presentation, listing concept or booth review from those images, read how to use photorealistic images in a project.
Explore the complete photorealistic gallery to compare all eight example spaces, their camera views and the use cases behind them.
See your own floorplan in 3D.
Start with your plan. Explore the layout, try furniture and turn a chosen view into a realistic image.
Upload a floorplan- Byline
- INK TO BRICK
- Related guides
- Showing a client what you’re proposing · Property marketing with a 3D floor plan · Plan an exhibition booth before the show.
- The limit
- Conceptual model only. Not a survey or construction document.