Trade show booth layout: plan a 20 by 20 ft corner
Plan a 20 by 20 ft corner trade show booth in 3D: where visitors stop first, where a conversation happens, and how staff reach storage without crossing it.
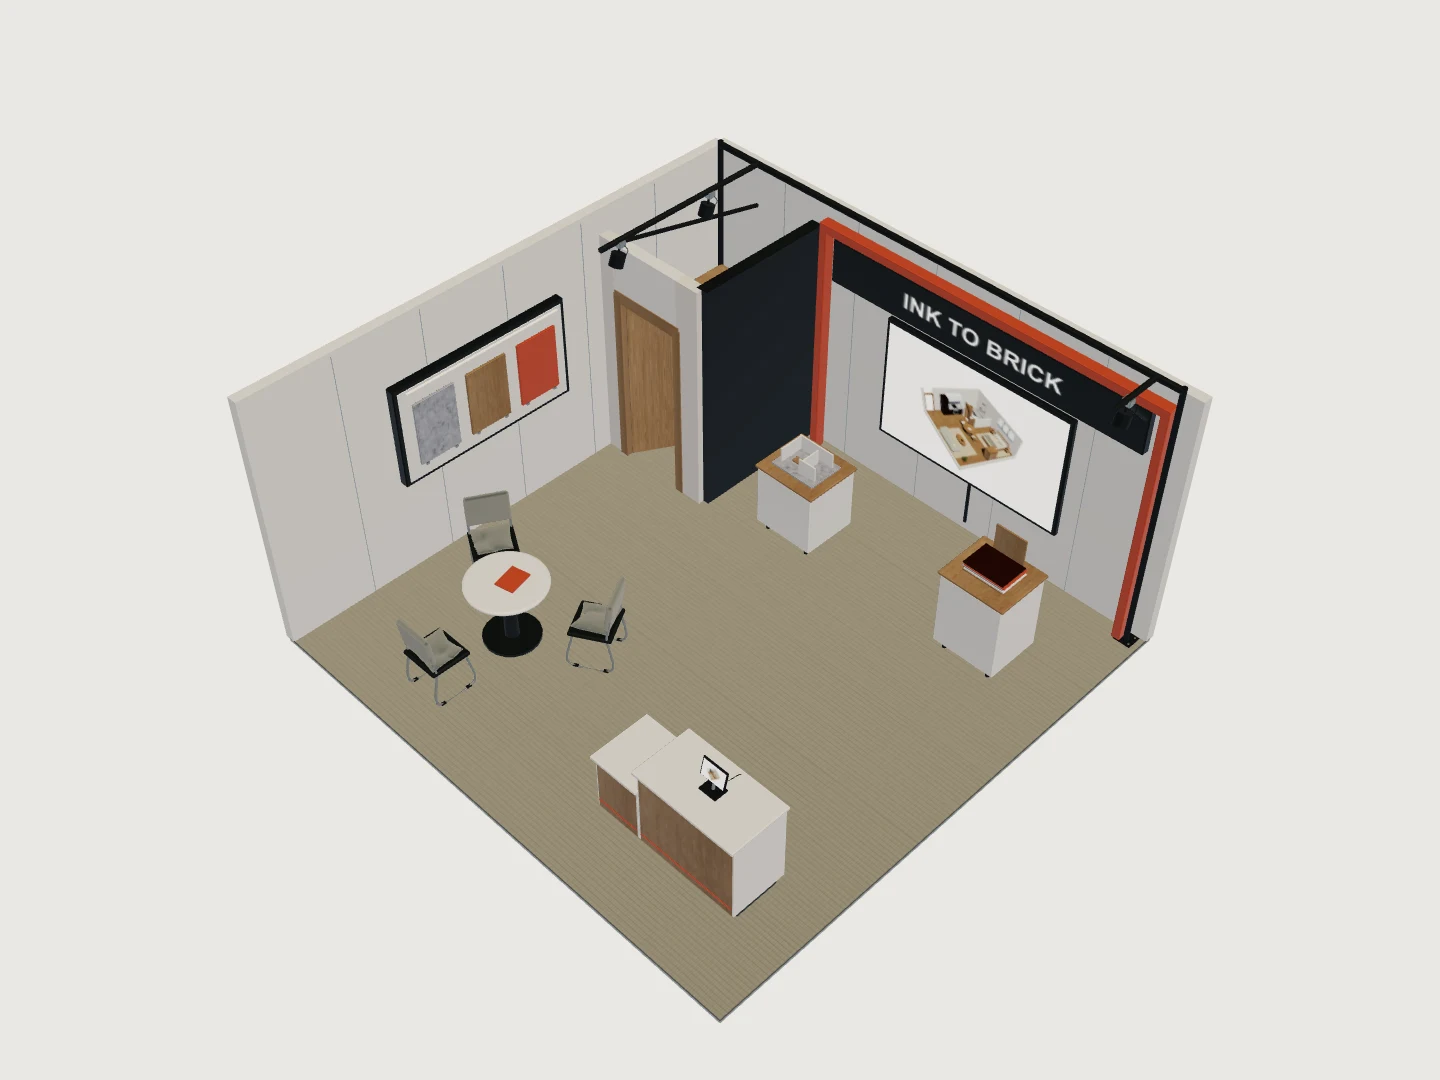
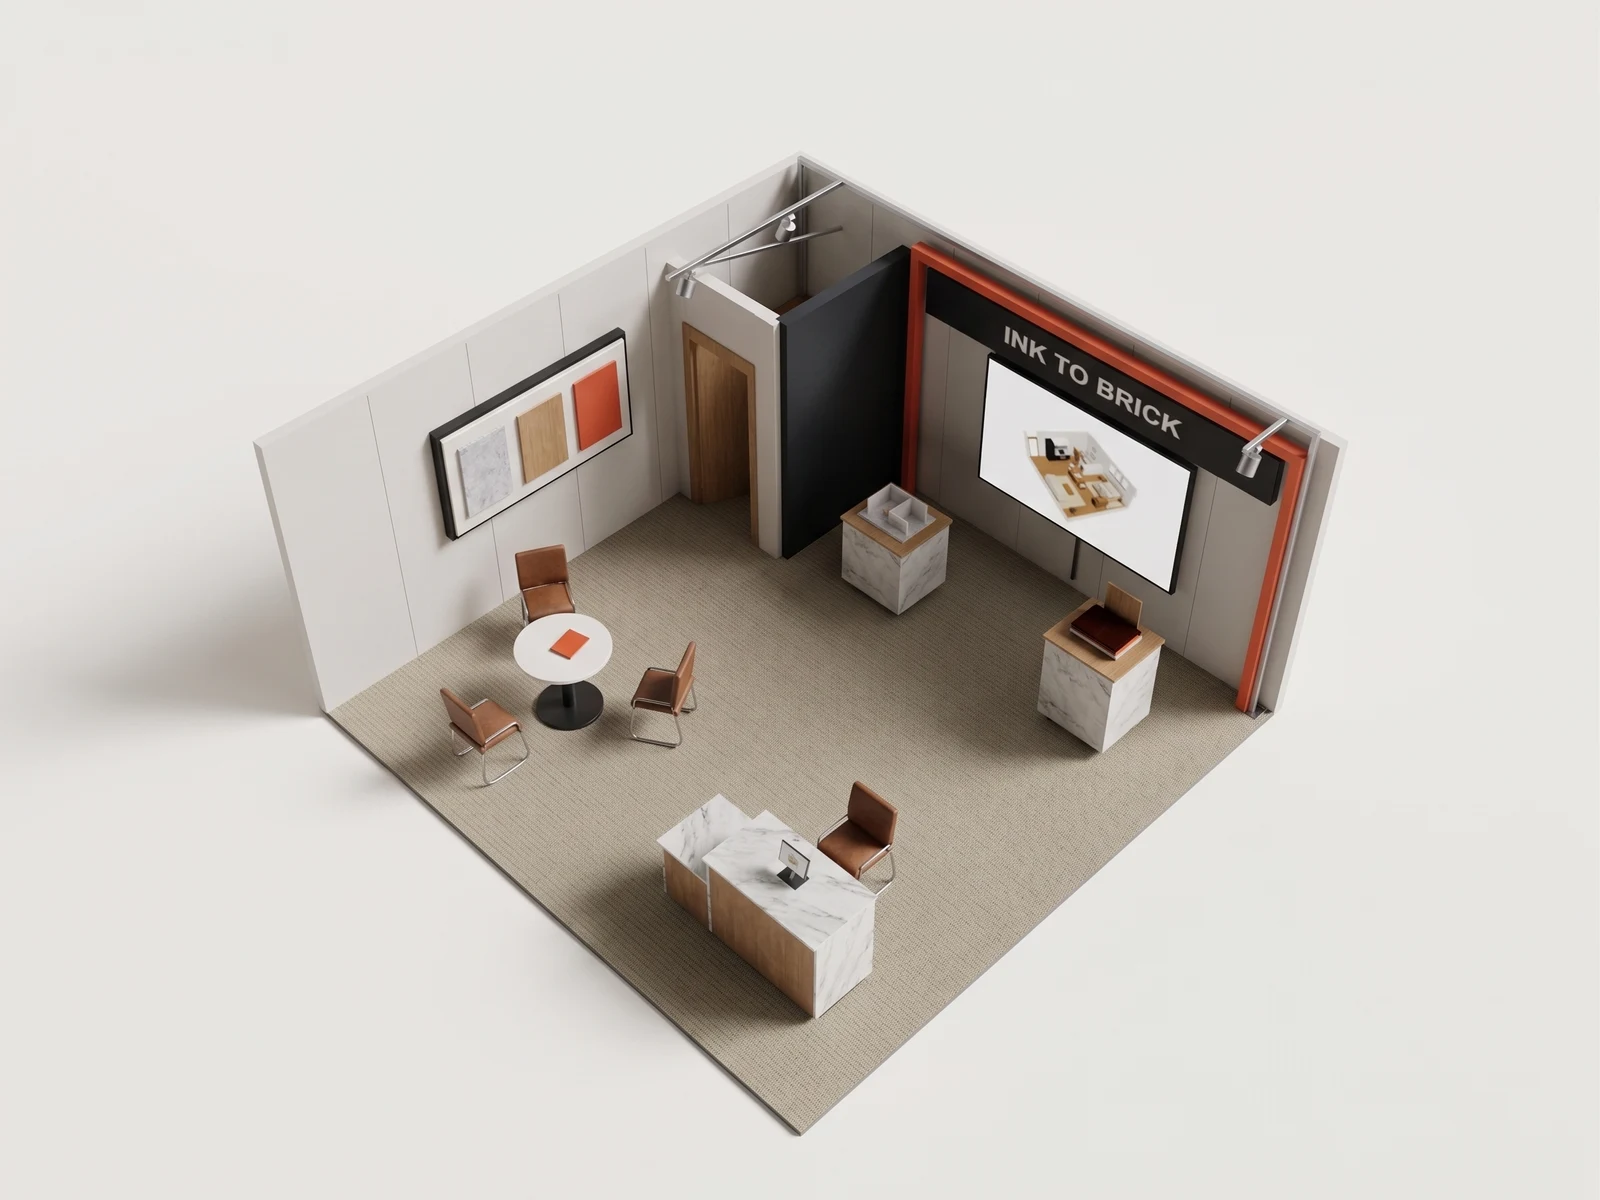
Plan a trade show booth around what a visitor does in the first three steps, not around the graphics. Decide where somebody stops, where a longer conversation can happen without blocking that stop, and how staff reach storage without walking through either. This reference study is a 6 by 6 m corner stand, about 20 by 20 ft, with two open aisle sides: a stepped reception counter at the front-right, a round three-seat table at the front-left, two product plinths at the rear and an enclosed storage closet behind them. It is small enough that one misplaced object changes what visitors see and where staff can move.
Where does a visitor stop first?
Turn the study from each aisle and ask three practical questions: where does a visitor first stop, where can a quieter conversation happen, and how can staff reach storage without crossing the product display. Use those routes to place the furniture and displays, and place the graphics afterwards. From both approaches the reception counter should read as a welcome rather than a barrier across the center, which is a question about where its ends land, not about how tall it is.
How do you keep two open sides working?
A corner stand has two aisle frontages and two neighbors, and the two arrivals are not the same arrival. Inspect each one separately, then look diagonally through the center, which is the view most visitors actually get as they walk past. The stepped counter at the front-right should offer a clear first stop while leaving a visitor free to continue toward the plinths or the table. Keep the corner itself open: the diagonal is what makes a corner worth paying for, and a tall object standing in it turns your stand back into an inline booth with extra carpet.
Where does a conversation happen without blocking the display?
The round three-seat table sits at the front-left and the two product plinths sit at the rear, so a short seated discussion does not occupy the same floor as somebody looking at the product. At the back-left, the enclosed storage closet gives staff a destination away from the meeting. Use the model to walk the path between the four jobs a stand has to do at once, and if two of them share the same floor, move the furniture before you add signage telling people where to go.
| The job | Where it sits in this study | What breaks it |
|---|---|---|
| Welcome | Stepped counter, front-right, angled to both aisles | A counter run across the full frontage, so the stand reads closed |
| Conversation | Round three-seat table, front-left | Seating placed in the main route, so a meeting blocks arrivals |
| Product viewing | Two plinths at the rear, under the back display | Plinths in the corner, which kills the diagonal view in |
| Storage and staff | Enclosed closet, back-left, behind the meeting area | A storage route that crosses the display, so restocking interrupts a pitch |
What do the show rules decide for you?
Some of this is not yours to choose. Height limits, sightlines to your neighbors, hanging signs and what may sit on the aisle line are set by the show, and the binding version is the exhibitor manual for your event. IAEE publishes Guidelines for Display Rules and Regulations, the model North American rules many organizers adapt, which is the document your show’s rules usually descend from. Take the rest to the venue and the general contractor: the actual footprint you were assigned, power and rigging, permitted materials, and the install and dismantle windows. The model’s useful early check is simpler than any of that: does the storage route cut across welcome, conversation or product viewing?
What INK TO BRICK does here
Open the reference-study collection to inspect this booth in 3D and download its GLB. For your own stand, upload the space plan as a PDF, PNG, JPEG, SVG, or DXF file up to 25 MiB and the AI reconstructs a conceptual model you can walk before anything is built. You furnish and finish it; you do not move its walls. When the layout is settled, the export library carries what the build team asks for: DXF and DWG drawings on Creator and above, a SketchUp SKP model on the same tier, GLB and OBJ models on Plus and above for a viewer or a renderer, and IFC on Business. Plan exports print at a scale you set from 1:10 to 1:1000, and images render at up to 4096 px a side with daylight, warm evening or overcast lighting for the pitch deck. The export formats guide says which file suits which recipient, and the plans page sets out the tiers: Free covers one public project without the export library.
NoteThe model is a rehearsal of the visitor route, not a build document. Confirm the assigned footprint, services, permitted materials and construction details with the venue and the build team. Conceptual model only. Not a survey or construction document. Verify dimensions on site before ordering or building.
For the rest of the stand program, planning an exhibition booth works through it, and handing a model to a 3D team covers what to send a fabricator once the layout holds. To upload a stand plan, start a project.
Exhibition booth · Eight camera views
One model. A fuller picture.
Explore five overview angles and three eye-level interior views. Each image starts with a capture of this 3D model. Drag the divider to compare the image with its source.
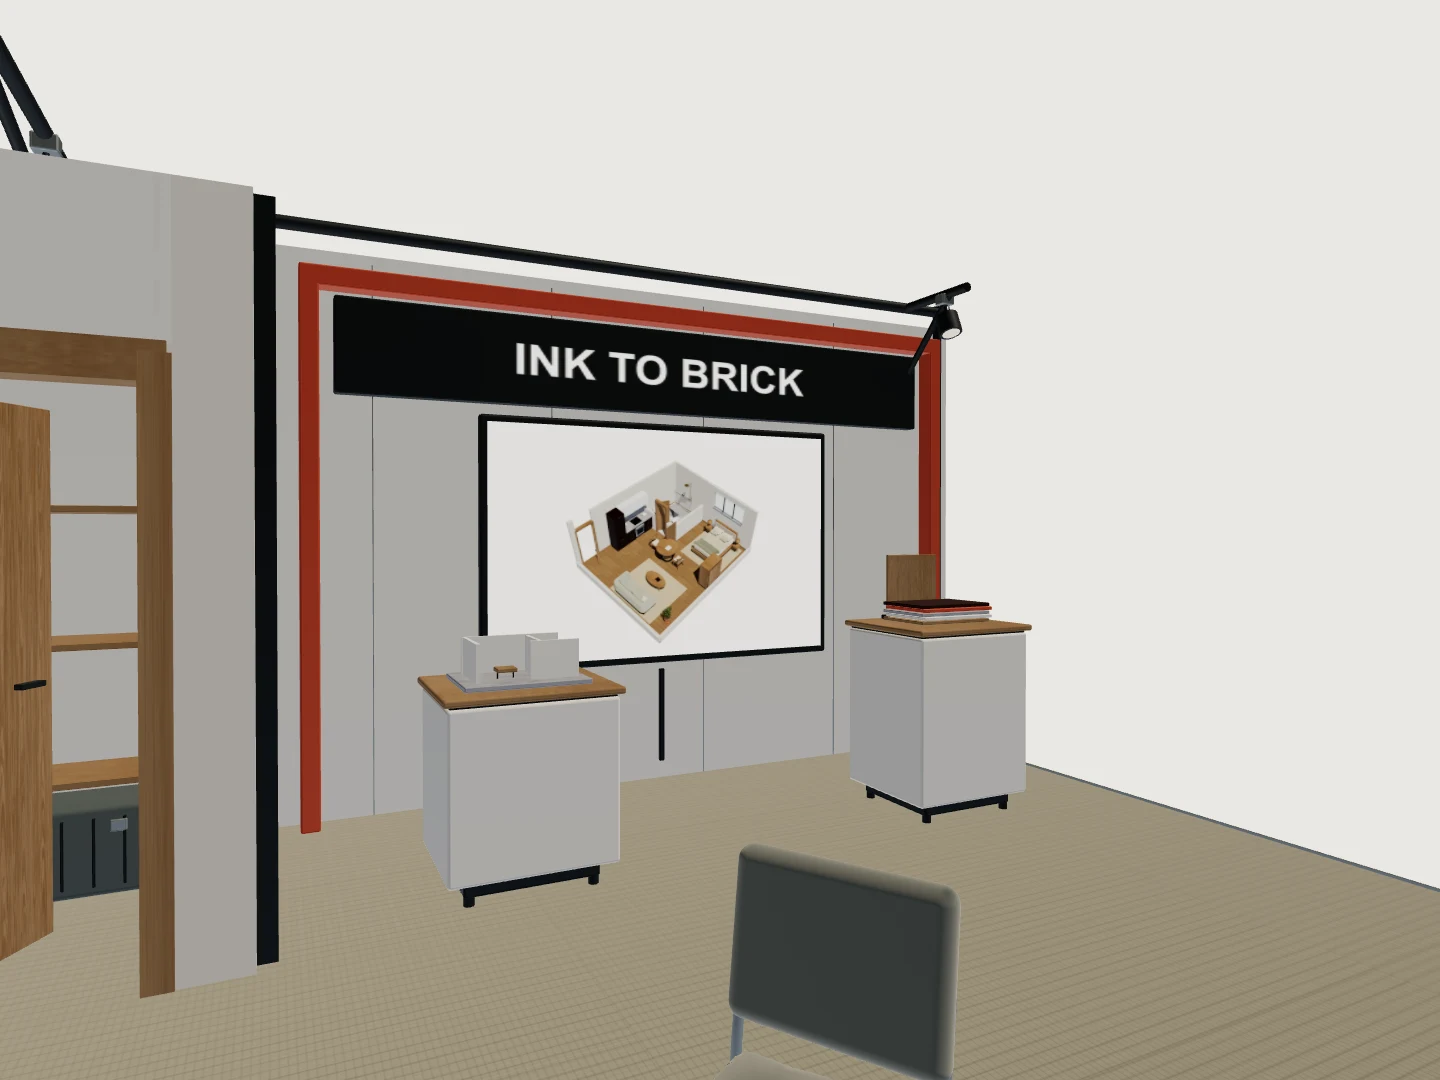
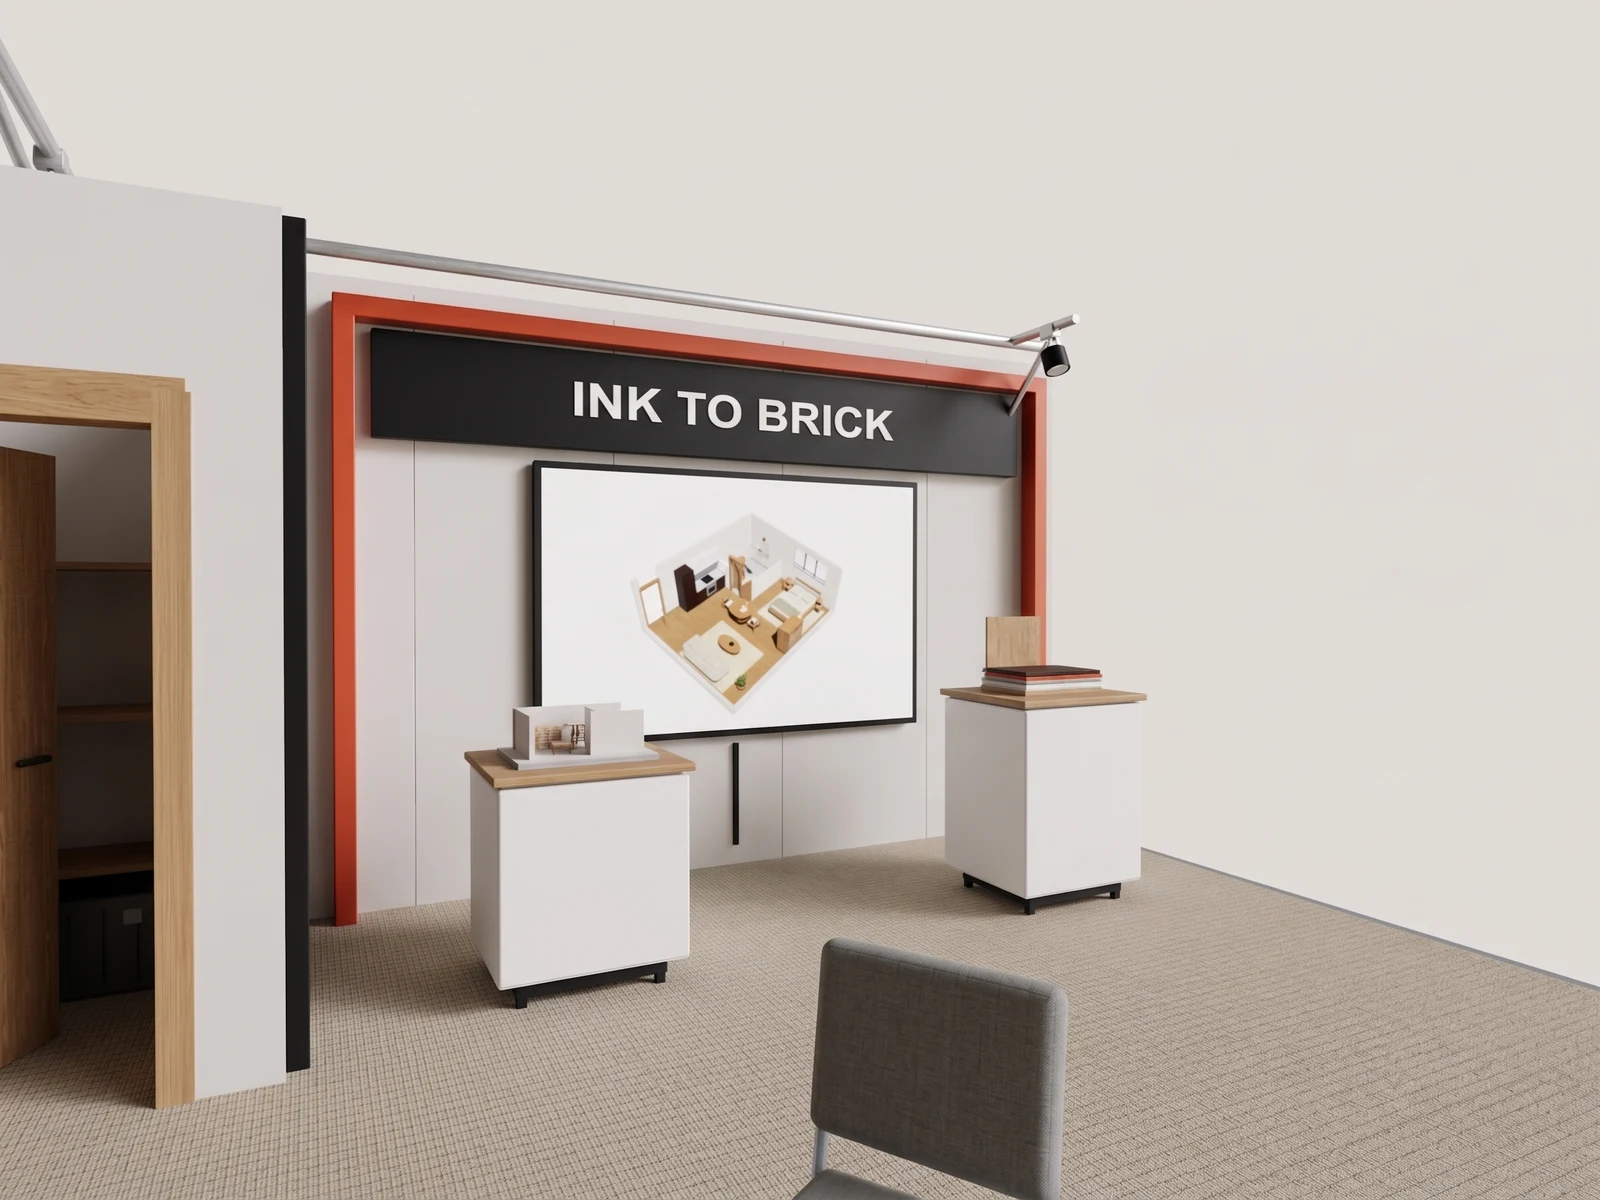
08 / 08 — Interior detail
Read the product display and storage edge from another interior position.
Drag the divider to reveal the source 3D view.
Plan your own stand in 3D.
Start with your plan. Explore the layout, try furniture and turn a chosen view into a realistic image.
Upload a floorplan- Updated
- Byline
- INK TO BRICK
- Related guides
- Plan an exhibition booth before the show. · Preparing a 3D model for a visualization handoff
- The limit
- Conceptual model only. Not a survey or construction document.