Plan an exhibition booth before the show.
A booth can look complete in an elevation and still leave visitors unsure where to enter, who to speak with or what to look at first. Start with the stand plan, arrange the key pieces in 3D and keep the two aisle approaches clear before fabrication begins.
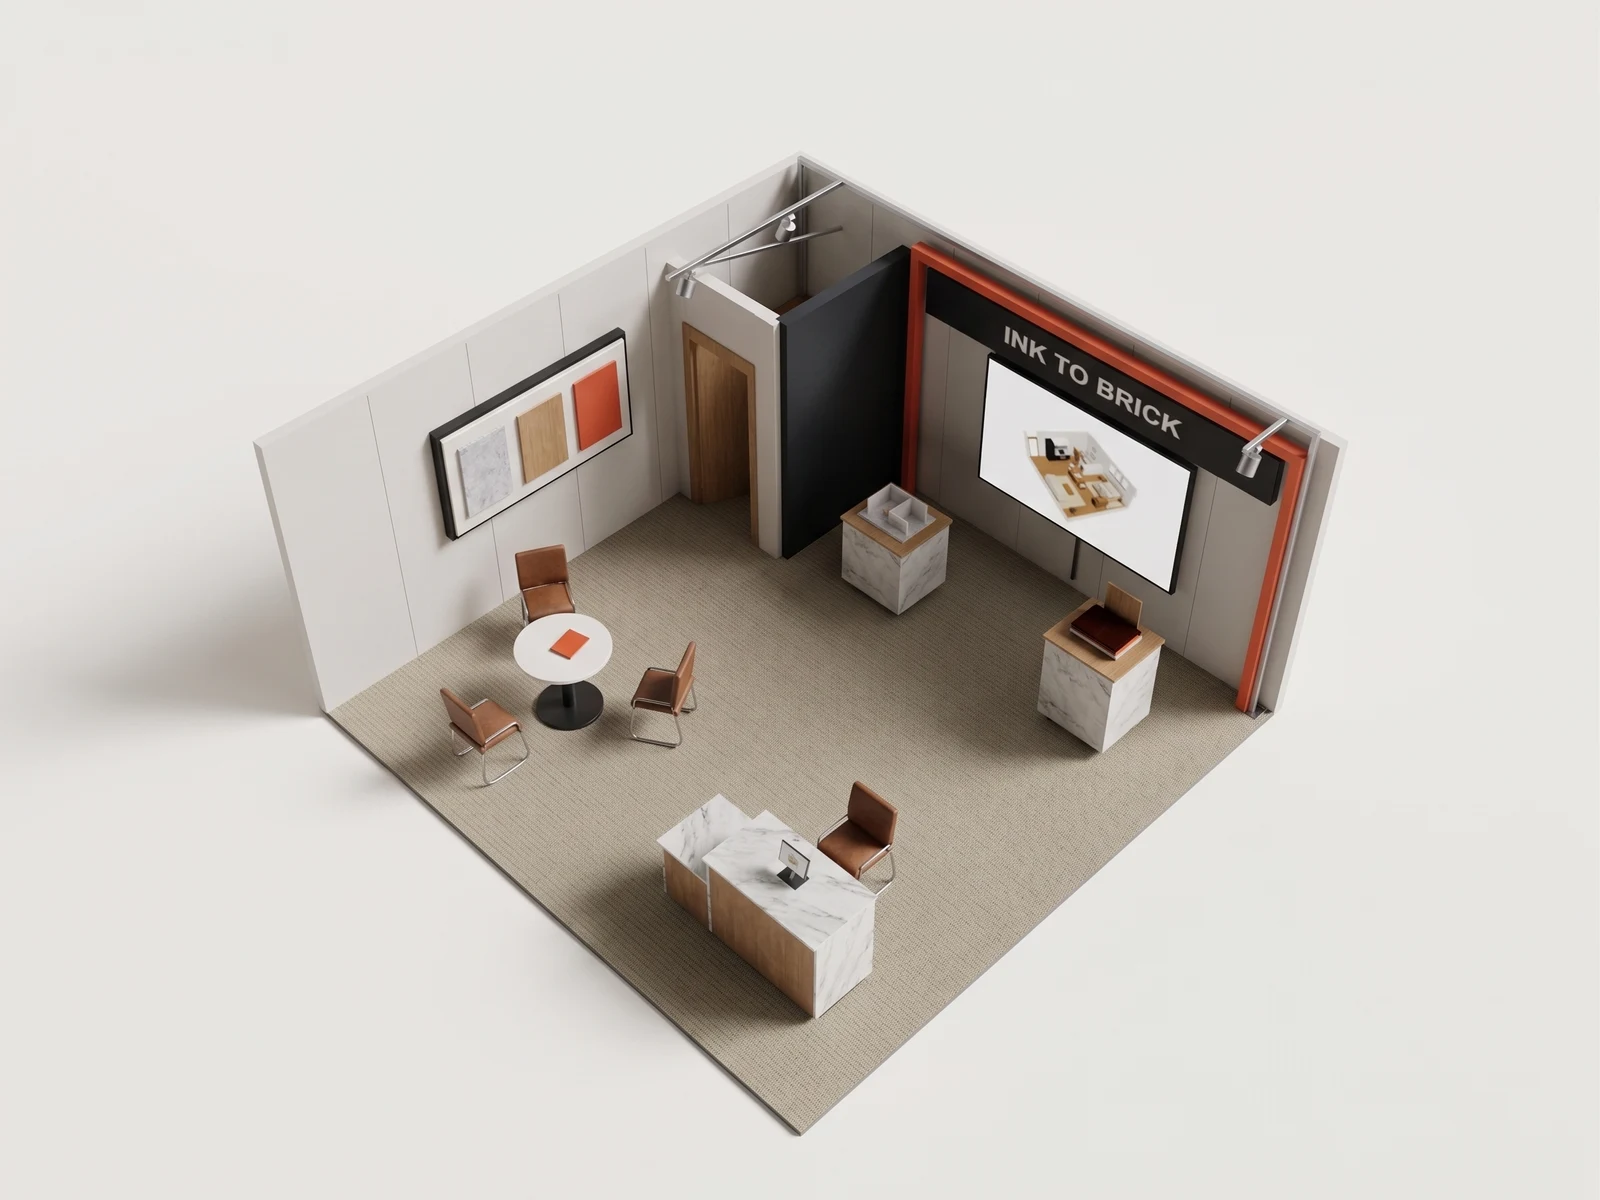
Give every part of the stand a clear job.
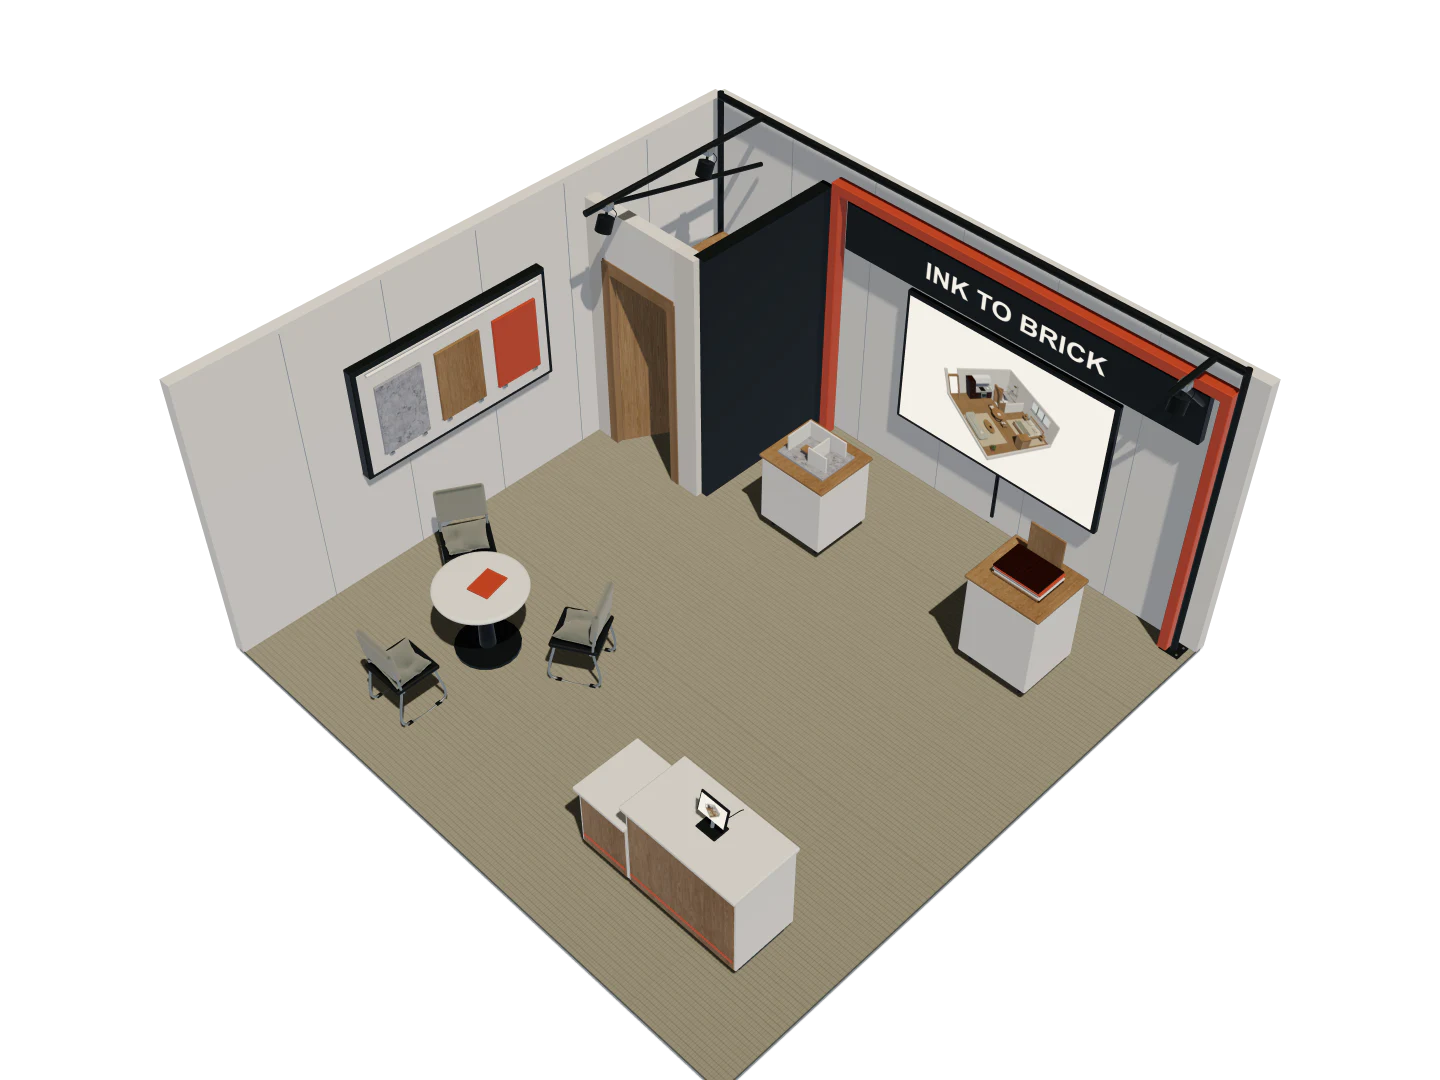
- Keep each aisle approach clear as people reach reception and the display.
- Separate a short conversation from the product display and storage access.
- Use the model to decide what still needs checking with the venue team.
Exhibition booth · Eight camera views
One model. A fuller picture.
Explore five overview angles and three eye-level interior views. Each image starts with a capture of this 3D model. Drag the divider to compare the image with its source.
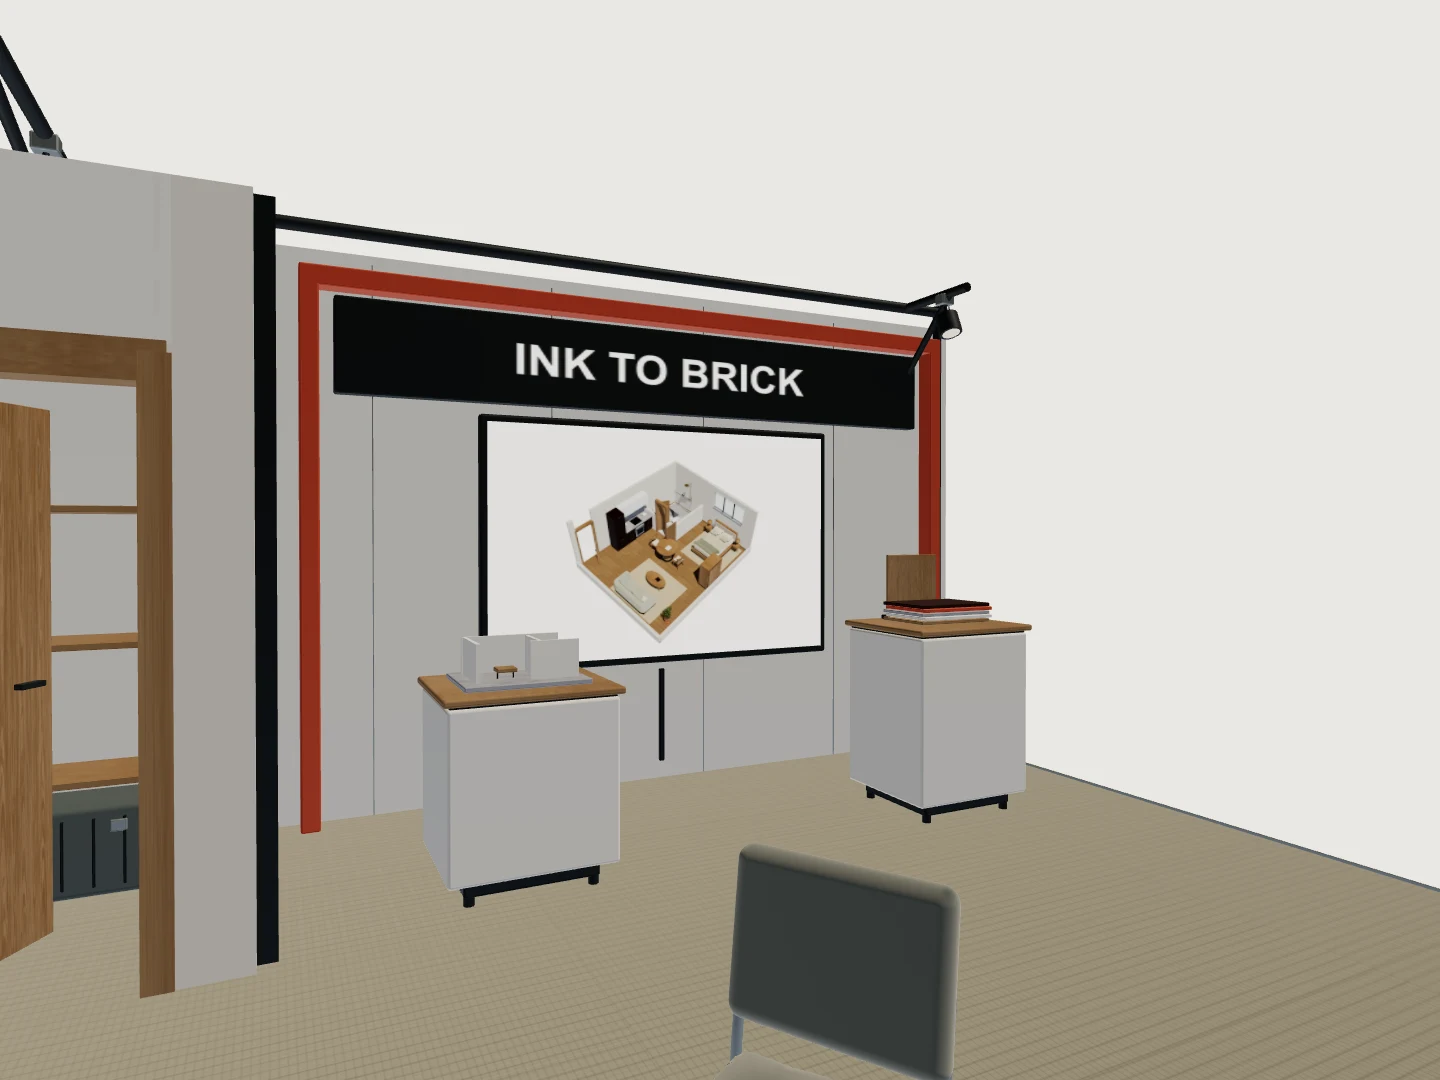
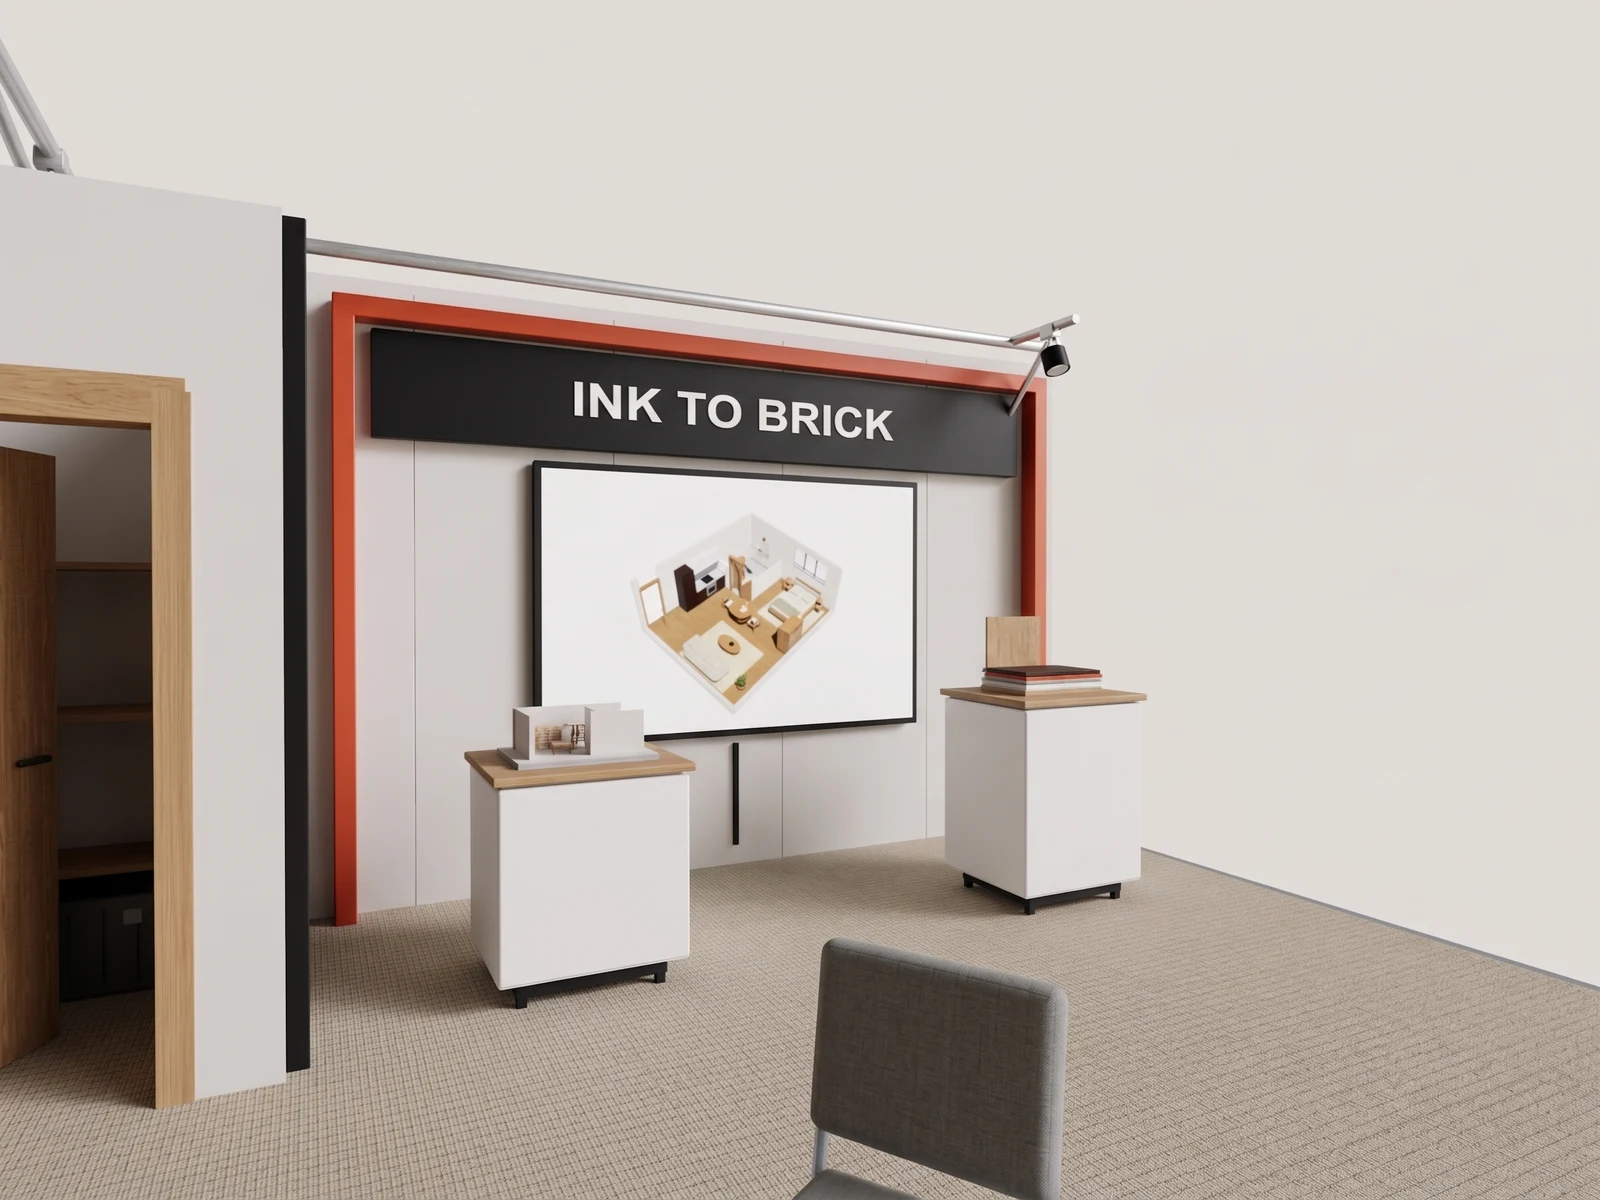
Read the product display and storage edge from another interior position.
Drag the divider to reveal the source 3D view.
Give each part of the stand a job
Upload the clearest complete booth plan and compare the reconstructed boundary with it. Begin with the jobs that cannot overlap: reception, a quieter place for a short conversation, product or material display, and storage that staff can reach without crossing the display.
Keep the aisle approaches readable
Place catalog-sized counters, seats and plinths in a separate Design Option. Turn the model from each open side to see whether the reception point is clear, the displays can be viewed without stopping the route, and a conversation has enough separation from the aisle.
Take the remaining questions to the venue
Save the views that explain the intended route and ask the venue or build team to check the conditions that depend on the actual event: required clear paths, services, fire rules, structural limits and the final construction details. The model helps frame that review; it does not replace it.
A booth layout to revisit
One project keeps the booth plan, conceptual model and saved revisions together while the layout develops.
Furniture-sized stand-ins
Catalog-sized counters, seating and display pieces let you inspect a proposed arrangement over the reconstructed shell.
Views for the team
Saved views make it easier to discuss the arrival, display and meeting areas before the stand is built.
Start with the plan you already have.
Free is for public projects. Private work needs a paid plan.