How to use photorealistic images to explain a space
Build a useful eight-view presentation for a home, rental, hotel room or exhibition booth. Give each image a clear purpose and keep the source model close.
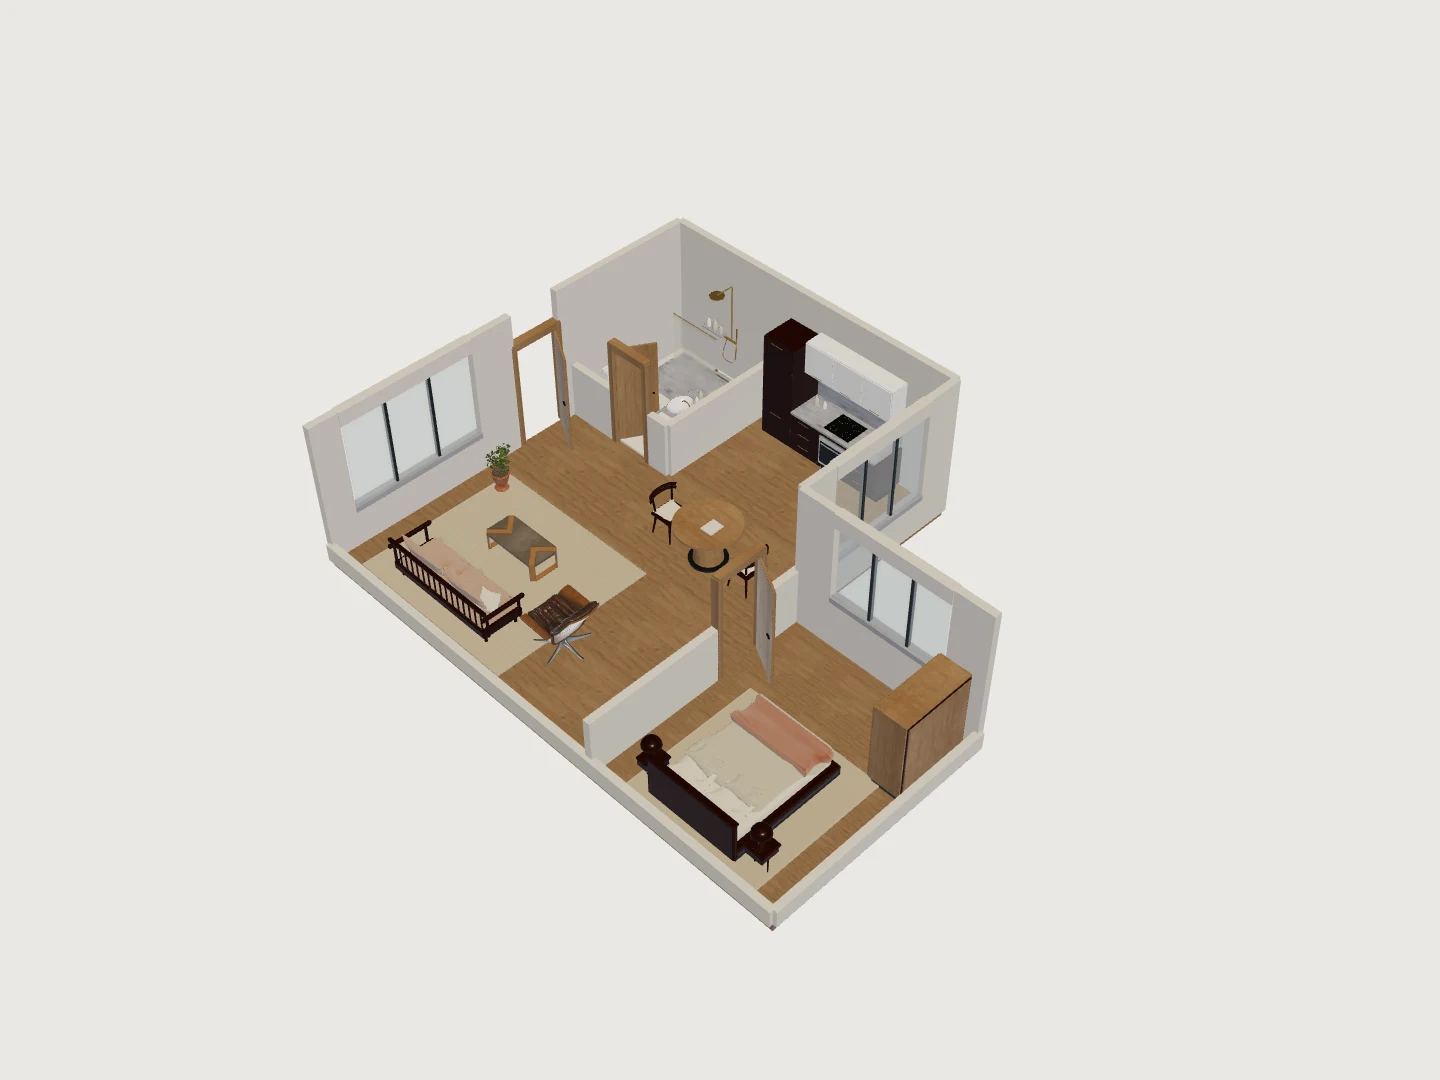
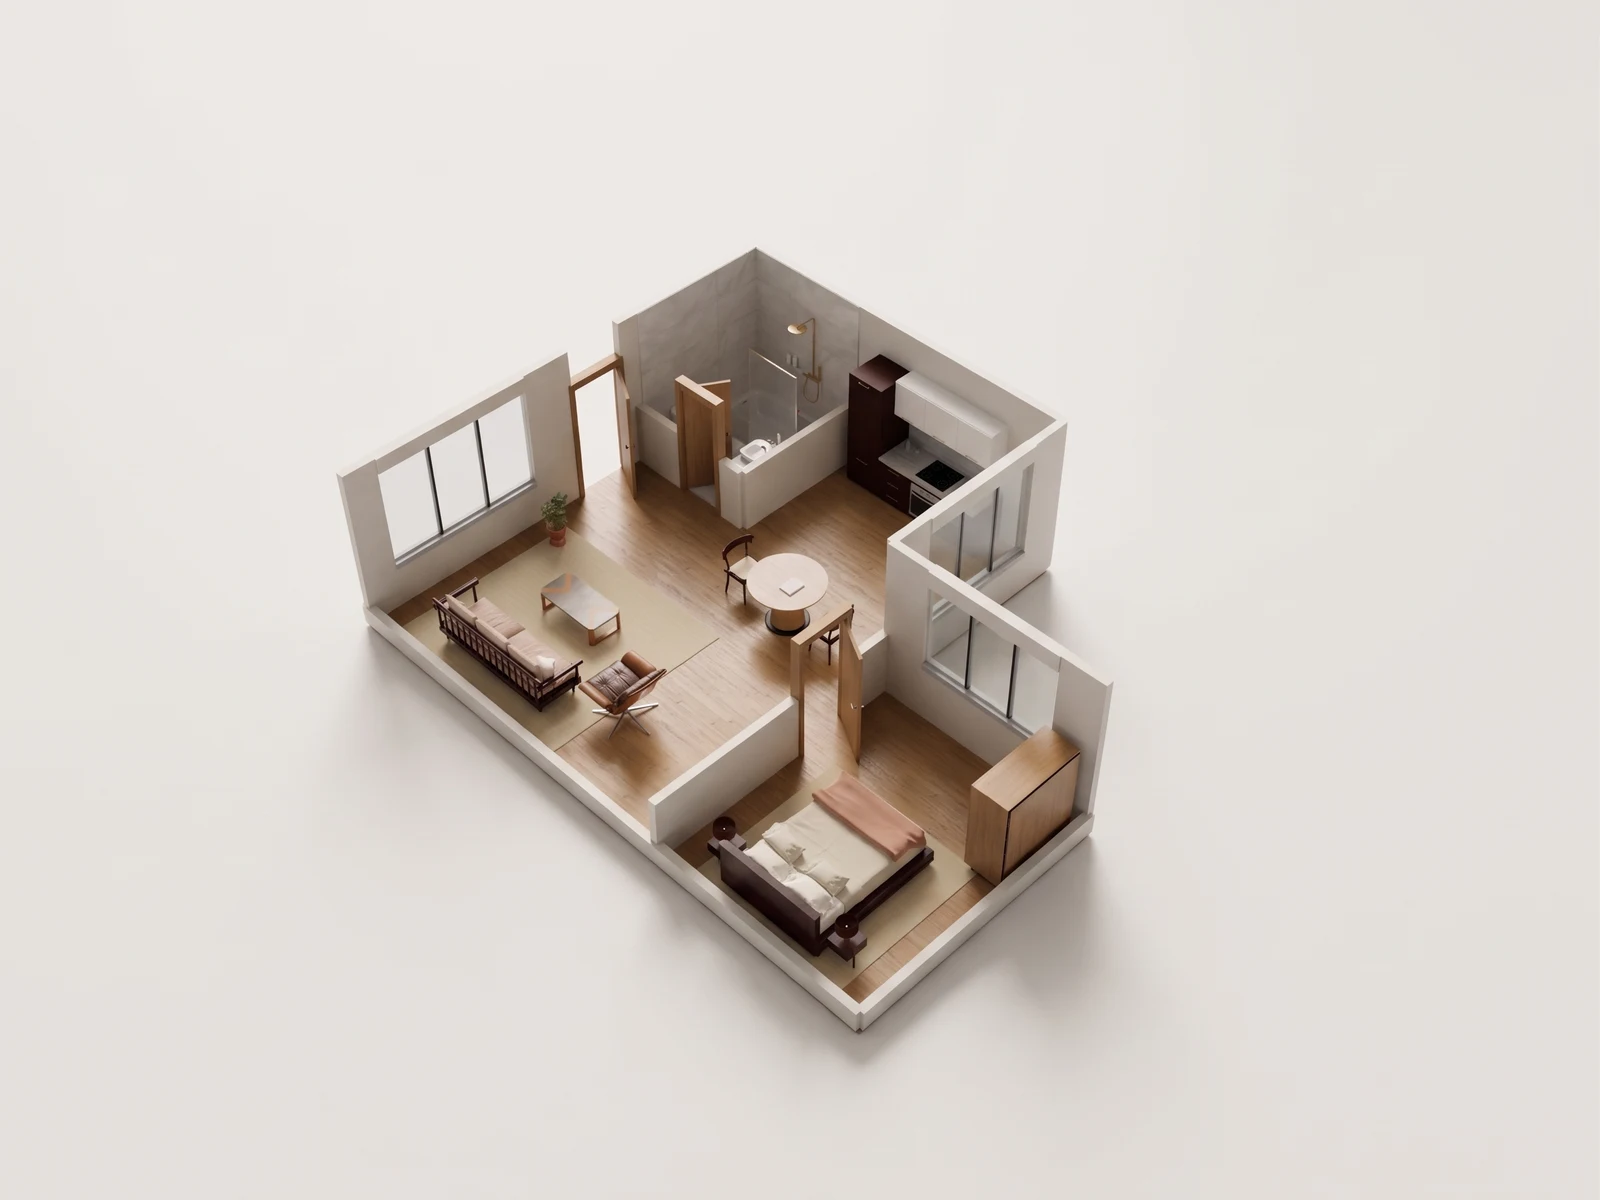
Use a photorealistic image to make a specific spatial decision easier to discuss: how a furnished room could feel, which finish direction to develop, or which part of a booth should greet a visitor. Choose a small set of views from the same model and give each a job. A clear overview followed by useful changes of camera is easier to understand than a long series of almost identical images.
Build an eight-view story around one decision
| View | Use it to explain |
|---|---|
| Whole space | The overall arrangement before discussing individual pieces. |
| Left approach | What someone can read from one side of the space. |
| Right approach | The furniture or room relationship hidden by the first approach. |
| From above | How zones connect and where the furniture sits in the footprint. |
| Closer in | Material character and the furnishing choices worth discussing next. |
| Inside the space | How the space reads from a person’s position within it. |
| At eye level | The relationship between furniture, windows and surfaces from a second interior angle. |
| Interior detail | A bedroom, work area or display that deserves its own interior view. |
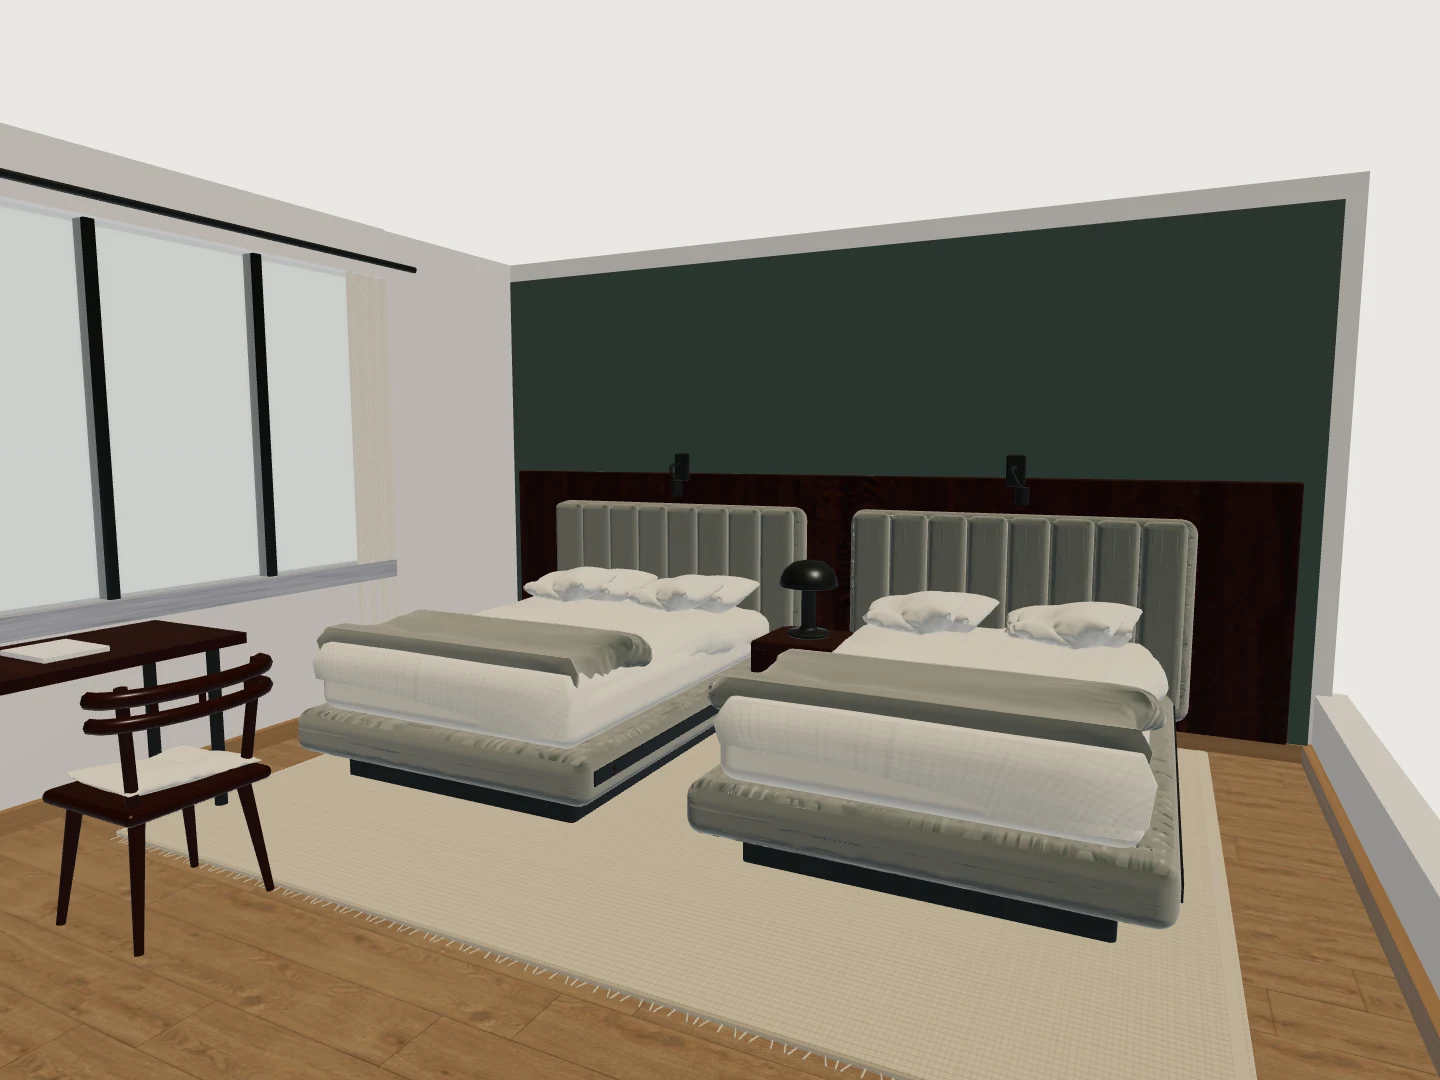
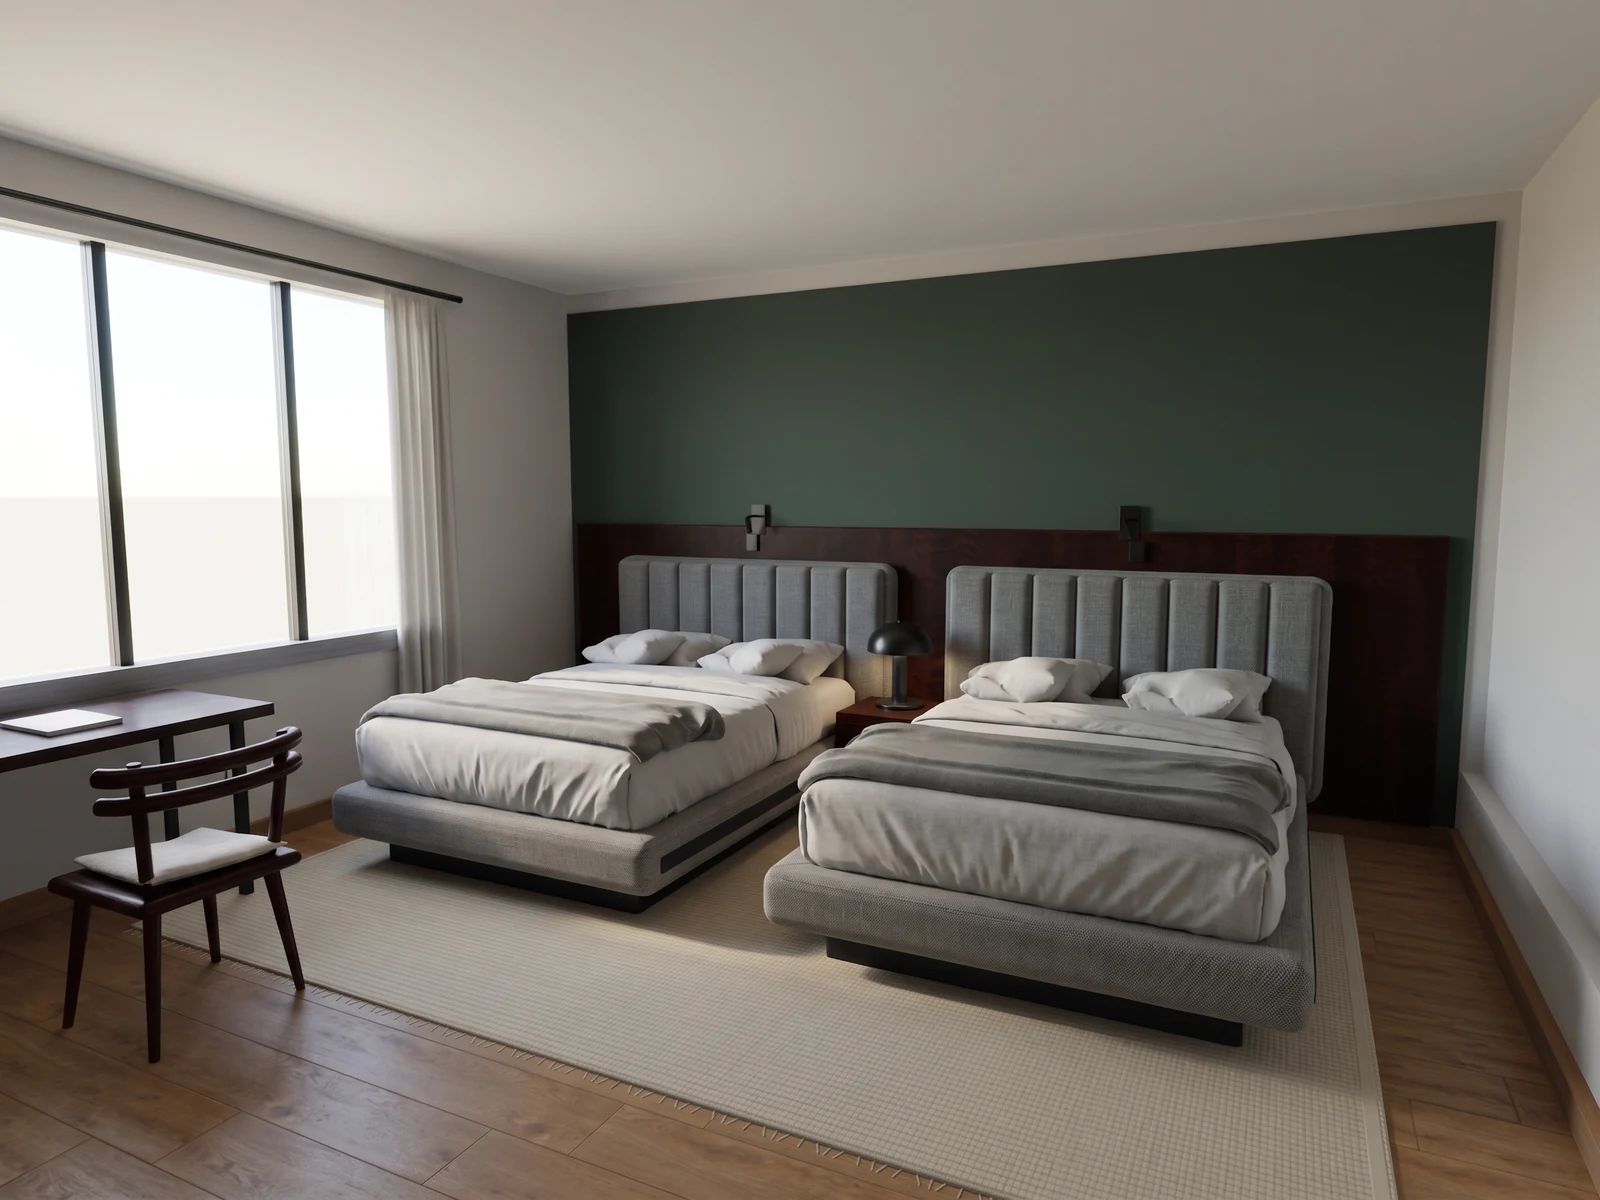
Keep the model arrangement consistent across the set. If you show a different furniture option, label it as a different option so the recipient does not mistake a design change for a camera change. Put the overview first, then order the other images around the question you want answered.
Interior proposals: make feedback specific
Use the first image to establish the whole room. Follow it with the angle that best shows the client’s priority, such as the connection between a sofa and dining table or the separation of living and sleeping areas. Ask for feedback on a named choice: the wood tone, the furniture arrangement or the way two zones relate.
Record the selected model revision alongside the images. When the client requests a change, make it in the model and generate the revised view. Keep the camera similar when comparing two arrangements so differences in perspective do not dominate the decision. The interior-design use case shows this workflow with the L-shaped home.
Rentals and hotel rooms: show the complete stay
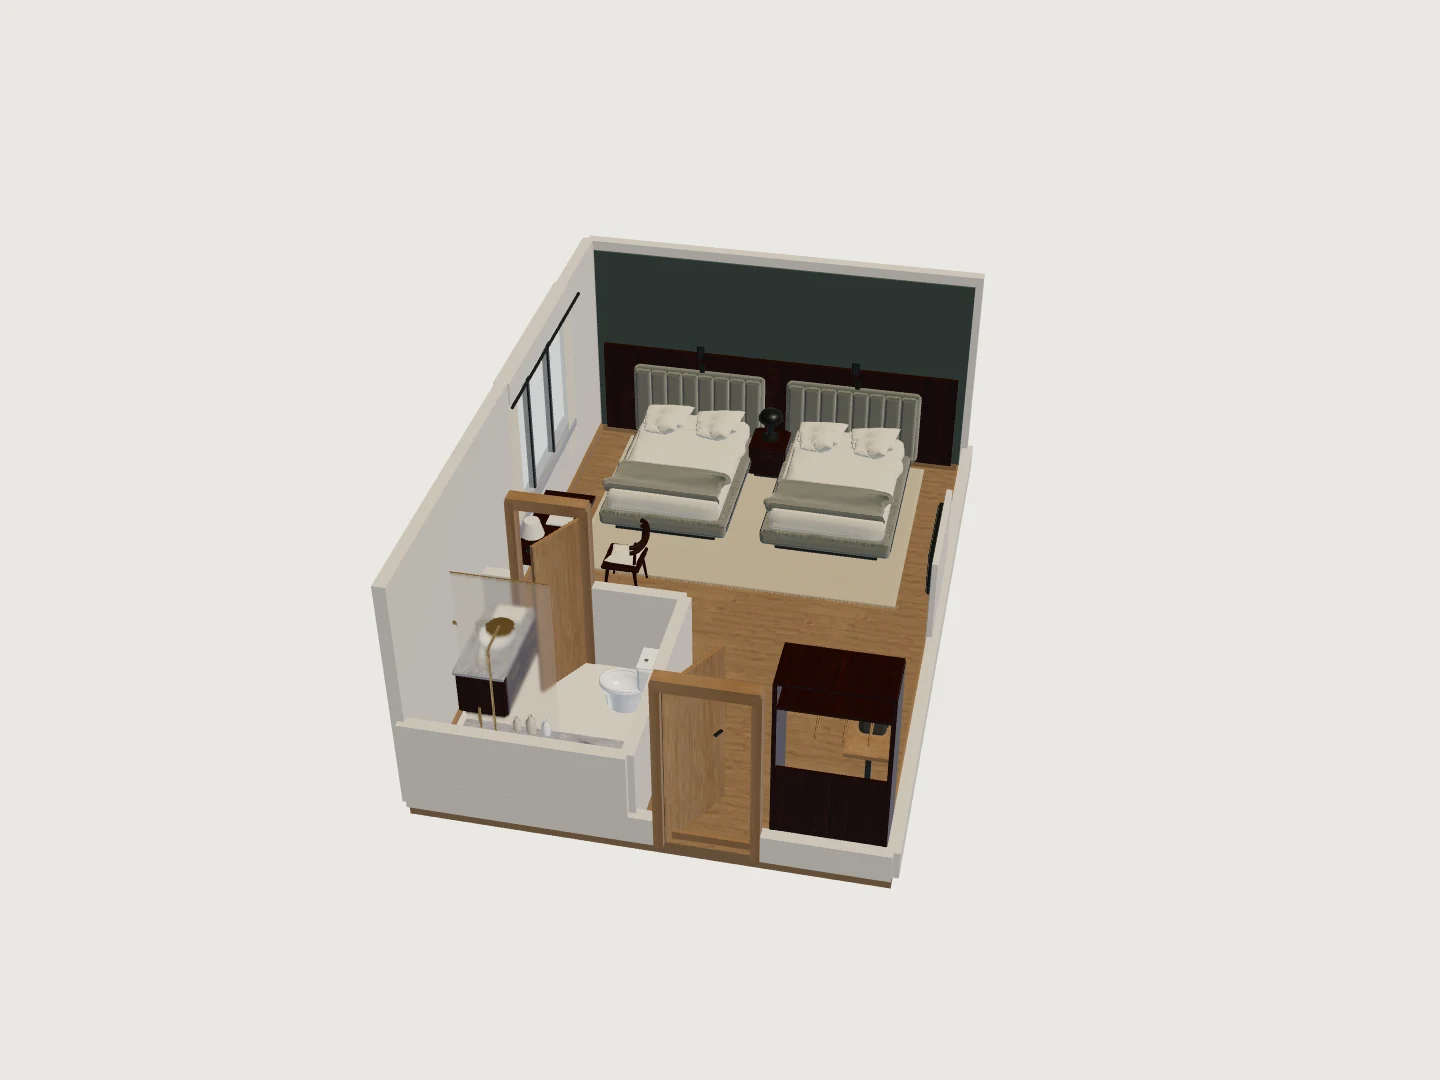
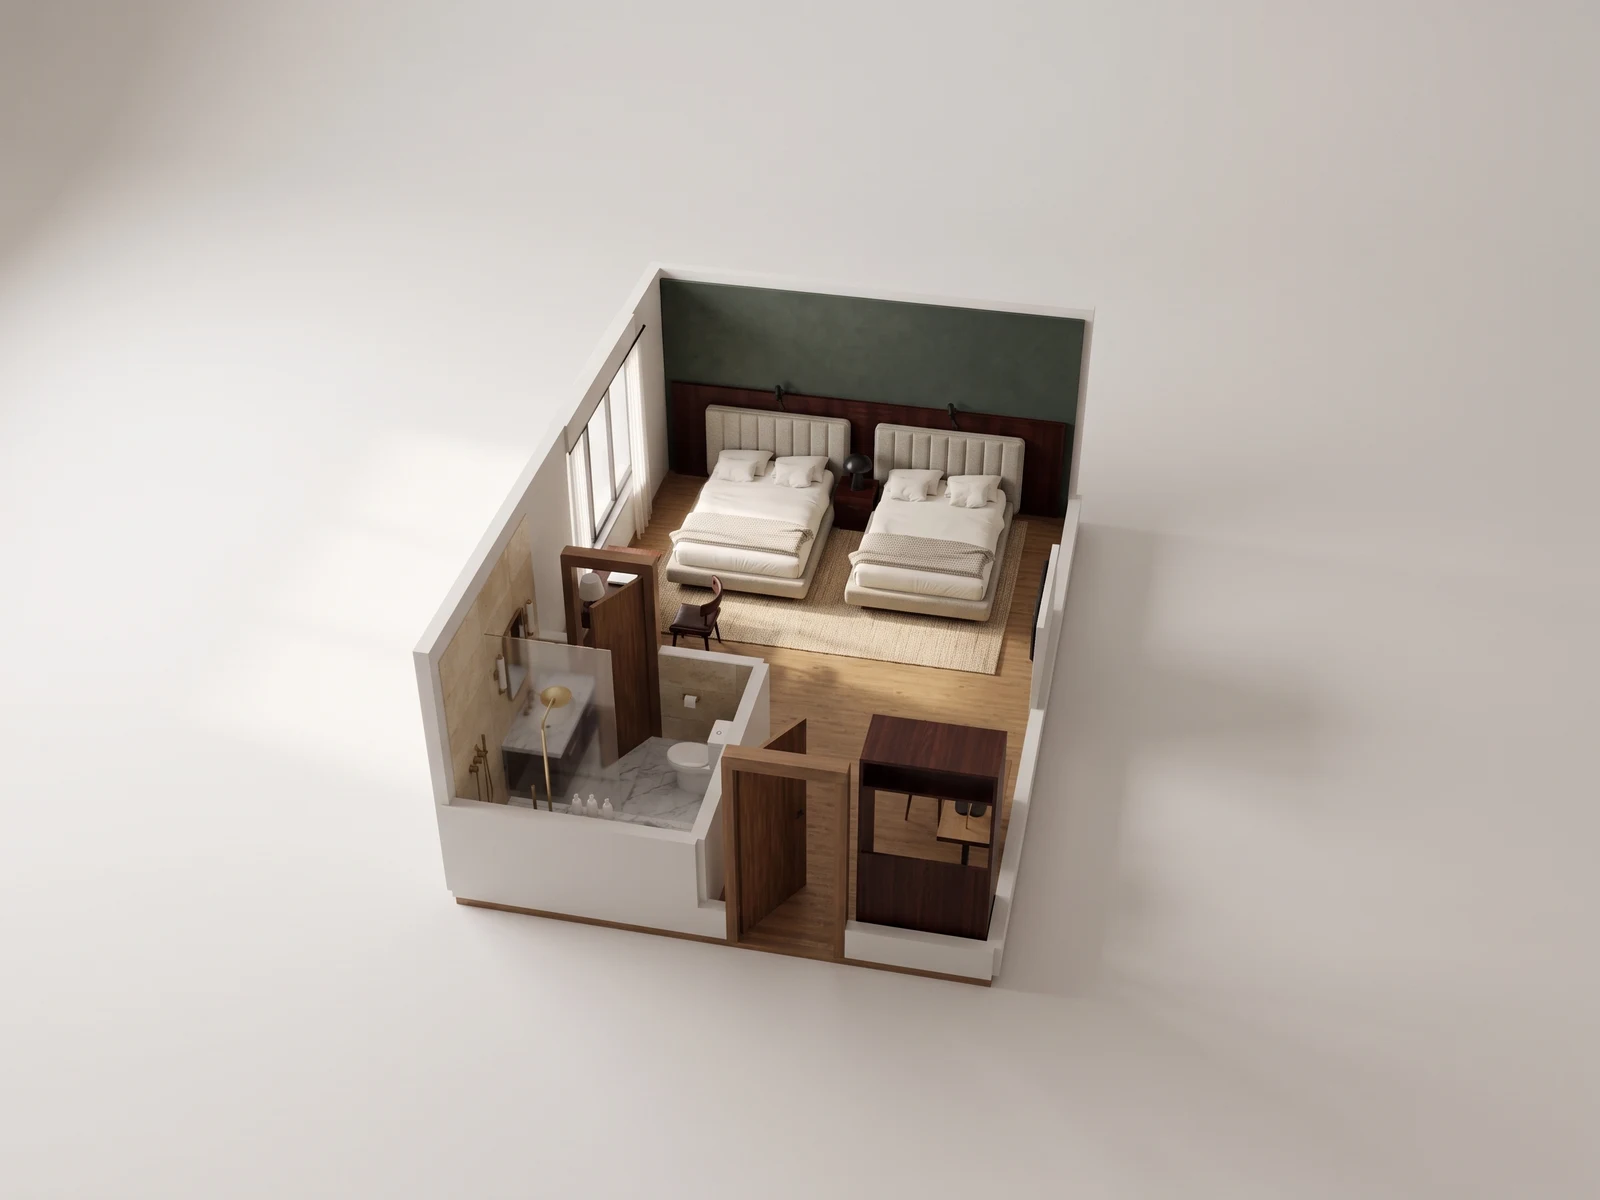
For a rental furnishing discussion, show where a guest sleeps, eats, sits and puts belongings. For a hotel room, include the bed arrangement, desk and arrival area in the presentation. Choose views that make those relationships visible instead of cropping the room down to a single attractive corner.
The long narrow rental is useful for explaining a sequence of rooms; the two-bed hotel study brings several guest activities into one footprint. Their eight-view galleries let you compare the camera choices and switch back to the source captures.
Exhibition booths: present both aisle approaches
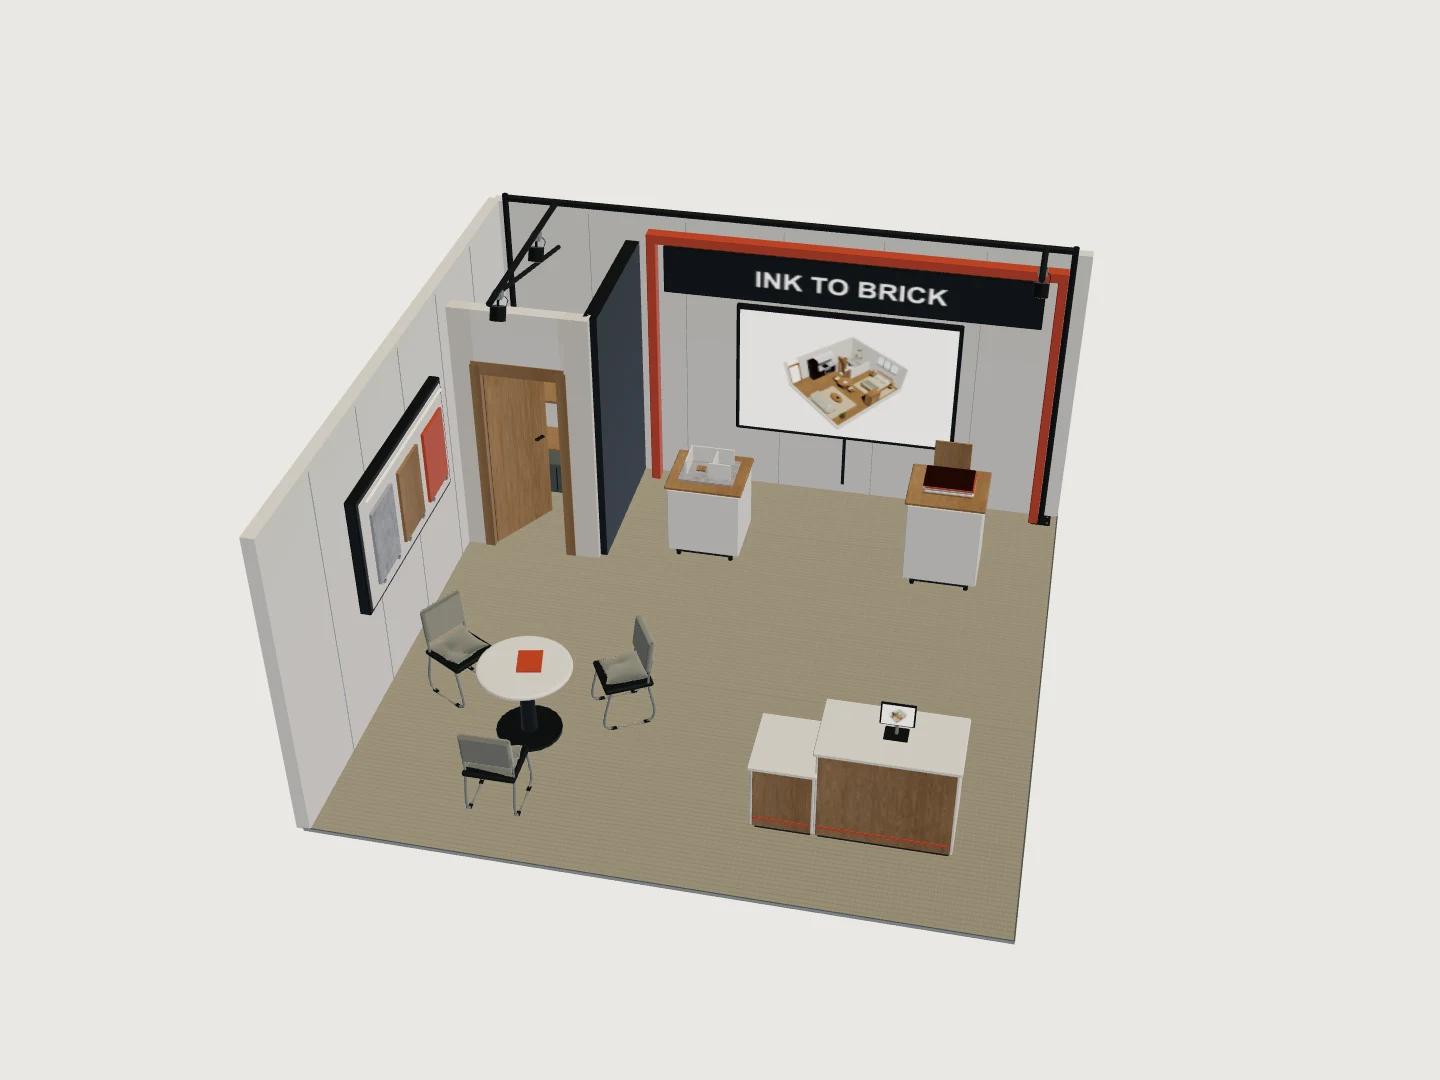
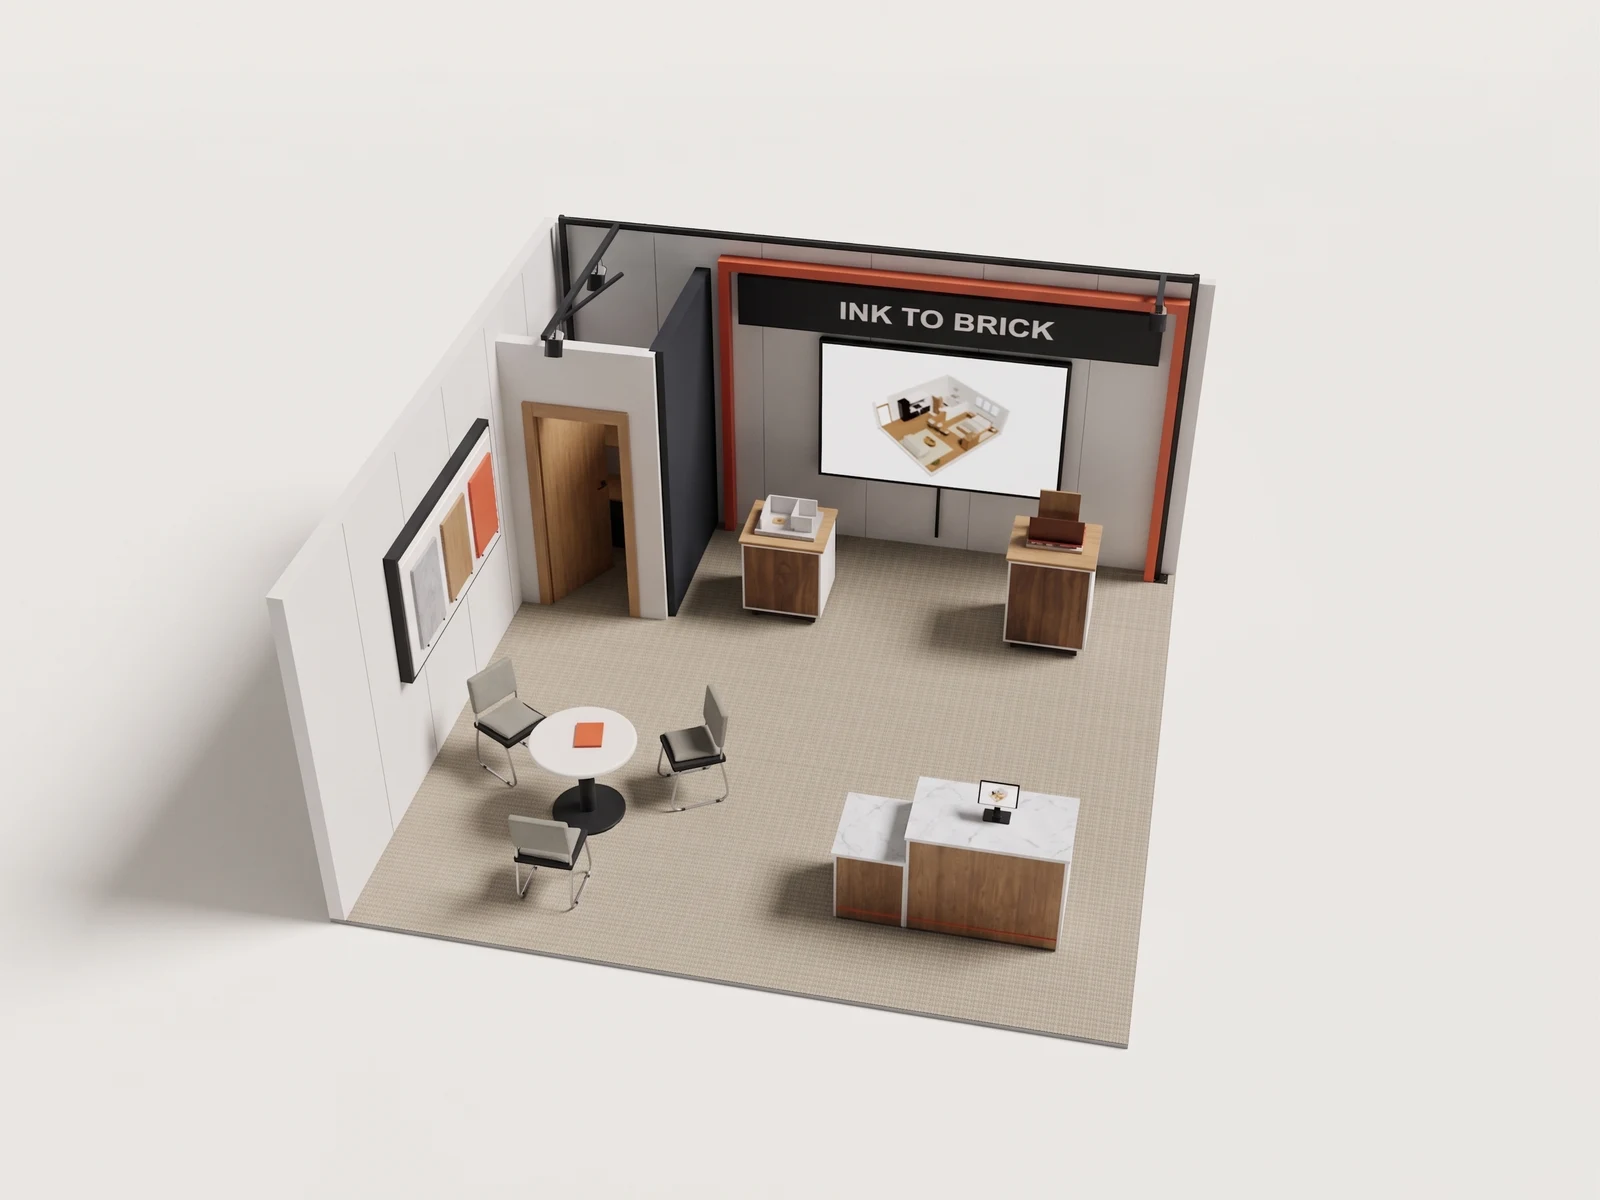
An open-corner booth has more than one arrival view. Show both approaches so the team can discuss which display is visible, where reception sits and how a conversation fits beside the product presentation. Add a higher view to explain the overall arrangement, then a closer one for the counter, samples and display finishes.
Use those images as the visual brief for the next discussion with the exhibition team. Keep dimensions, fabrication details and venue requirements in the appropriate drawings and specifications. The exhibition-booth use case includes all eight generated views and their source captures.
Caption the proposal clearly when you share it
Name the space, the proposed arrangement and the purpose of the image. For example: “AI-generated visualization of the proposed two-bed guest room, showing the desk and shared bedside arrangement.” For a property presentation, make clear which furnishing and finishes are proposed. A rendered concept should not be mistaken for a photograph of the property as it exists.
- Send the smallest set of images that answers the recipient’s question.
- Keep a captured source view available for checking changed details.
- Include the model or a published model link when the recipient needs to explore another angle.
- Use the model, drawing and site measurements for size and fit decisions.
Ready to make a set for your own space? Follow the current-view generation walkthrough to capture, render, compare and download your first image.
Explore the complete photorealistic gallery to compare all eight example spaces, their camera views and the use cases behind them.
See your own floorplan in 3D.
Start with your plan. Explore the layout, try furniture and turn a chosen view into a realistic image.
Upload a floorplan- Byline
- INK TO BRICK
- Related guides
- Showing a client what you’re proposing · Furnishing a rental before ordering · Planning a hotel room type · Plan an exhibition booth before the show.
- The limit
- Conceptual model only. Not a survey or construction document.