Long narrow apartment layout: plan the route first
A long narrow apartment layout turns on one route. Find the squeeze points from the entry bath to the bedroom before you buy a sofa or a table.
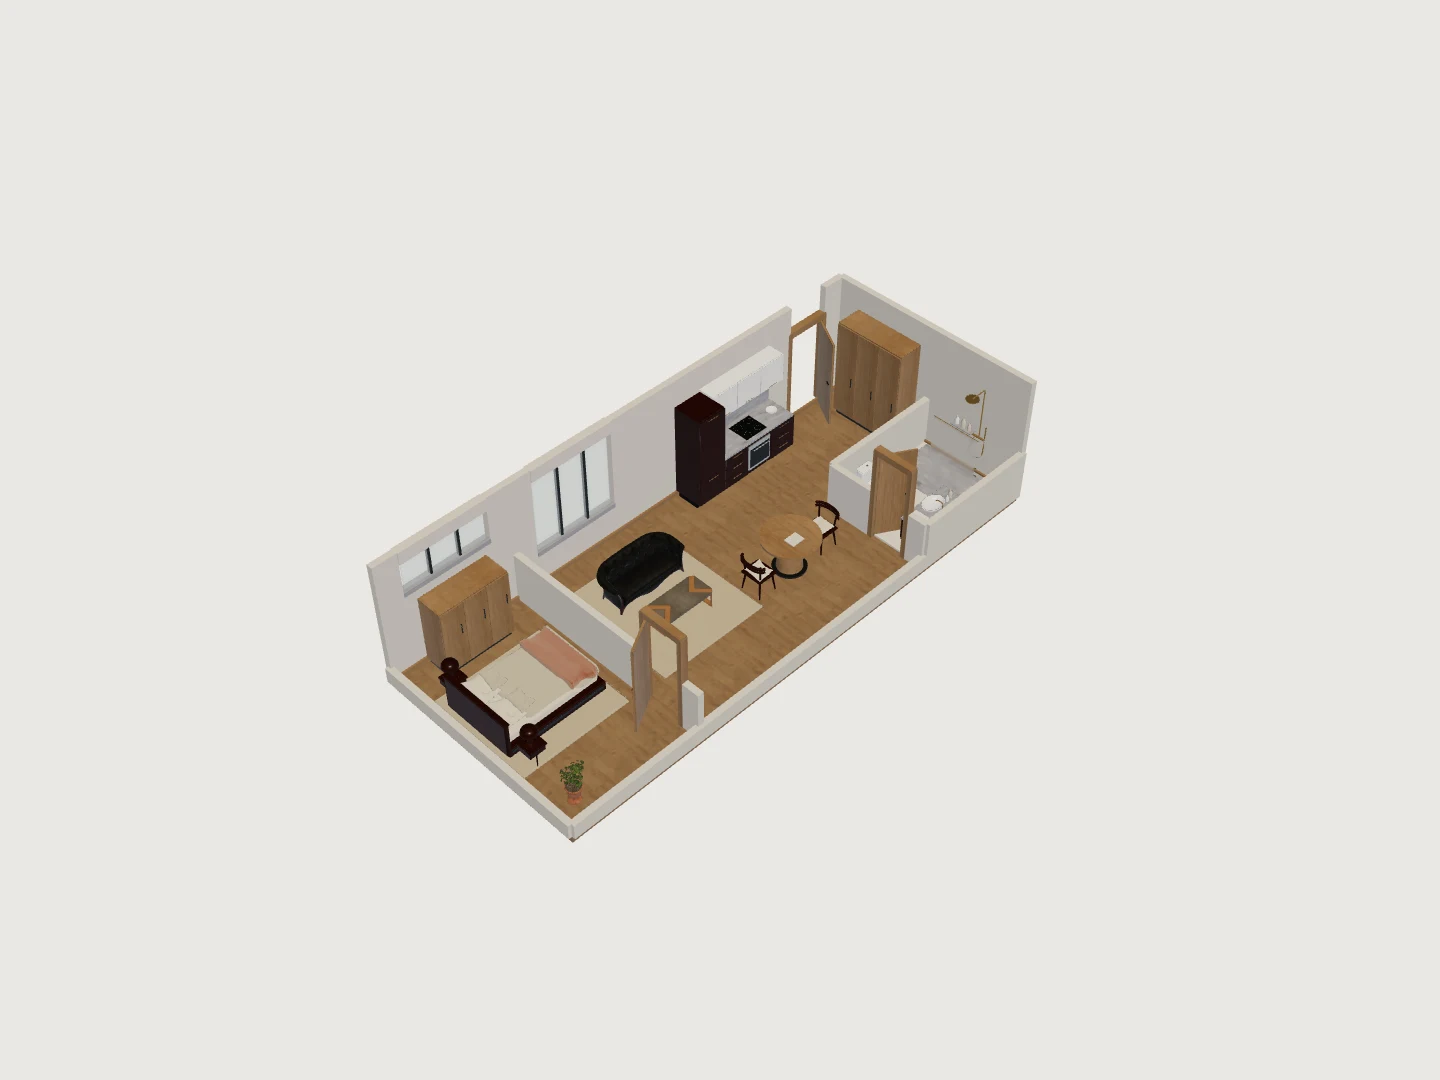
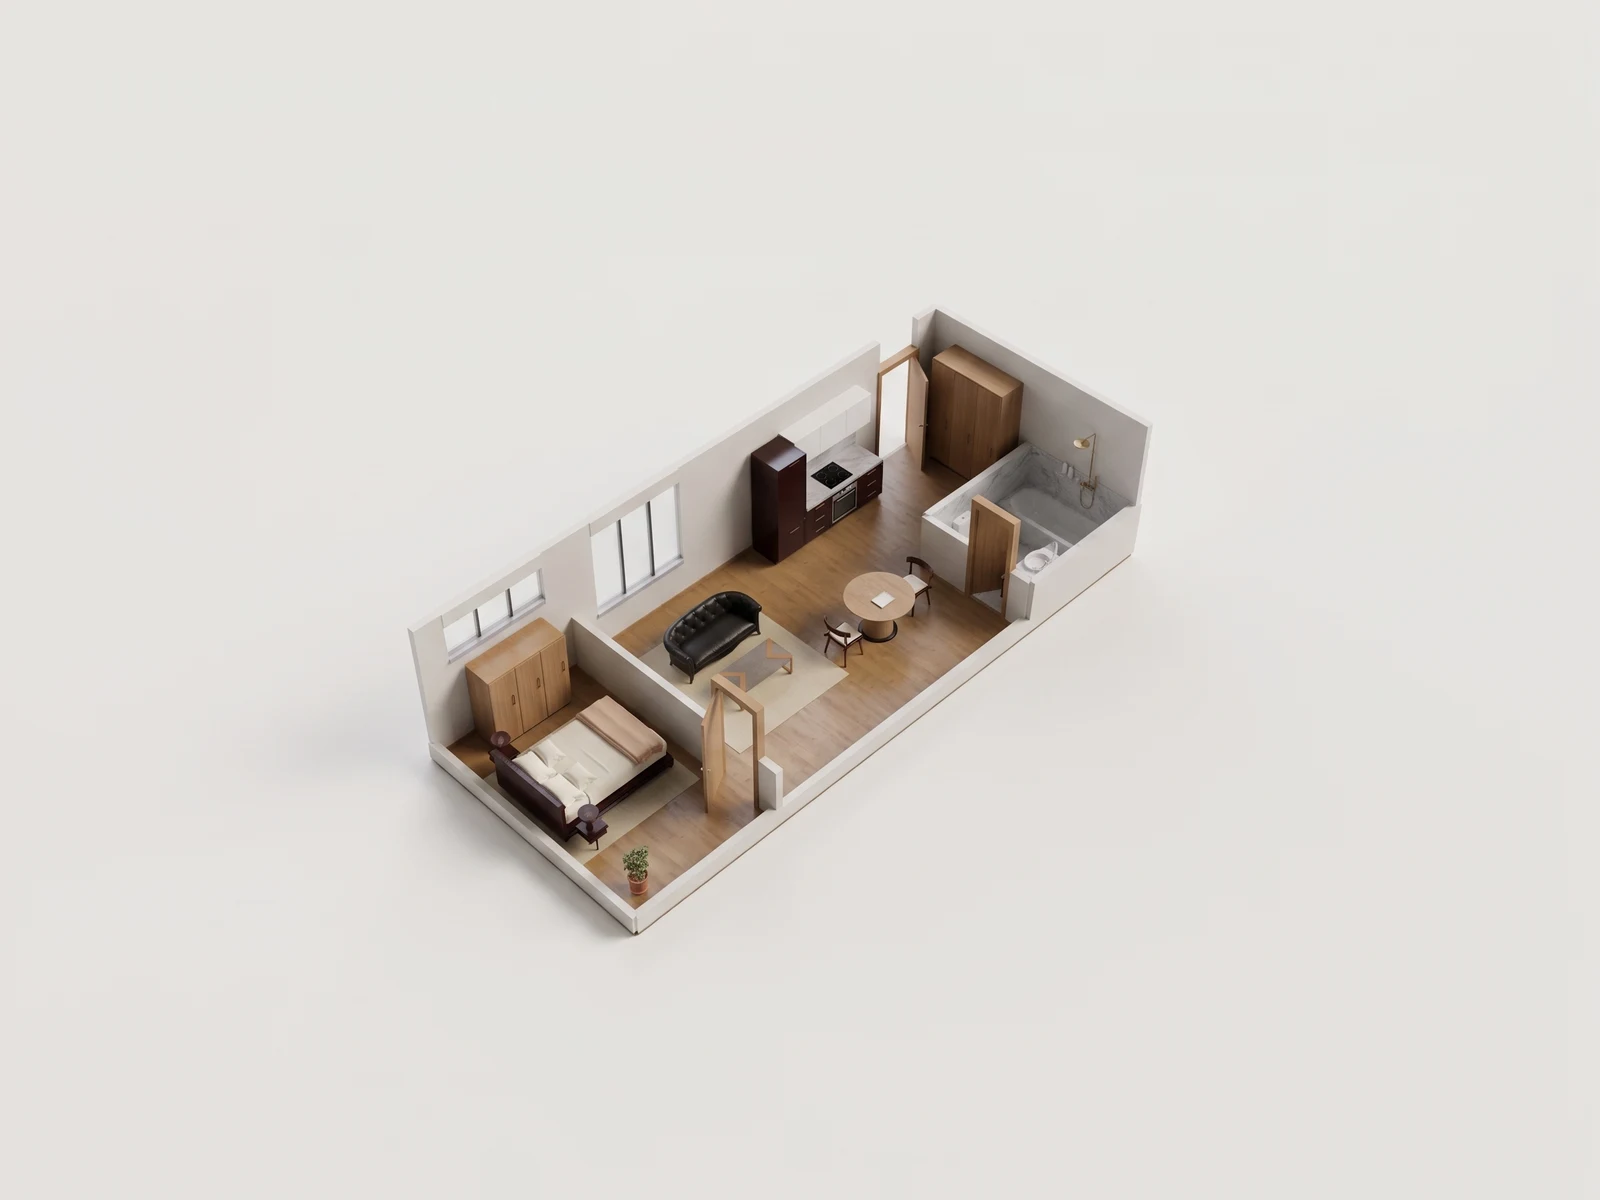
In a long narrow apartment the layout question is one route: front door, bathroom door, kitchen, dining table, living area, bedroom. Furnish so that route stays walkable at about 30 to 36 in (0.76 to 0.91 m) at its narrowest, and so the dining chairs can pull back without landing in it. This page is for landlords and renters furnishing a long, narrow unit that photographs better than it walks.
How do you furnish a long narrow apartment?
Turn the model along its long axis, then look back from the bedroom door. Those two views expose the trade-off between a dining table that supports everyday use and a route past it that stays usable. The bedroom is a separate room here, so its storage decision does not have to crowd the living sequence. The entry bathroom matters more than its size suggests: its door sets the first squeeze point before the open room even begins. Before you plan furniture lists the measurements to take before you shop.
Where are the squeeze points in a narrow unit?
A narrow apartment fails at four or five specific places, and every one of them is a dimension rather than an opinion. Read them in the order a tenant meets them, from the door inward, and check each against the plan and then against the unit itself. The figures below are common US planning rules of thumb, not code minimums.
| Point in the sequence | What squeezes | What to measure |
|---|---|---|
| Front door and entry | A door swing plus whatever you park beside it | Clear floor behind the open door, and the interior door width, commonly 30 to 32 in (0.76 to 0.81 m) |
| Bathroom door off the entry | Two people passing while the door is open | Which way it swings, and the clear width left beside it |
| Kitchen run | An open appliance door against the walking route | Aisle width in front of the counter, about 42 in (1.07 m) where people pass a cook |
| Dining table | Chairs pulled back into the route to the bedroom | About 36 in (0.91 m) behind the table edge, and what is behind the chair |
| Bedroom storage wall | A closet or dresser against the bed and the door swing | Wall run available, dresser depth, and the side of the bed you still walk |
How do you keep the bedroom decision separate?
The private bedroom gives storage a different job from the shared room, so look at it after the public route is settled rather than treating every cabinet as a living-room problem. That split is useful in a furnished rental: the sofa and table have to carry shared daily use, while bedroom storage should let the sleeping room stay calm. Inspect each side of the plan from its own room before you try to solve both with one oversized piece. Rental furnishing takes the same sequence through a full unit.
Send both ends of the route
Use the floor plan conversion workflow to prepare the unit, then save table alternatives without changing the reconstructed walls. Check the scale status and compare independent dimensions before judging the narrowest gap. Take one view from the entry and another from the bedroom door so the same table can be judged from both approaches.
A pair of PNG or JPEG exports is a useful handoff for a landlord or tenant deciding between those arrangements. Default images start on Plus; exporting the two custom camera views described here requires Creator, Project Pass, Studio, or Business. Label the saved option and table footprint, and do not present catalog furniture as a specific product. Choosing an image export explains the controls, and pricing lists access. Keep private-unit discussions in deliberately shared files rather than publishing a showcase link by default.
NoteConceptual model only. Not a survey or construction document. A route that clears in the model can still fail at a baseboard, a radiator or a door stop, so use it for design exploration and verify dimensions on site before ordering furniture.
Open the reference-study collection to inspect this sequence in 3D and take its GLB. When the choices belong to one particular rental, upload that floor plan and test them against its own walls and openings.
Long narrow rental · Eight camera views
One model. A fuller picture.
Explore five overview angles and three eye-level interior views. Each image starts with a capture of this 3D model. Drag the divider to compare the image with its source.
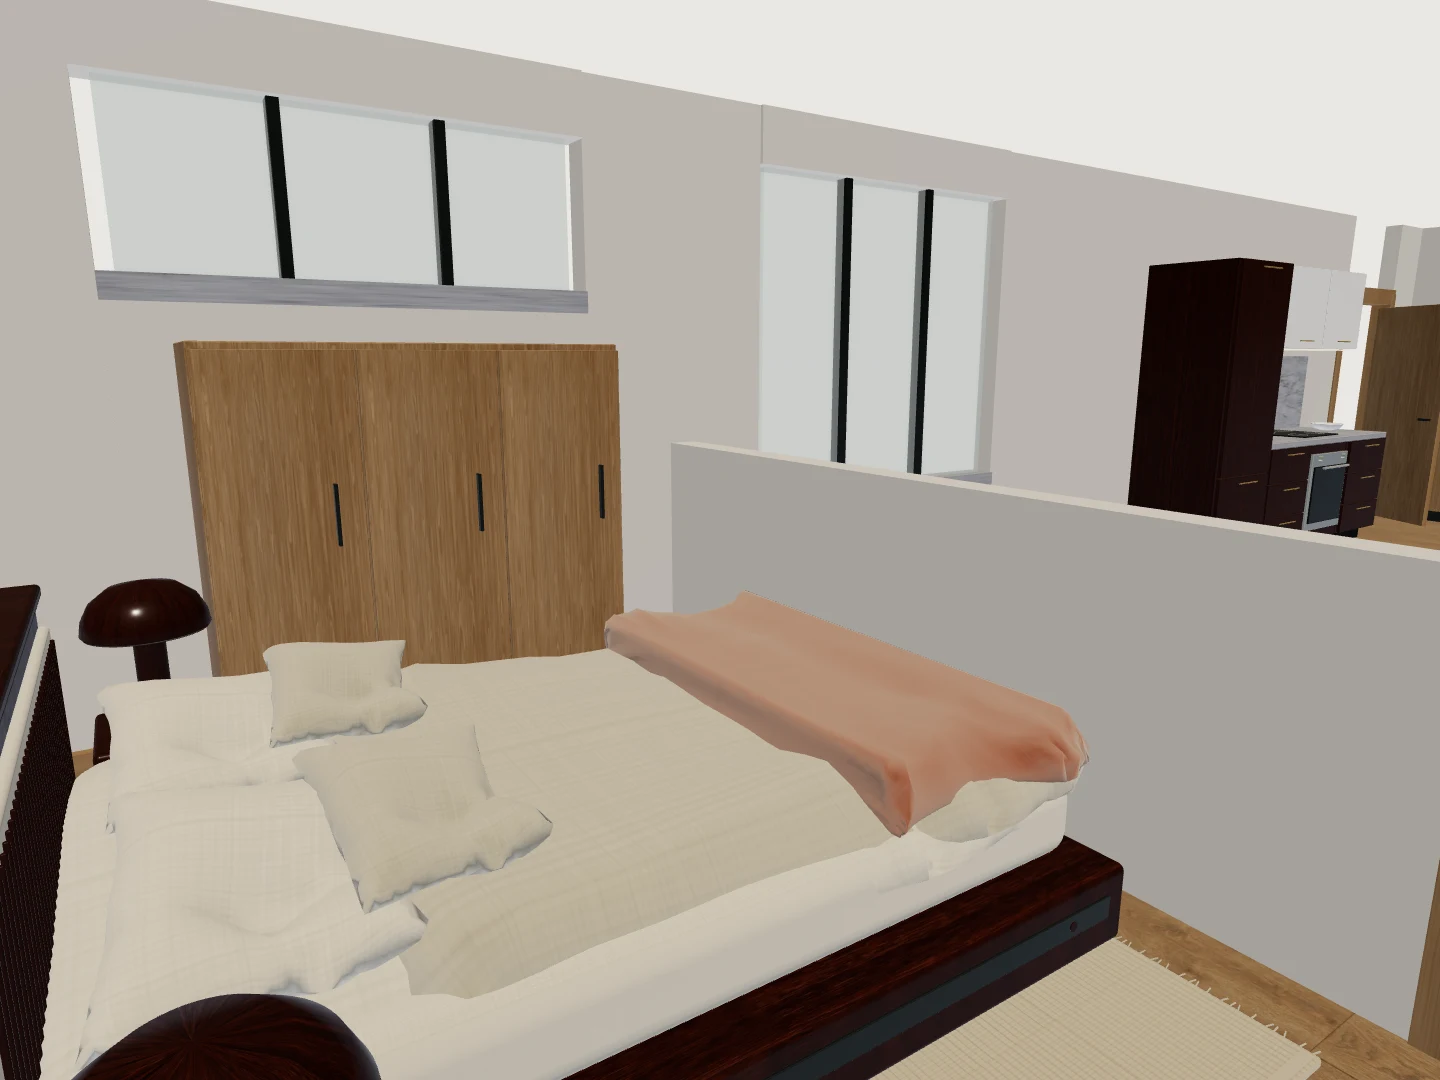
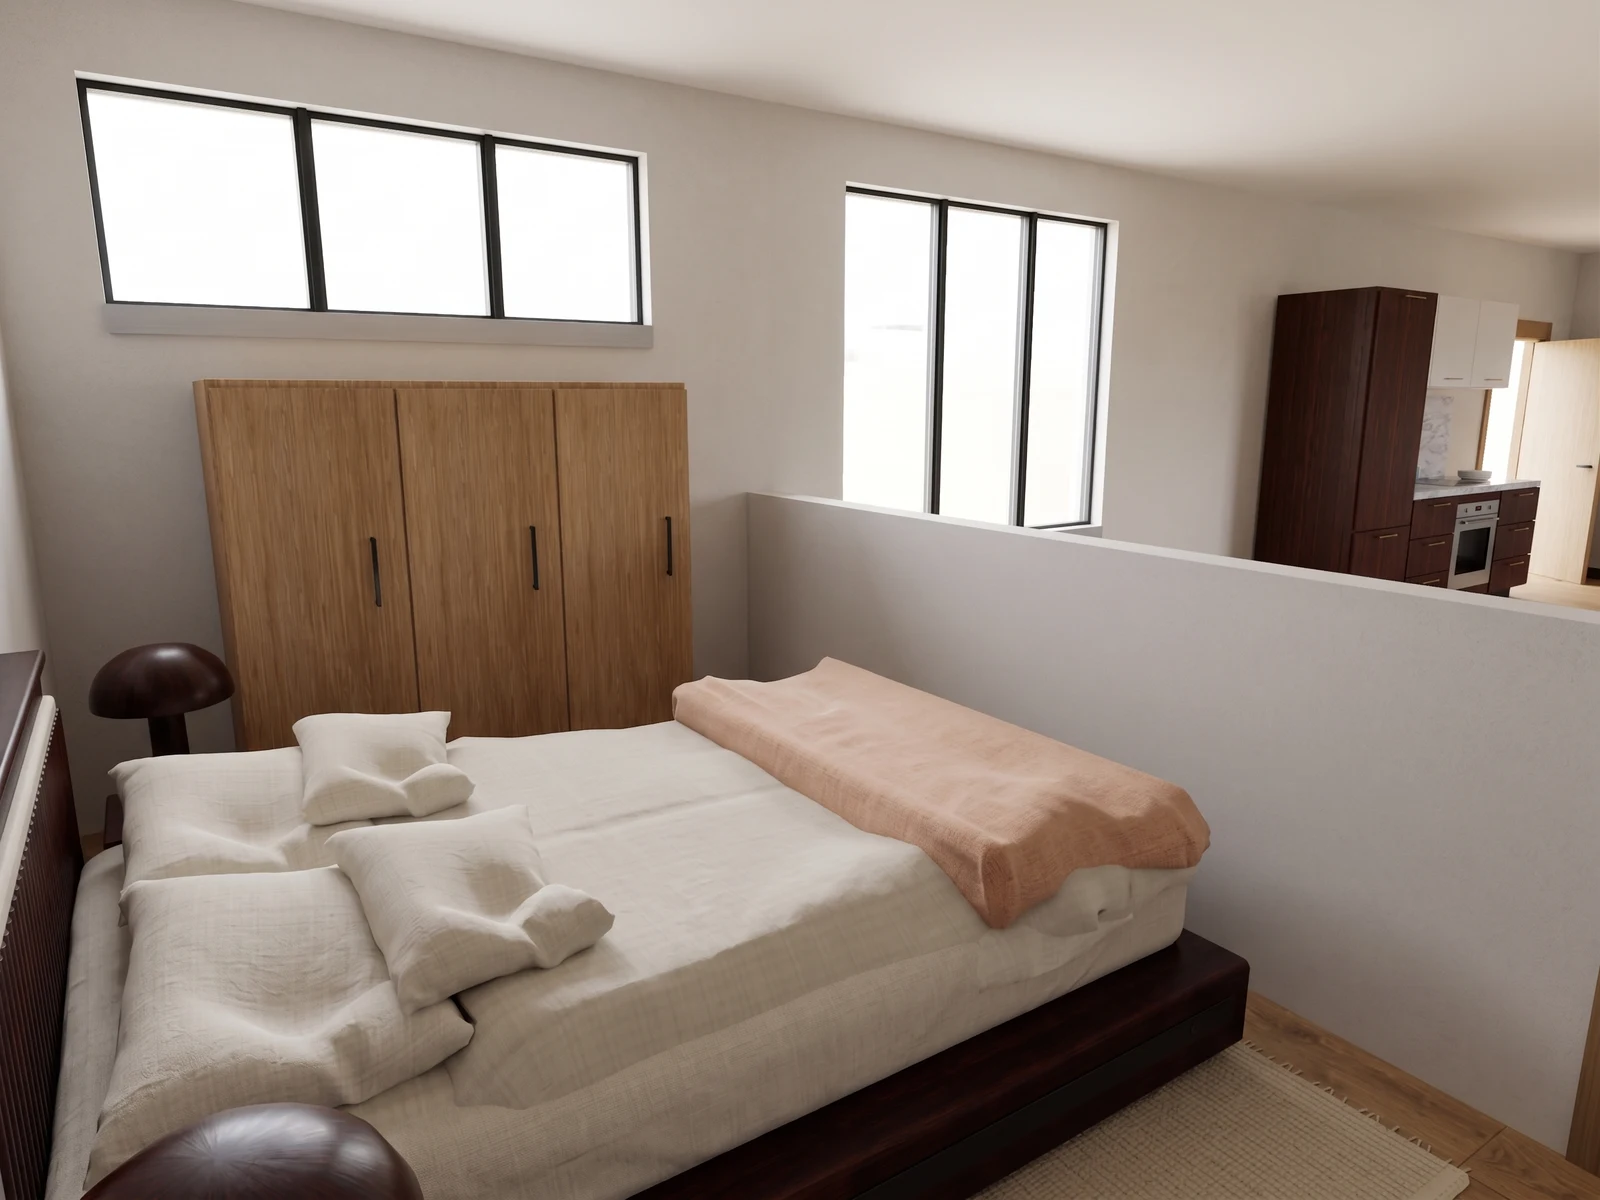
08 / 08 — Interior detail
Inspect the bedroom furnishings from inside the private room.
Drag the divider to reveal the source 3D view.
See your own floorplan in 3D.
Start with your plan. Explore the layout, try furniture and turn a chosen view into a realistic image.
Upload a floorplan- Updated
- Byline
- INK TO BRICK
- Related guides
- Furnishing a rental before ordering · Planning a short-term rental layout · Checking whether the furniture fits
- The limit
- Conceptual model only. Not a survey or construction document.