Studio apartment layout: plan the route through one room
Plan a studio apartment layout by settling the route between cooking, sitting and sleeping before you buy furniture, then check it in a 3D model.
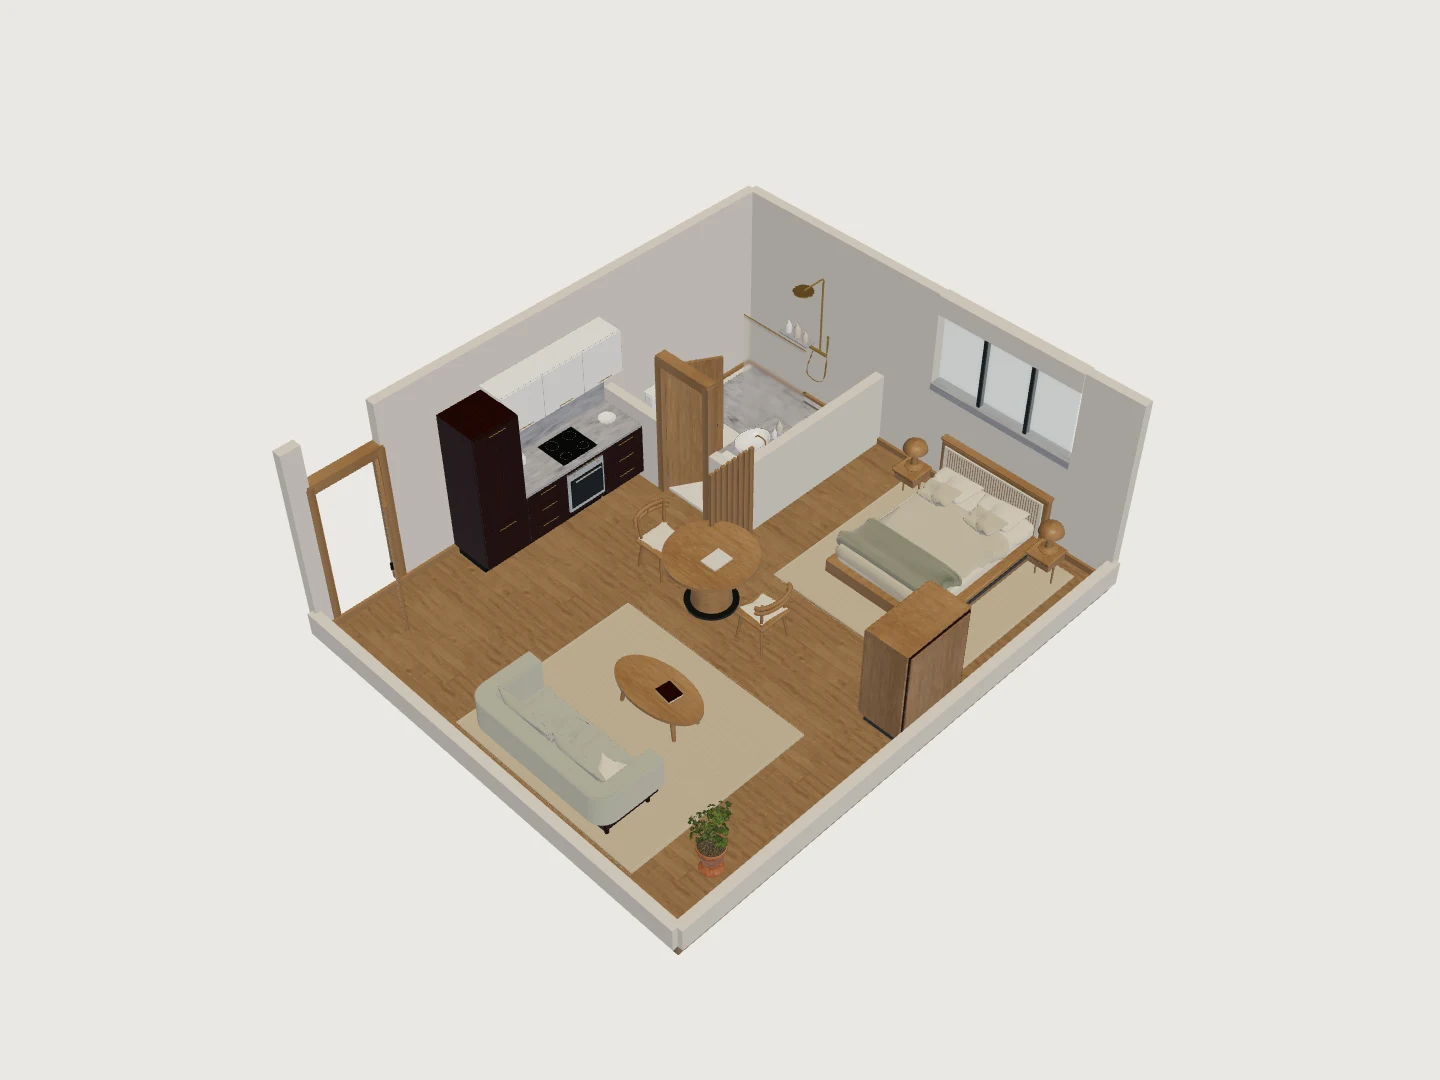
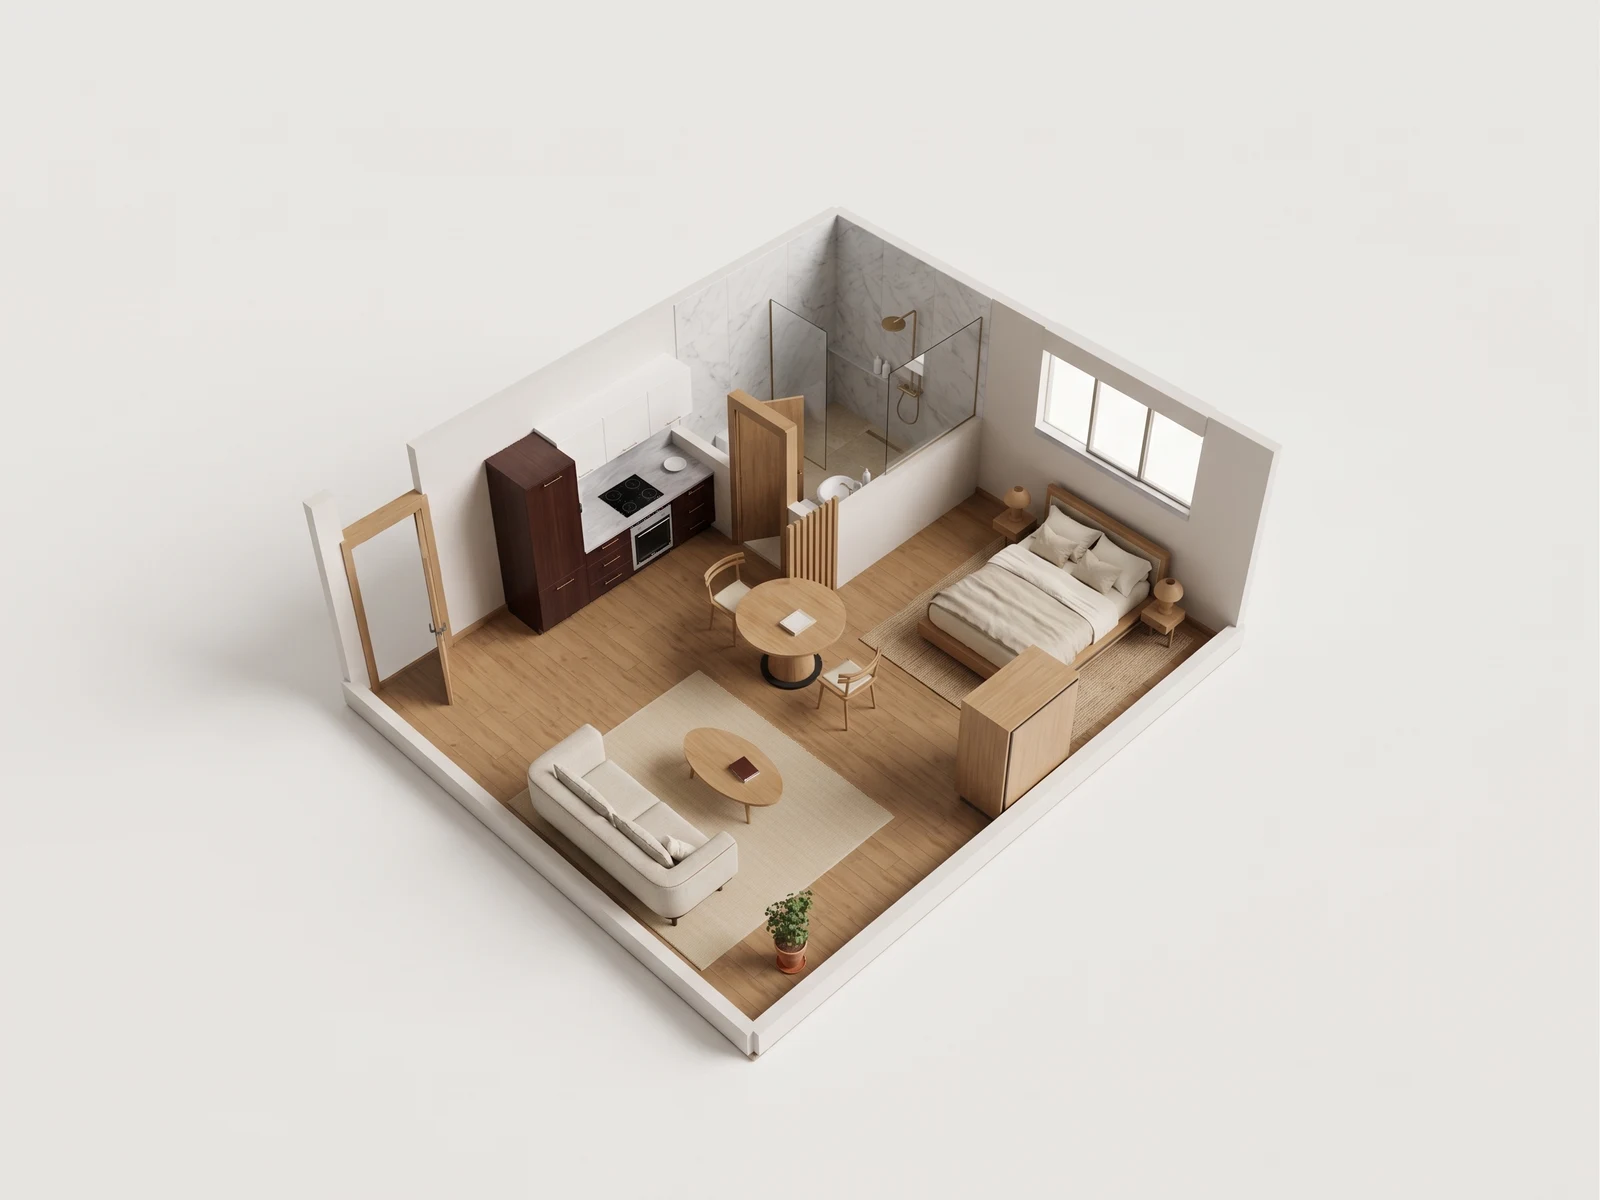
A studio apartment layout works when one walking route serves cooking, sitting and sleeping, and none of the three blocks the other two. Plan that route first, then set the kitchenette, table, sofa and bed along it, keeping about 30 to 36 in (0.76 to 0.91 m) clear wherever people pass. This page is for renters and owners furnishing one open room, and for anyone reading a studio floor plan before signing a lease.
How do you lay out a studio apartment?
Walk the room in the order you use it: in the door, past the kitchenette, around the table, to the sofa, then into the sleeping alcove. A chair pulled back from the table, the arm of the sofa and the screen around the bed all take their space from the same narrow passage, so an arrangement that looks generous in one view can close up in another. Rotate the study from the entry and again from the bed, and read that passage from both. The clearances quoted here are planning rules of thumb rather than requirements; before you plan furniture lists the measurements worth taking first.
Where does a studio layout usually fail?
The slatted screen in this study gives the bed a boundary without cutting the studio into a stack of small rooms. Check what it hides from the table and the curved sofa, and what it interrupts on the way from the kitchenette to the bed. If a screen is there to make up for a table too close to the bed, or a sofa parked in the entry, the layout is the problem and the screen is only decoration. Make the larger move first, then decide whether you still want the divider.
| Zone | What it competes with | What to check |
|---|---|---|
| Entry and kitchenette | The entry door and anyone standing at the counter | Clear floor in front of the counter, and whether the door swings into it |
| Table | The passage to the sofa once chairs are pulled back | About 36 in (0.91 m) behind the table edge for a chair in use, measured to whatever is behind it |
| Sofa | The route from the entry to the sleeping alcove | The gap between the sofa arm and the wall at its narrowest point, not at its widest |
| Sleeping alcove | The screen, the closet door and the bed itself | Bed width plus one side you can walk, and the swing of the screen or closet door |
| Bathroom door | The kitchenette and anything stored beside it | Which way the door opens, and what it hits when someone is at the counter |
Keep a studio arrangement you can compare
Place the table, sofa, and bed in separate saved arrangements, then measure the same narrow passage in each. Compare library dimensions with the furniture you intend to buy; the screen around the bed is not a substitute for a clear route. Checking furniture fit covers the footprint and clearance checks.
For a roommate or a furniture-shopping discussion, export a plan-view image of the chosen arrangement. Image exports start on Plus; mark the table and bed dimensions in your accompanying notes and identify any measurements still awaiting a site check. Use the guide to plan and image exports to choose the file, and pricing to check access. Keep a home that needs privacy unpublished on a plan that supports private work; sending an image does not require a public showcase.
NoteConceptual model only. Not a survey or construction document. In a studio the passage is the whole design, so use this model for design exploration and verify dimensions on site before ordering or building.
The reference-study collection opens this studio in 3D and offers its GLB. When the answer depends on your own walls, openings and furniture, upload your floor plan and see how a floor plan becomes a 3D model.
Compact studio · Eight camera views
One model. A fuller picture.
Explore five overview angles and three eye-level interior views. Each image starts with a capture of this 3D model. Drag the divider to compare the image with its source.
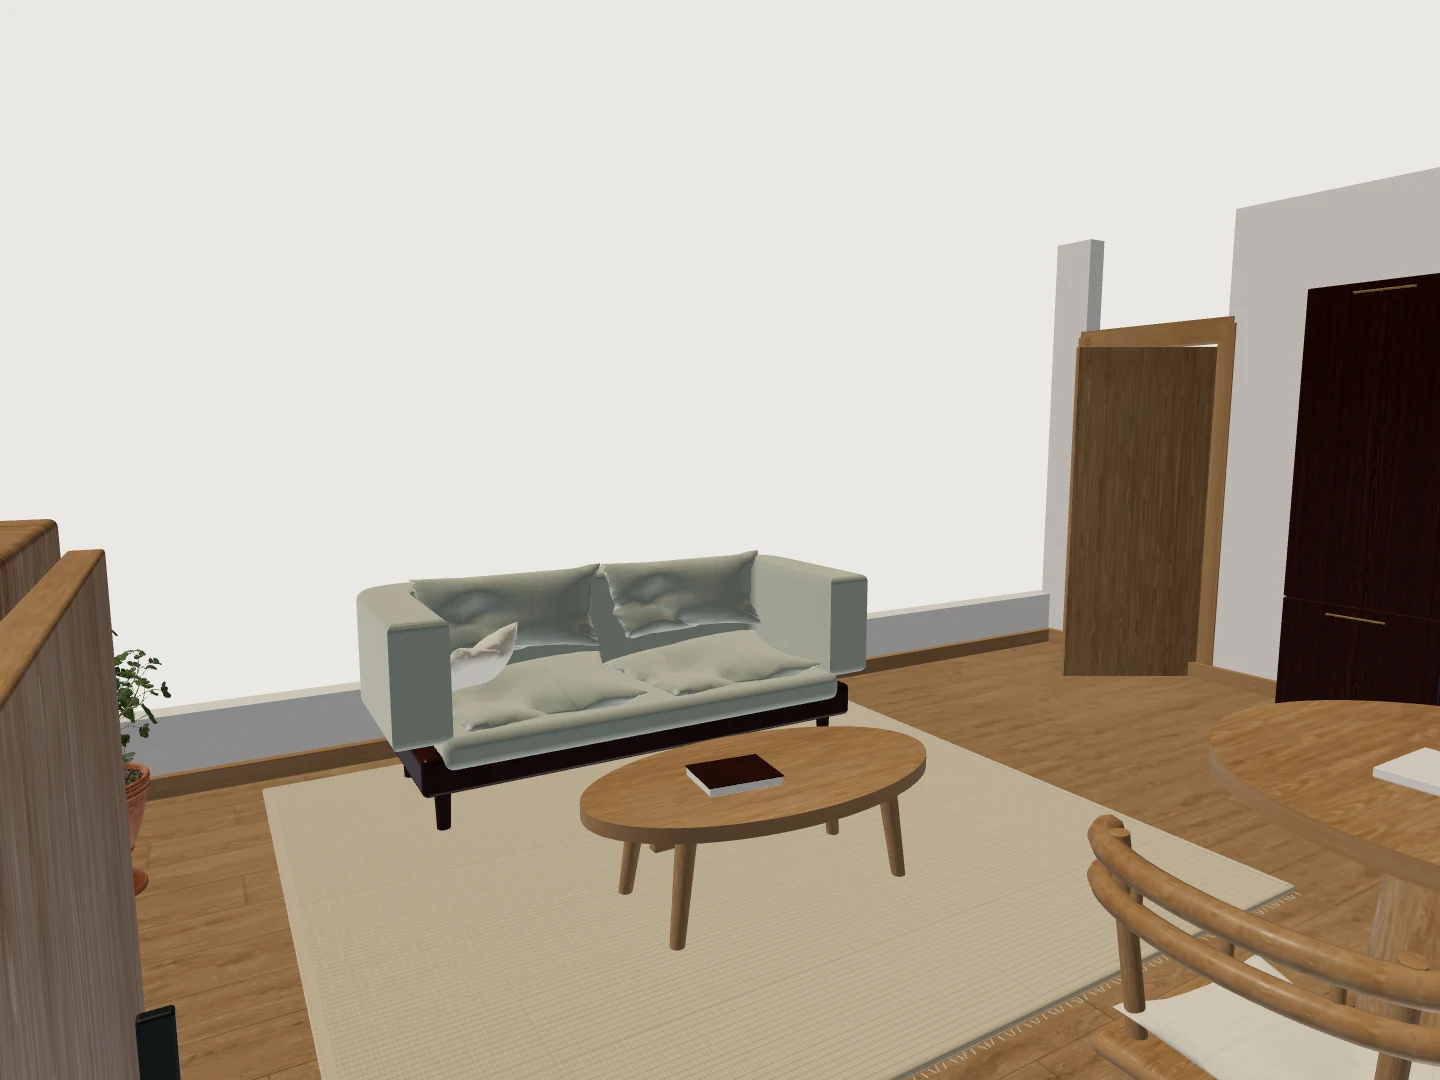
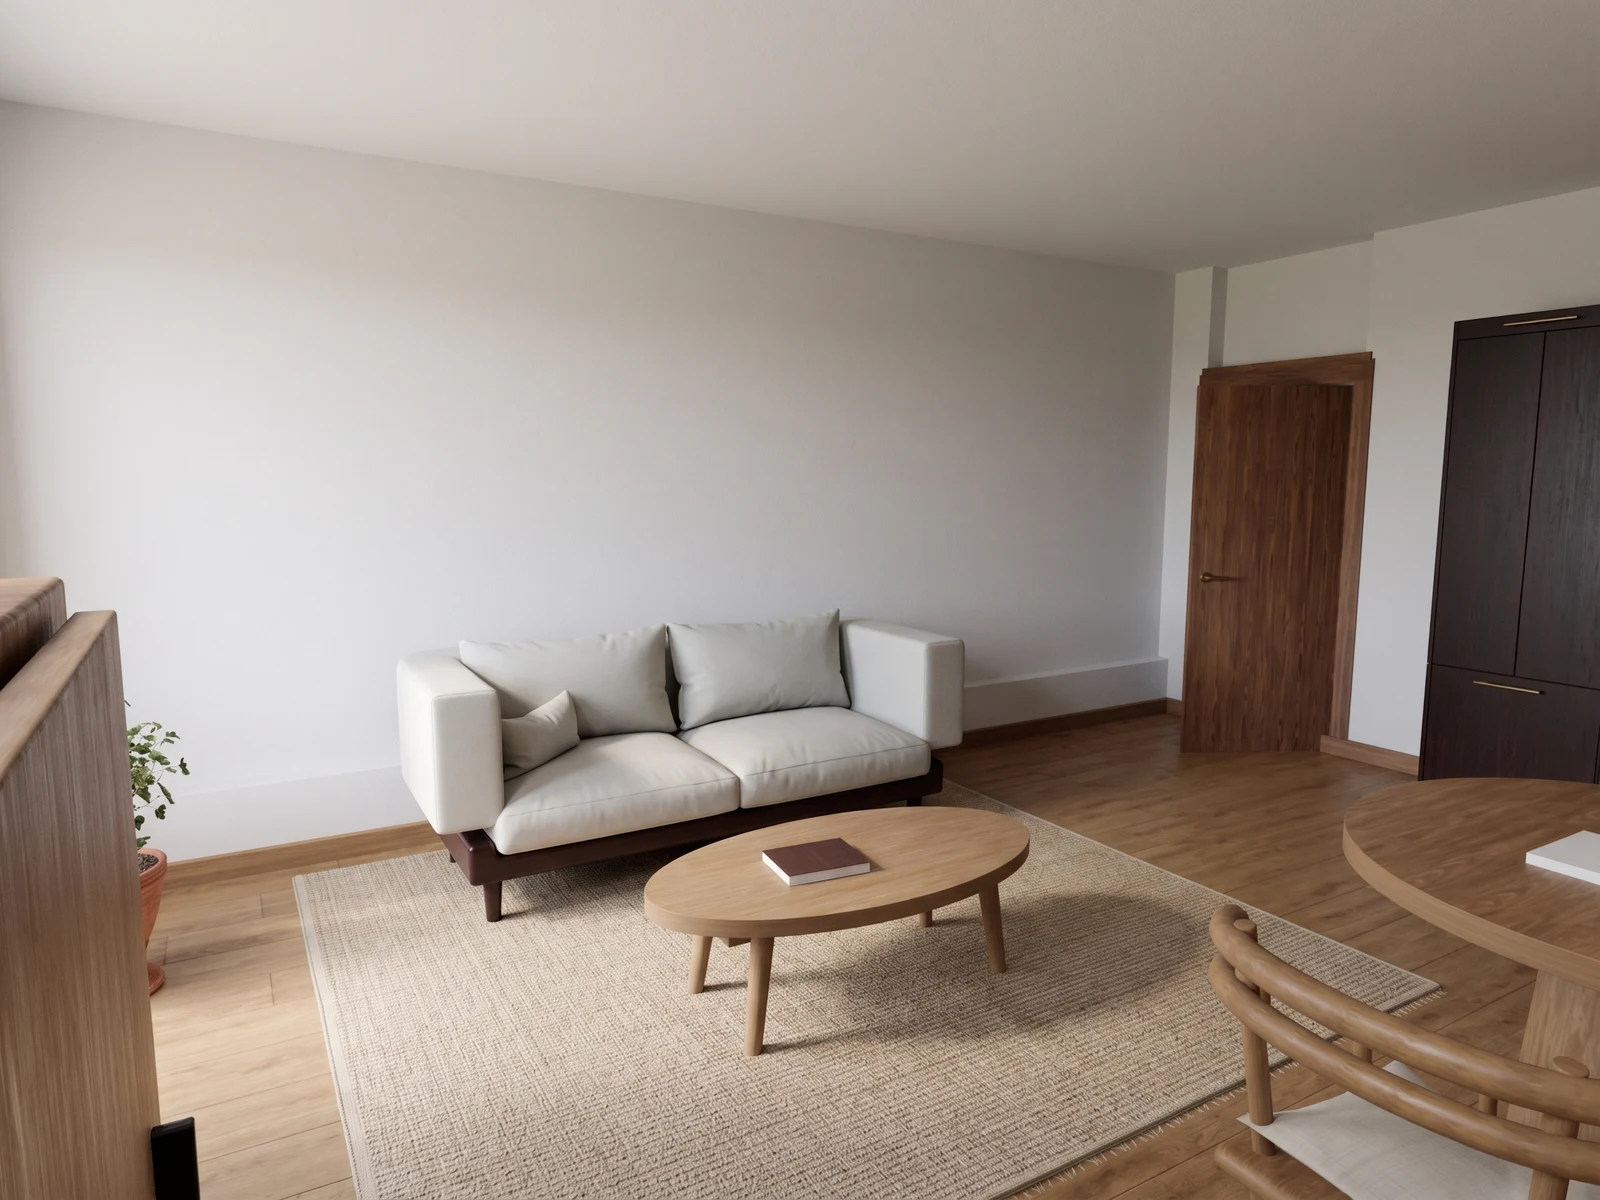
08 / 08 — Interior detail
Read the sofa, coffee table and rug as an interior composition.
Drag the divider to reveal the source 3D view.
See your own floorplan in 3D.
Start with your plan. Explore the layout, try furniture and turn a chosen view into a realistic image.
Upload a floorplan- Updated
- Byline
- INK TO BRICK
- The limit
- Conceptual model only. Not a survey or construction document.