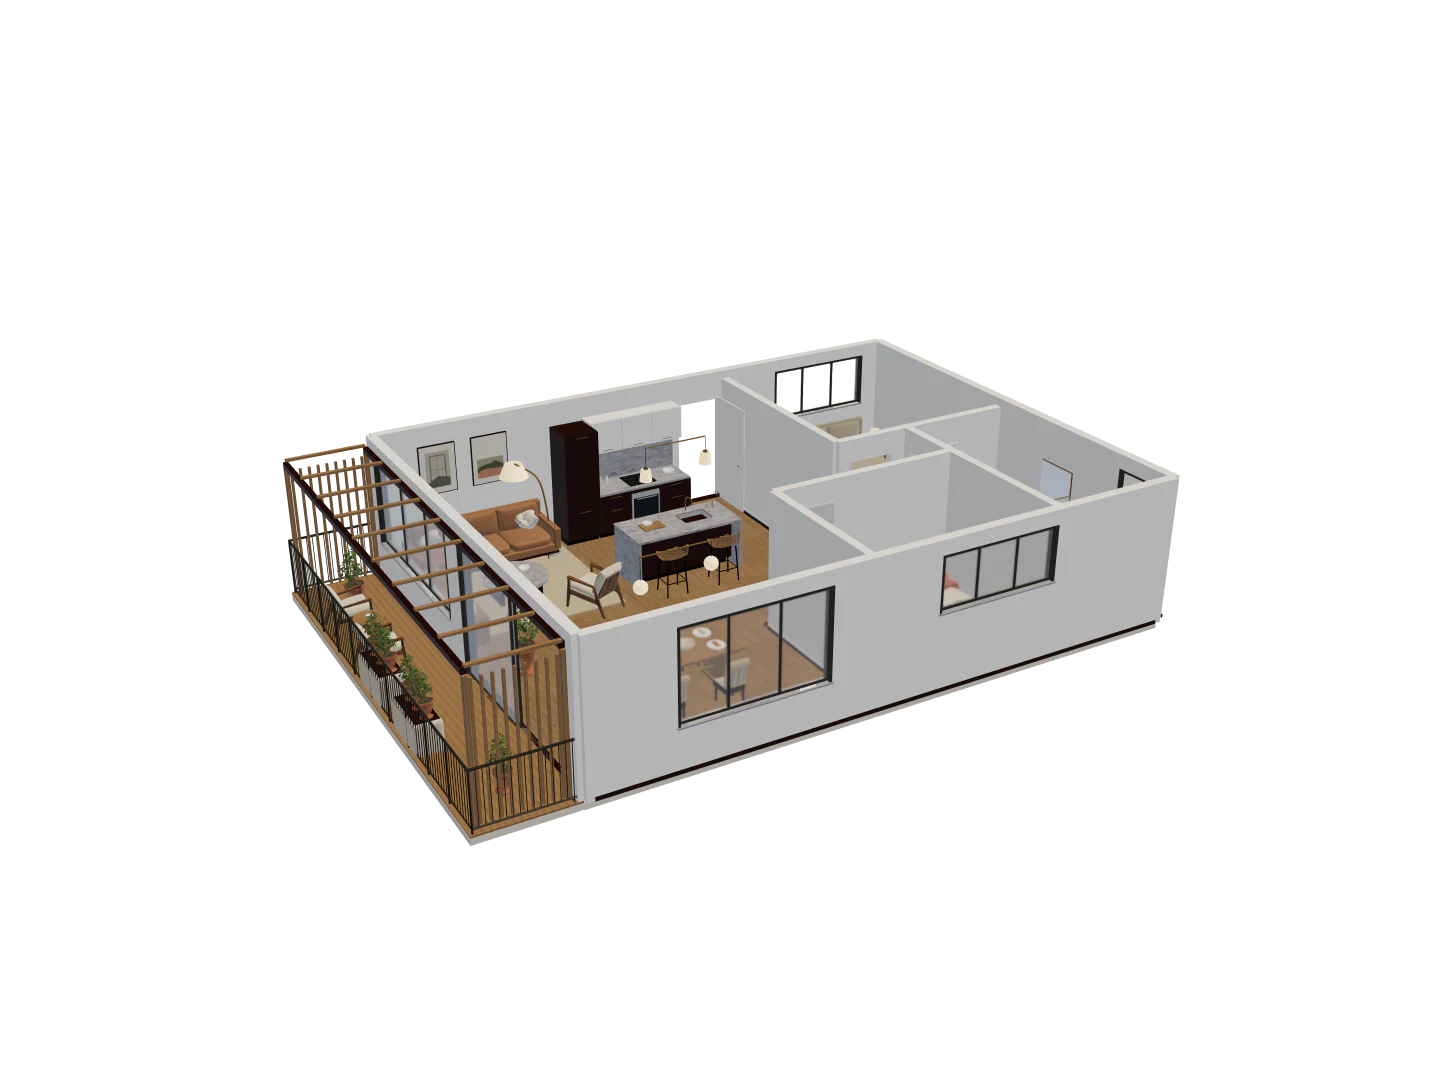
A texture gives a surface grain, joints or a visible pattern. A finish decision also depends on color and response to light. Homeowners can use textures to compare a room palette; designers can use the same view to explain why a floor and a wall work together. Begin with a readable 3D view and one surface you intend to change.
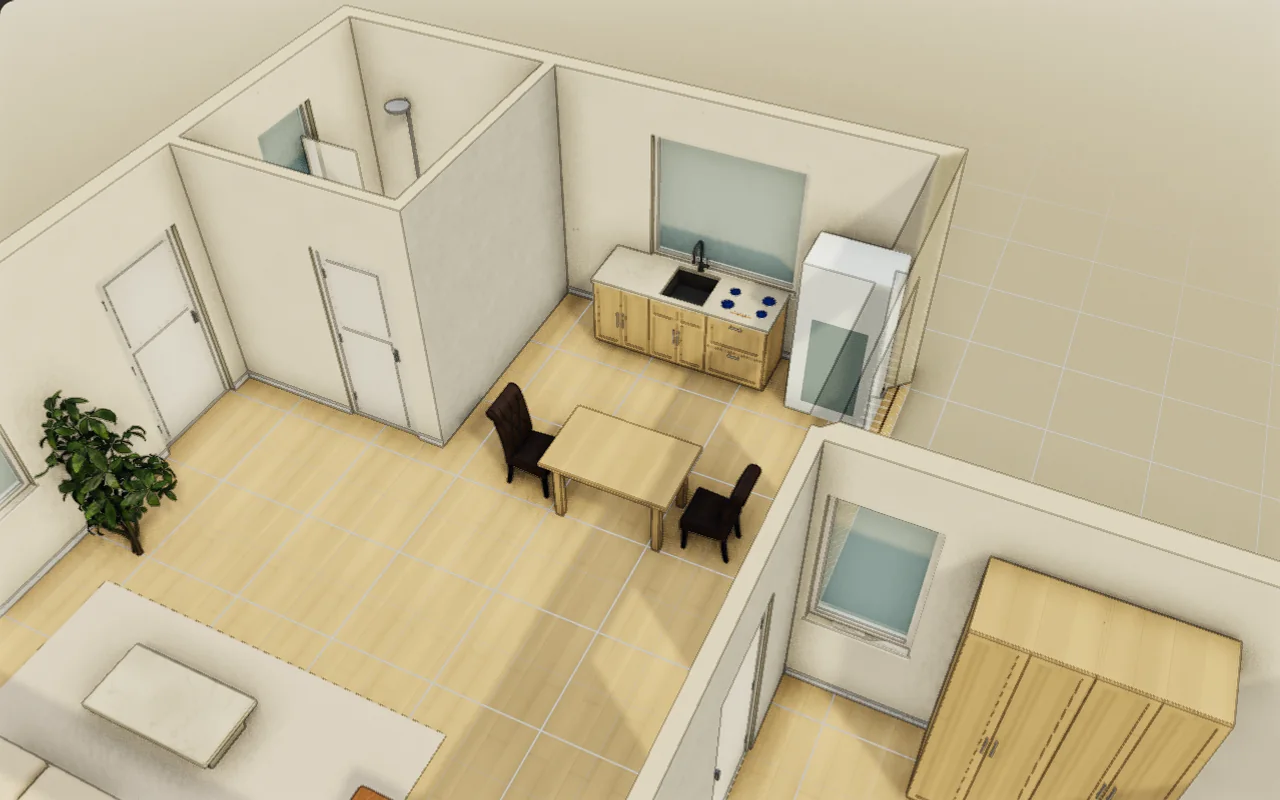
Apply one material first
- Open Change finishes in the sample, or Finish → Paint. Choose a material category such as Wood, Stone or Tile.
- Choose a material and hover over the target. Check the highlighted surface and active paint scope before clicking.
- Apply it once, then return to Select. Look at the whole room, approach the surface and inspect the junction with the neighboring wall or floor.
- Undo and confirm the original material returns. Reapply it if the comparison supports the change.
Judge pattern scale and light
Compare the apparent size of boards, tiles or stone veins with a known door or furniture dimension. Check the same surface from above and at eye level. Strong repetition, stretched grain or a pattern that changes at a corner can make an otherwise good palette distracting. Preset texture scale comes from the material asset; the scene material editor does not expose a general texture upload or UV scale control. Choose a better-suited preset when its pattern does not suit the surface.
Edit a scene material carefully
Scene materials provide Color, Roughness, Metalness, Opacity and Side controls. A shared scene material changes every surface using it. Duplicate it before making a change that should apply to only one part of the room. Roughness changes the spread of reflections; it does not change the size of a tile. Keep opaque building surfaces opaque unless transparency is an intentional presentation choice.
Try a timber-and-stone palette
In the L-shaped home, inspect the living floor, a bathroom wall and the transition to the outdoor area. Compare Natural timber and stone with Restrained contemporary from similar views. Record which combination you prefer and why, then keep the decision in an option or comment. A screen image cannot certify a physical finish, slip resistance, durability or exact color; check a real sample before buying.
Inspect a reference in 3D
Orbit the model and zoom toward an opening. Which spaces does it connect, and what is hidden from the opposite angle?