Building the duplex: from an authored sample to an editable home
Explore two floors and a roof terrace, compare four styles from one viewpoint, and see how layout, openings, furniture and saved alternatives fit together.
The duplex is an authored sample: a deliberately composed home that lets you explore the product before bringing your own drawing. It was not automatically reconstructed from an uploaded floorplan. Explore the finished duplex, then return here to follow the decisions behind it.
One home, two floors and a roof terrace
The ground floor connects arrival, study, kitchen, dining and living spaces to the garden. Upstairs, bedrooms and quieter rooms sit around the gallery and the opening above the living room. The roof terrace is a separate outdoor destination. Inspecting the stack makes those relationships easier to understand than an exterior image alone.
Open the separated-floor view. Use the floor controls to isolate a level, then return to the whole building. Follow the stair and the double-height opening before evaluating furniture or finishes.
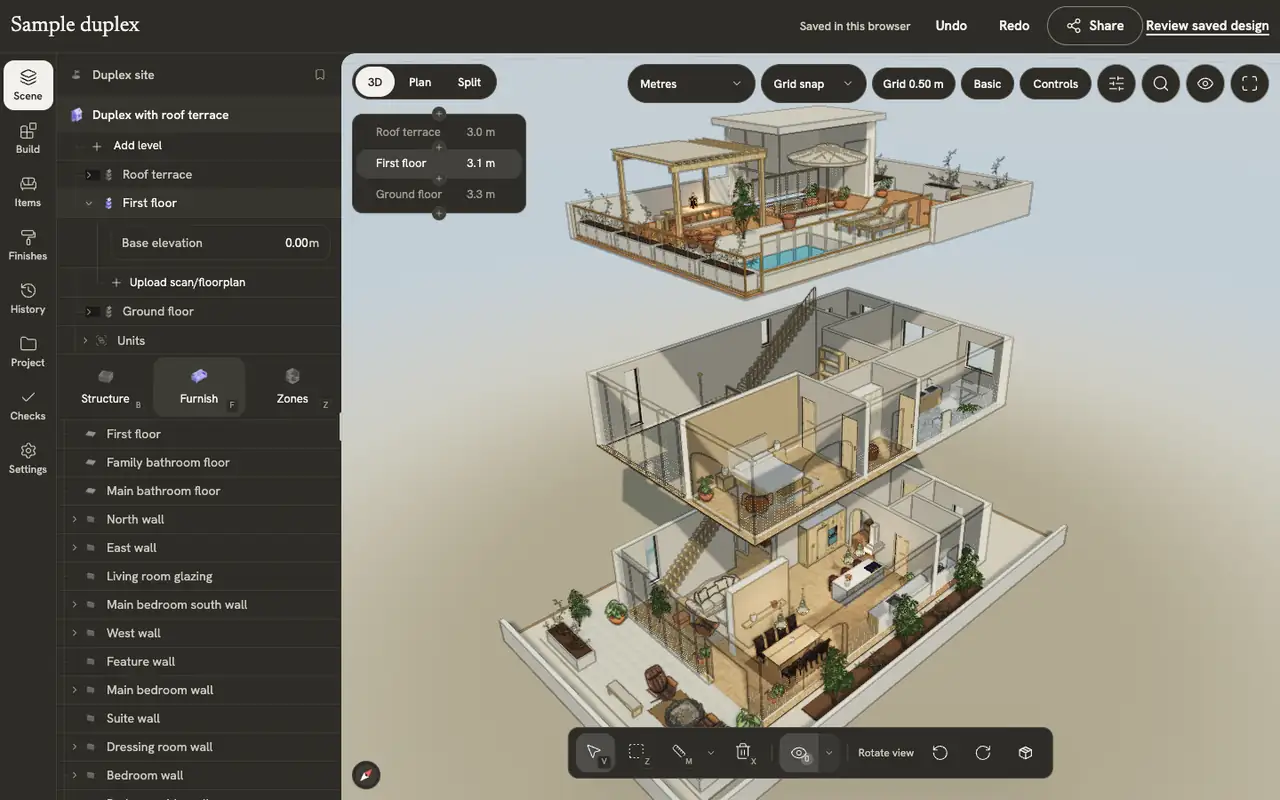
Layout first: walls, doors and the route through a room
The sample starts with authored walls and openings. In Expert, select a wall or choose Wall in the Build tab to draw its shape; place a door or window on its host wall. Check the opening in plan and 3D, including the space a door needs to swing. A convincing image is not evidence that every clearance works.

Follow the drawing tools guide and check doors and windows. The AI-led workspace and Expert controls use the same canvas. Switching tool visibility does not create a second version of the home.
Furniture and materials make the layout testable
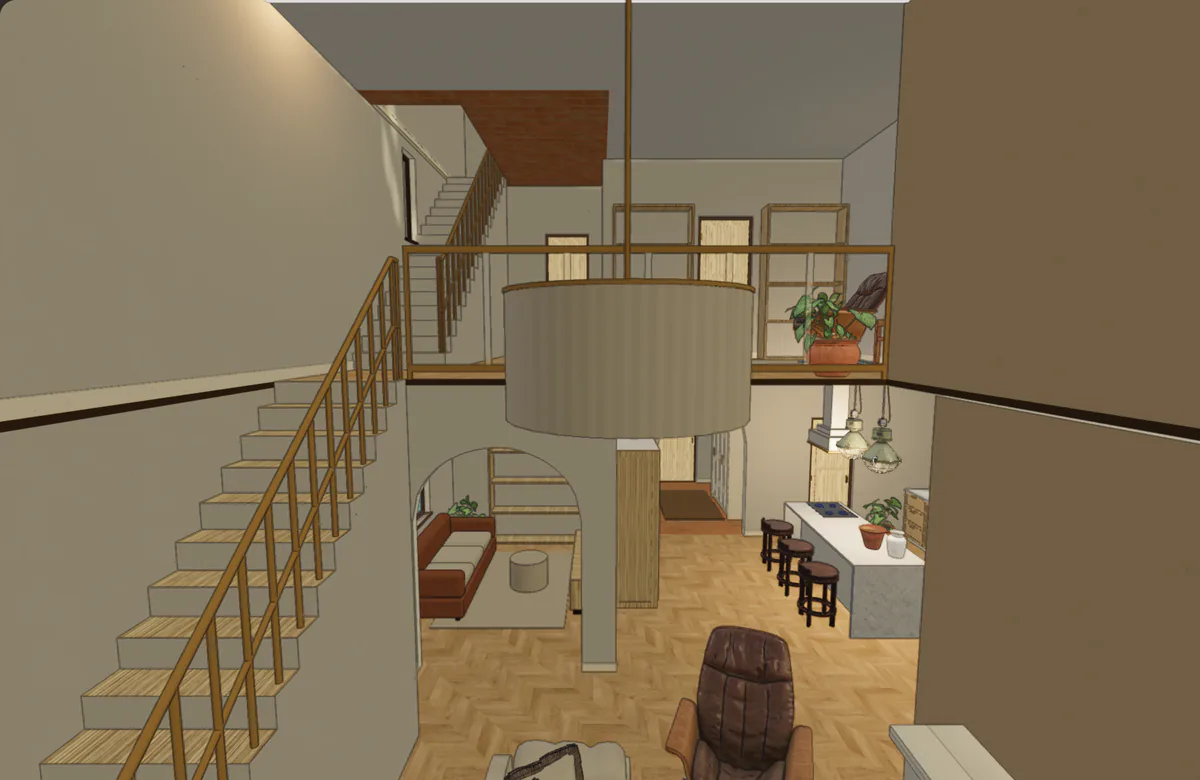
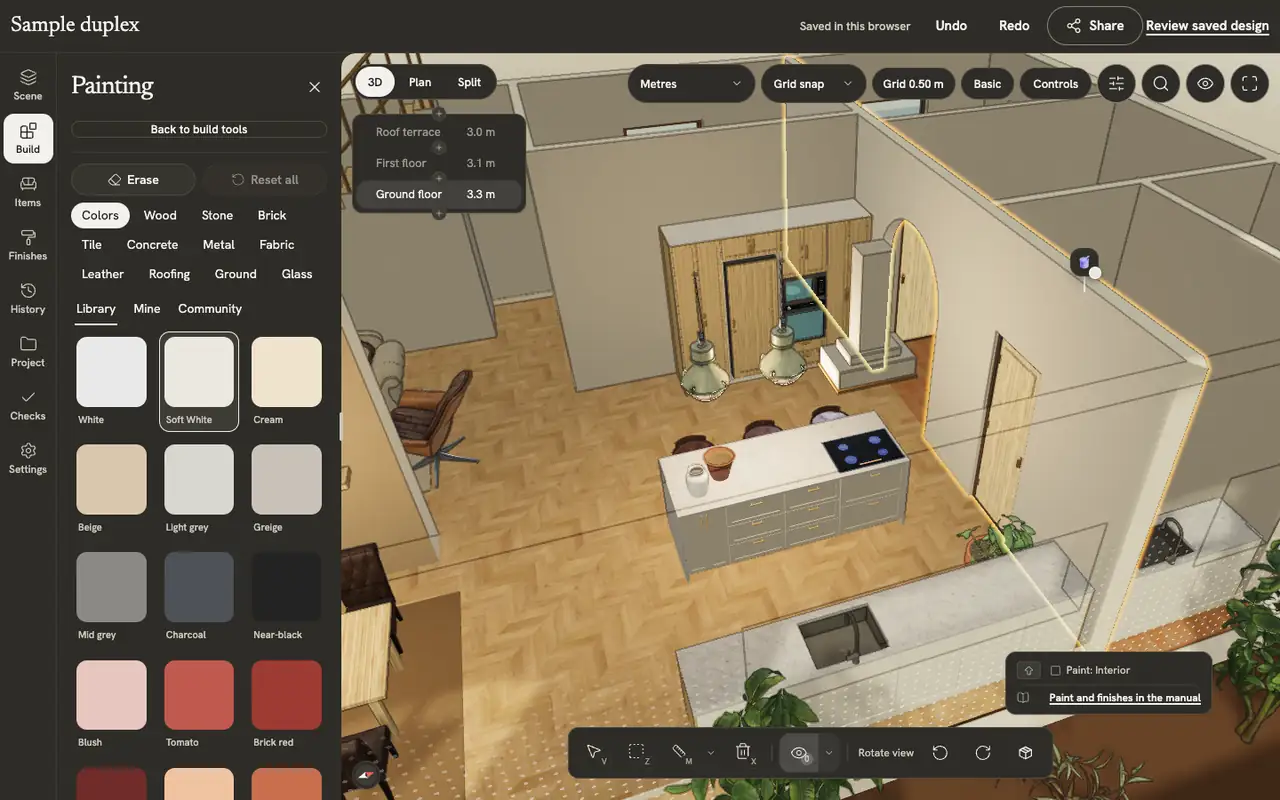
Place a sofa from the catalog, move or rotate it, and check the route past it. Inspect the dimensions of the actual item you intend to buy; a similar-looking library object is only a planning aid. Apply wall and floor materials after the layout makes sense, then compare the same room from the same camera.
Open the living room in the sample. Try moving one item, changing one finish and undoing the change. A small edit makes the relationship between the plan and the model easier to follow.

Four styles, one consistent viewpoint
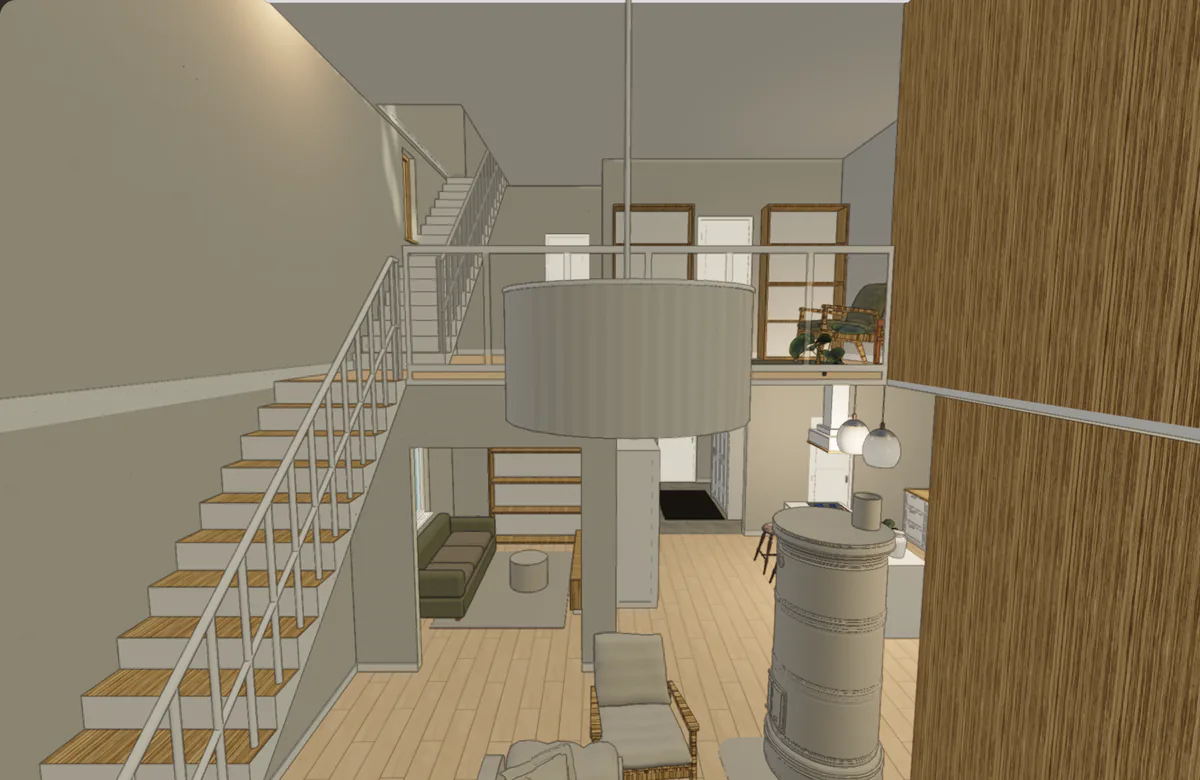
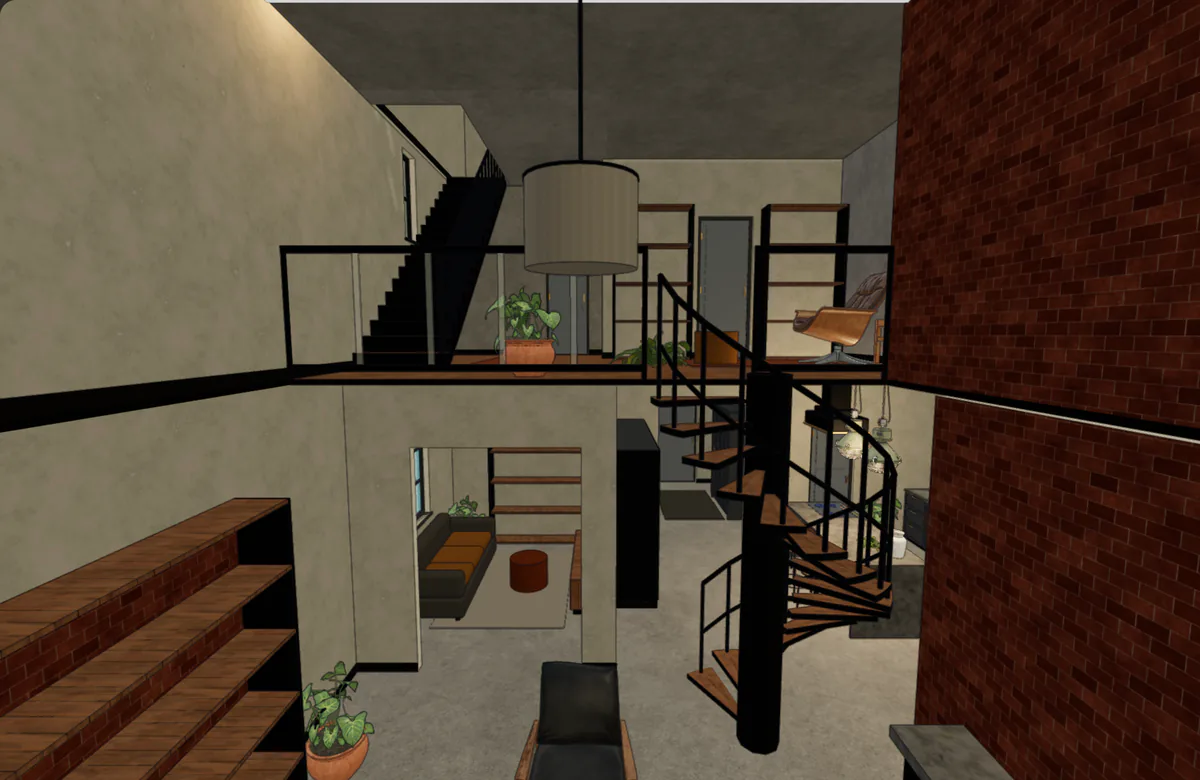
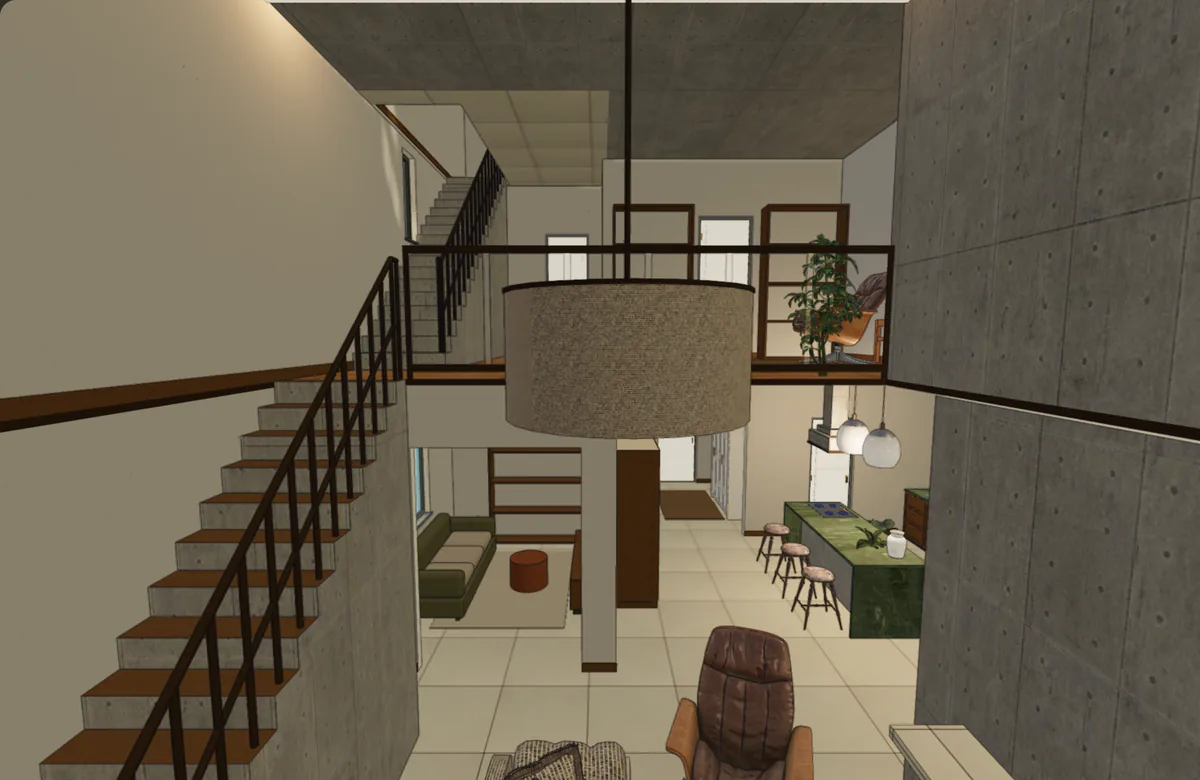
The four views below keep the living-room camera fixed. Mediterranean uses warm surfaces, Scandinavian a lighter palette, industrial stronger contrasts, and tropical green accents. They are styles of the same authored home, not four independent reconstructions. Compare the furniture, surface choices and feel of the room without losing its layout.
Keep an alternative, then walk through it
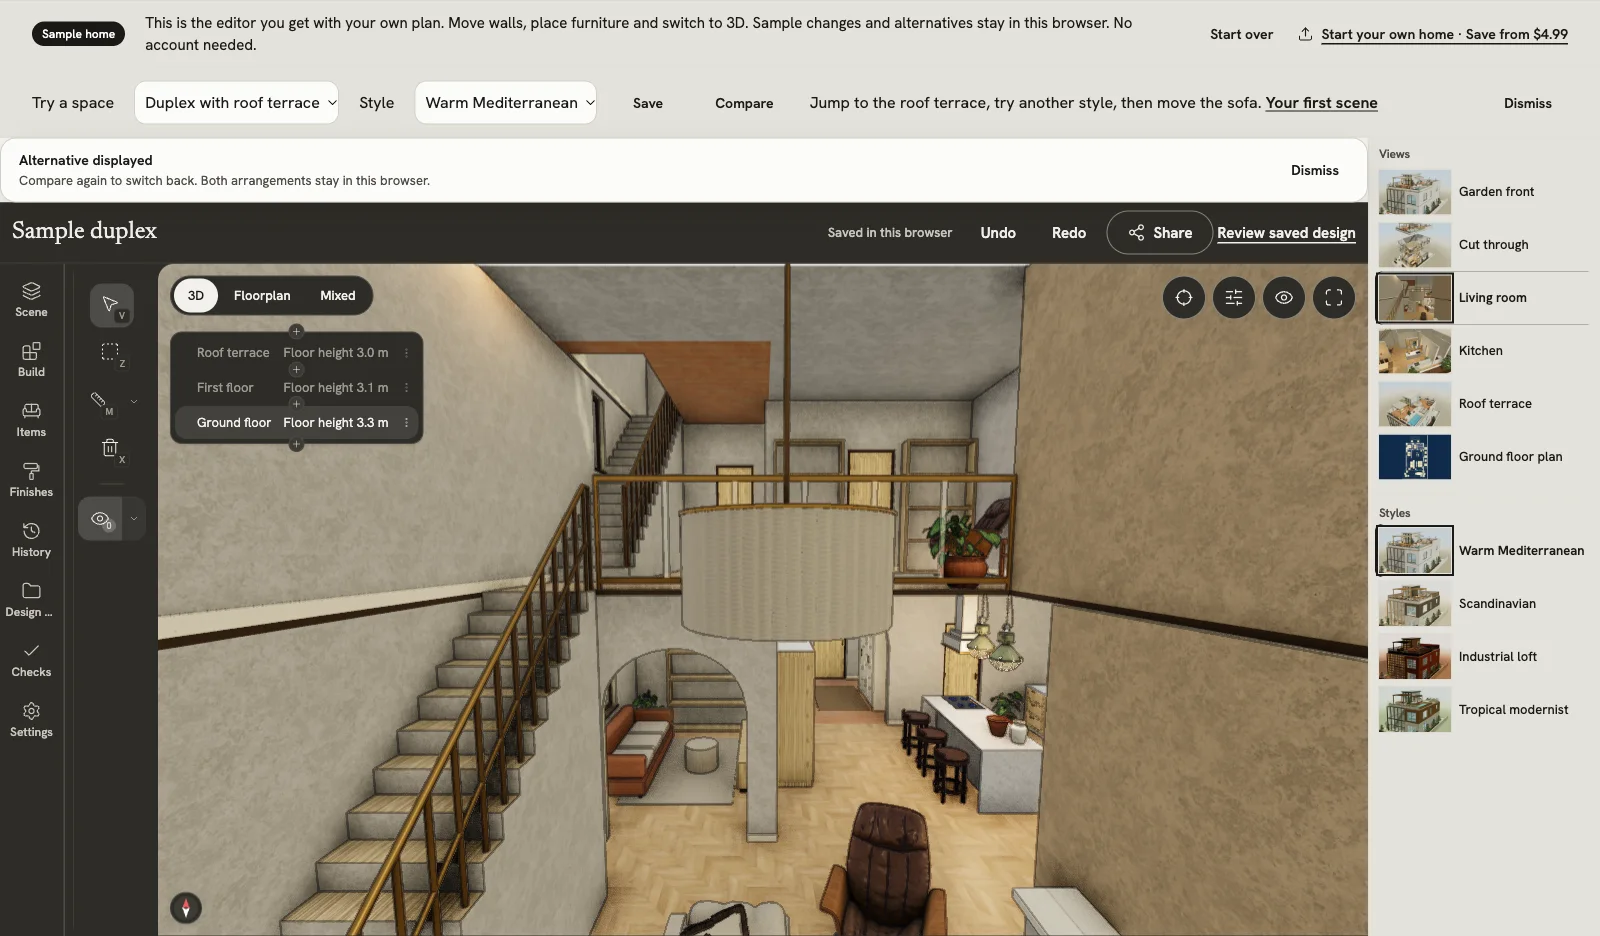
Use Design options to keep an alternative you can return to, then change the arrangement or finishes. Check which option is active before continuing. A saved alternative is useful when the next idea is worse: return to the usable version instead of trying to undo a long sequence from memory.
Switch to Walk to inspect the route at eye level. Start in the living room, pass through the kitchen and compare the garden connection with the overview. The walkthrough communicates spatial relationships; it does not certify accessibility, structural safety or construction compliance.
From exploration to a shareable presentation
A personal project can be saved and presented through the available sharing controls. Check the intended audience and the saved version before sharing. Public publication is a separate choice from private sharing. The sample is a place to experiment, not a saved personal reconstruction or a private client deliverable.
Try the sample, or start your own home
Try the authored sample to learn the controls without uploading anything. To build your own home, start with your floorplan: choose the relevant floors, provide a known dimension and review the result against the source drawing. Eligible new accounts can explore an initial one-floor build before paying to save; other builds require available floor capacity. Saving starts at $4.99 per floor.