Measuring the plan you already have
You have a plan as a PDF or image and need a usable sense of its layout. The model can expose model-space distances and overall estimates, but it cannot establish the drawing’s exact scale or replace a field measurement.
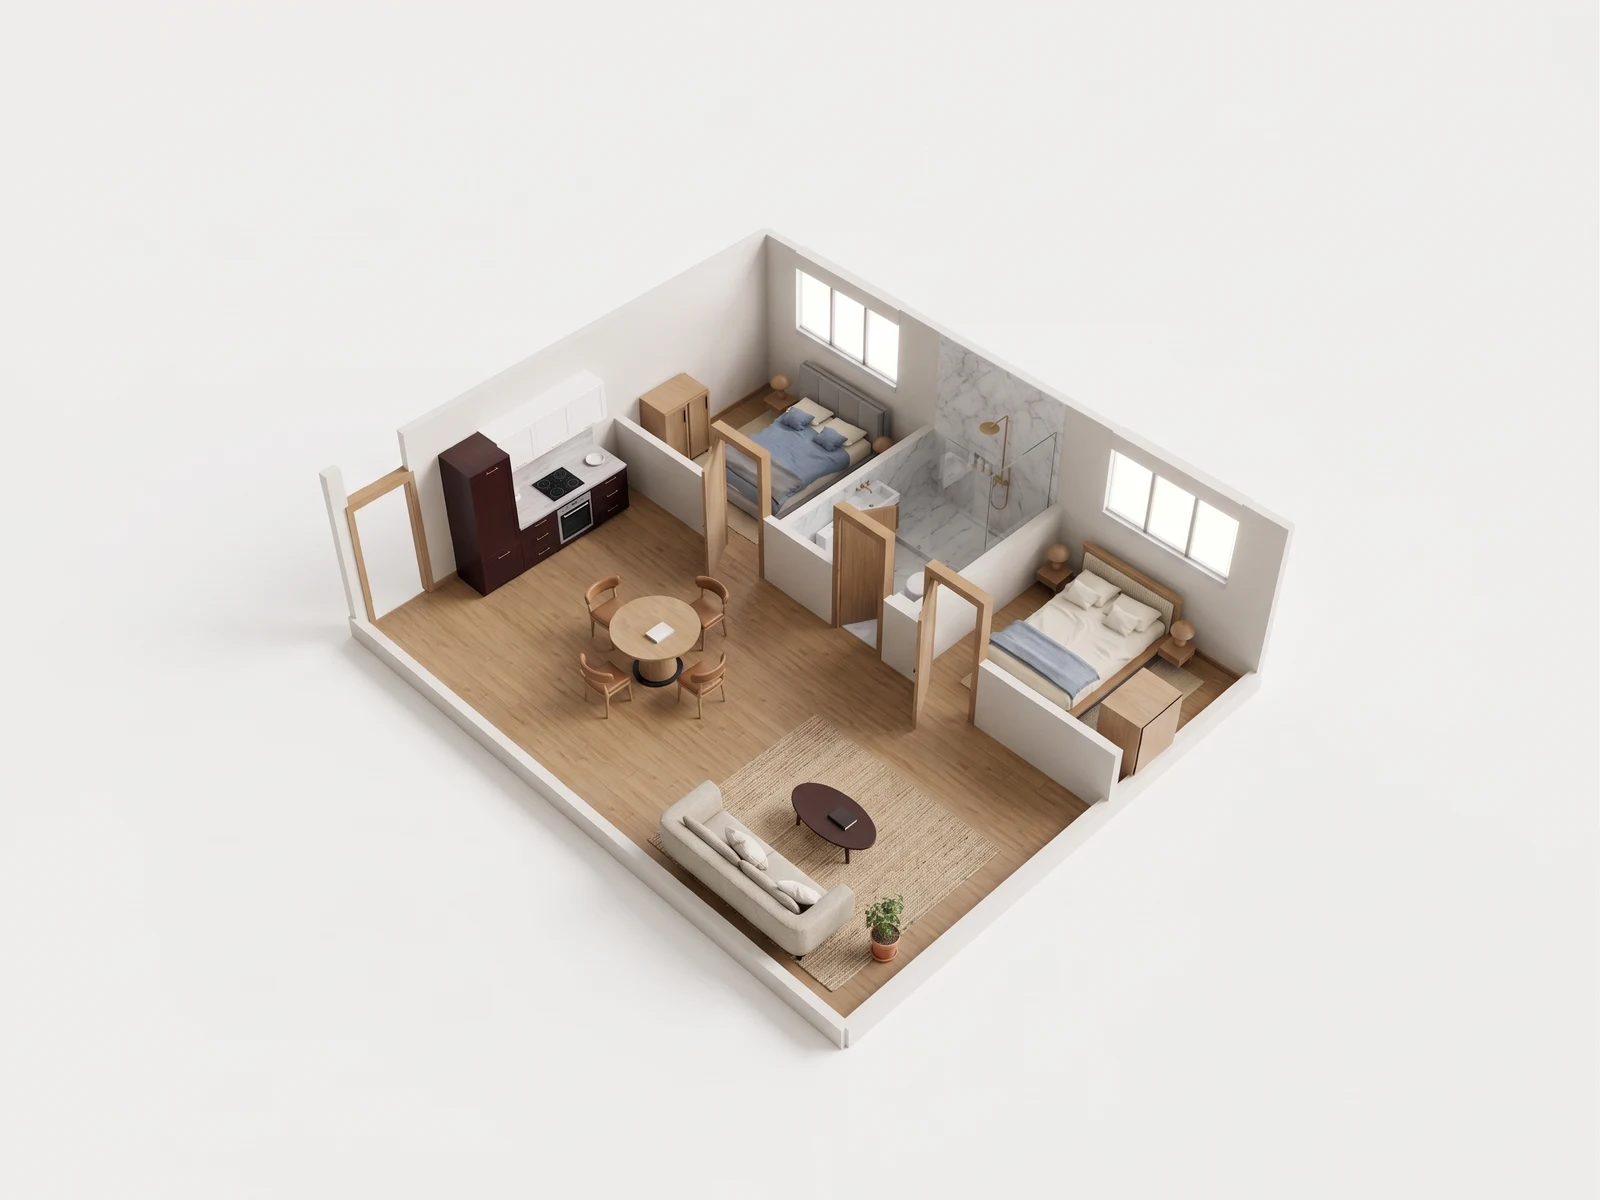
Follow one dimension back to the source drawing.
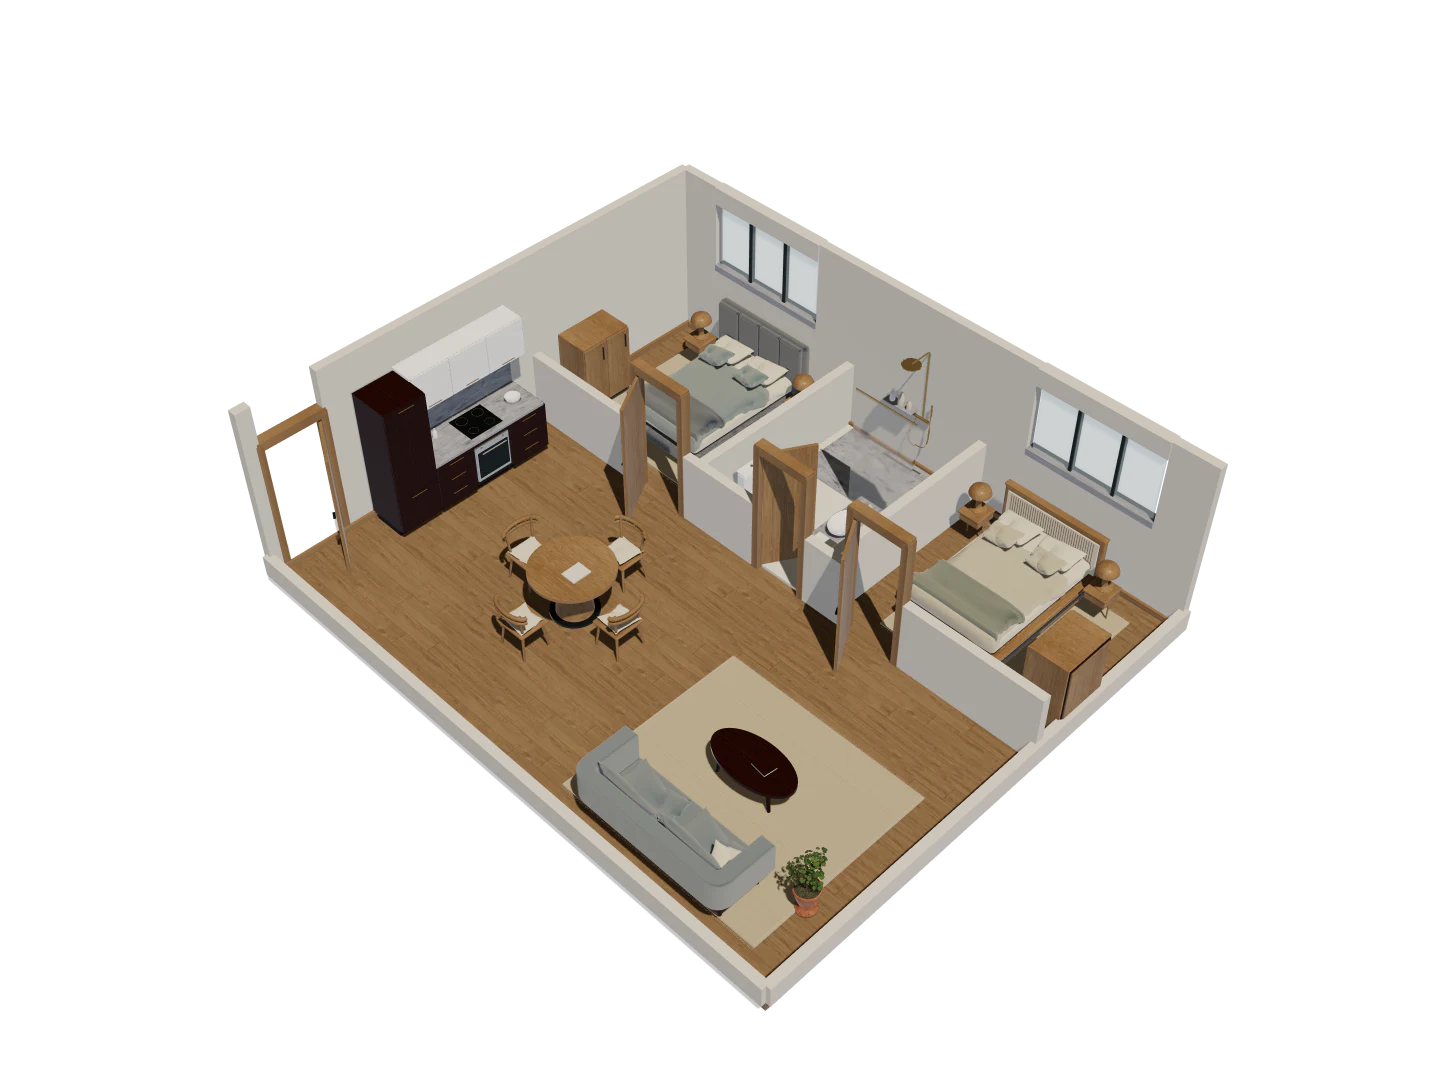
- Read one model-space span between two points in the viewer.
- Compare it with the corresponding dimension on the source drawing.
- Verify the physical dimension before ordering, building or signing.
Compact two-bed · Eight camera views
One model. A fuller picture.
Explore five overview angles and three eye-level interior views. Each image starts with a capture of this 3D model. Drag the divider to compare the image with its source.
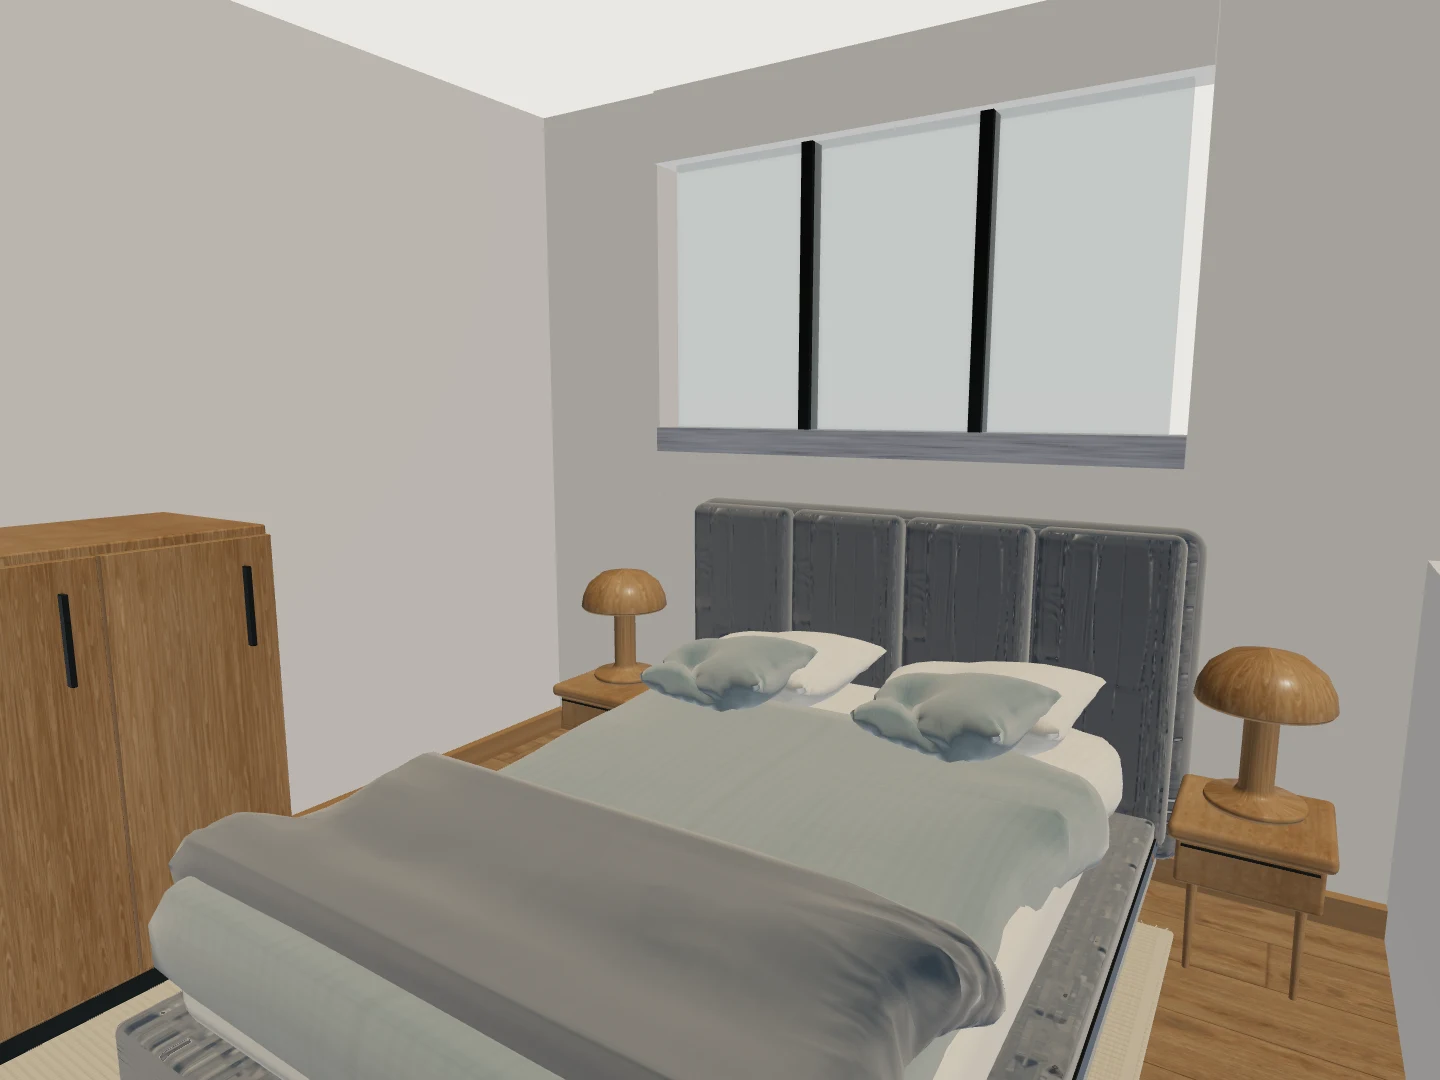
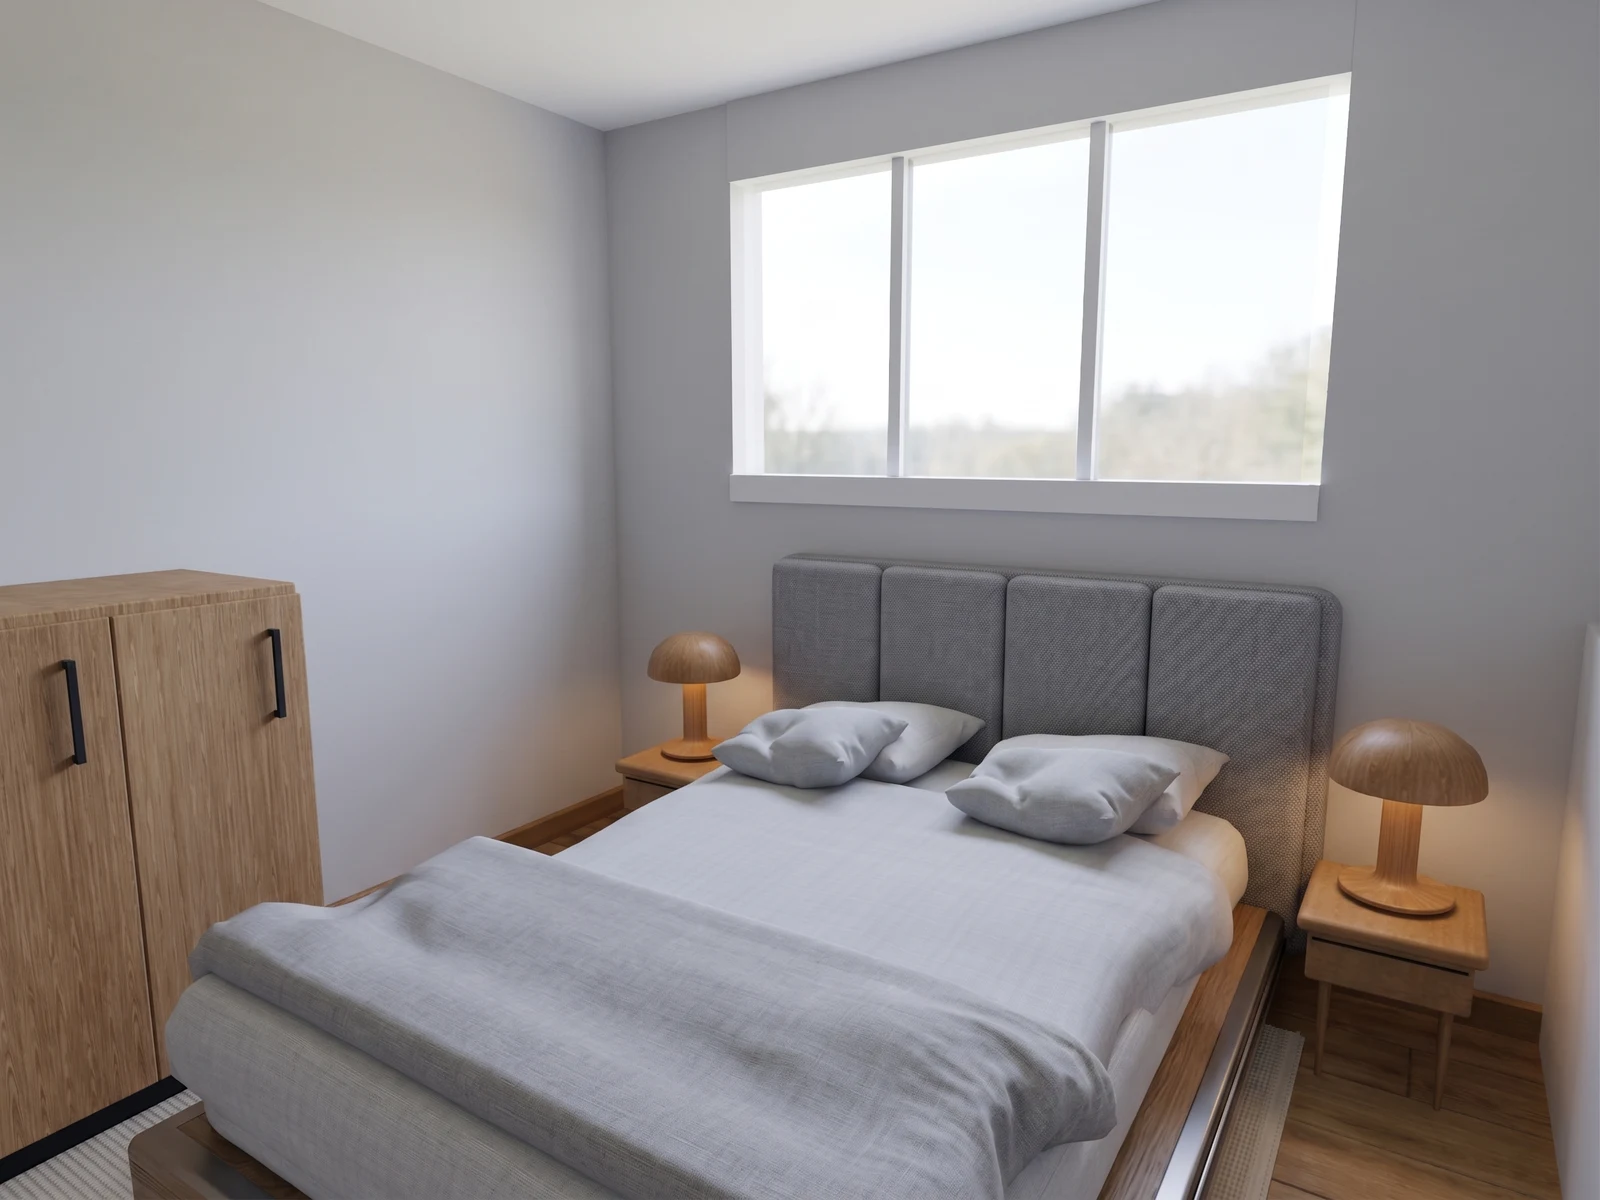
Inspect the bed, window and bedside furniture from inside a bedroom.
Drag the divider to reveal the source 3D view.
What happens when you upload
Name a project and upload one drawing using an available import. The file is checked before conversion, and you can close the tab while it runs. The upload screen also states: Only upload a floorplan you have permission to use.
Worth checkingA PDF uses its first page in the single-floor upload. If your plan sits on page four of a sales brochure, export that page on its own and upload that. Measuring a floor plan PDF goes through it step by step.
The current workflow has no user calibration step and no established accuracy tolerance. The upload screen asks for a clear, uncropped plan with room boundaries and dimensions where available. Treat every displayed dimension as a reading of the generated geometry. Compare it with dimensions printed on the source plan and verify critical dimensions on site.
NoteThe progress screen prints its own caveat: Progress shows completed processing steps, not time remaining or measurement accuracy.
The app reports when conversion cannot continue. A drawing can be blocked rather than failed: the screen reads Not available yet when the drawing cannot be measured automatically, your file stays stored, and nothing needs uploading again. The 3D model can come back unavailable with a stated reason while the base plan and room map still build.
The eight stages the progress screen counts
- Waiting to start
- Reading the floorplan
- Tracing walls and rooms
- Closing the gaps
- Saving the model
- Drawing the base plan
- Raising the 3D model
- The model is built
Each line is a step that finished, not a promise about the next one. A stage that cannot finish stops with a stated reason rather than a blank screen.
What the model reports
The scene tree lists the walls, openings, spaces and fixtures the conversion found. The viewer prints model-space area, space count, extent and height estimates. In the project list, the area can be labeled Mapped room area with the number of spaces it covers whenever some spaces have no traced boundary. These values describe the generated model, not verified site dimensions.
The reference plan on this page prints its areas on the drawing itself: LIVING 30.0 m², KITCHEN 10.5 m², HALL 8.7 m², STUDY 8.3 m², WC 6.9 m². Those figures belong to the drawing. The app reports a model floor area and room count. Public models with measurable room geometry can also show approximate per-room areas; these are computed from the model, not certified from the drawing.
| Surface | What it shows |
|---|---|
| Project list | Spaces, model-space area or mapped area, and model height |
| Viewer | Model-space area, spaces, extent, model height, and openings by kind |
| Editor | The distance between two points you choose, metric or feet and inches |
| Public project page | Approximate model width, depth and height in meters, and a space count |
Publishing is two deliberate steps, the project release and then the profile, and each one is reversible. The confirmation lists what stays withheld either way, and search engines and cached copies can outlive an unpublish; your floorplan and your model sets out both. What a published page shows is the model, a space count, and approximate overall dimensions, under the line every published model carries: Conceptual model only. Not a survey or construction document.
Do not use those figures for a listing, an appraisal, or a square footage claim. In the United States the floor area is not an ANSI Z765 above-grade finished area measurement. What measured means when a model comes from a drawing and why your plan and your model disagree about the area take that further.
Measuring a distance yourself
The editor has a measure tool. Choose two points and it prints the distance between them, and it states its own scope as it goes: Choose two points to measure. This does not change the model. Readings are metric until you change them; the Units control that switches to feet and inches sits in the editor’s Expert mode.
NoteReview and lock the existing conditions before creating a Design Option, so furniture and finish changes stay separate from the original reconstruction. Use a tablet or computer for the full editor and measure tool. On a phone, you can upload and view a model or edit finishes on an existing option.
What to check against the plan
A sales brochure plan is drawn to sell. An old drawing may not match a building that has been altered since. The model inherits whatever the drawing got wrong, so three checks are worth doing before you plan anything on it.
- Measure one wall in the editor and compare the reading against that wall’s dimension string on the drawing you uploaded.
- Check that the space count and boundaries match the plan, and that no space is missing from the scene tree.
- Spot-check one dimension on site, on the wall you care most about, before anything is ordered or built.
Worth checkingUse this model for design exploration. Verify dimensions on site before ordering or building.
Use the model after the first check
After comparing the model with the source drawing, use a Design Option to test furniture and finishes while ordinary geometry stays locked. Conversion uses an import, and design controls and export formats vary by plan. The project creator or an assigned customer Editor with an available seat can use the export library, and only while the project is nonpublic. The pricing page explains current access. If you would rather inspect published work before uploading anything, the public models open without an account.
Upload floorplan
With processing enabled for your workspace and allowance available, upload one PDF, PNG, JPEG, SVG, or DXF file up to 25 MiB. The file is checked before conversion starts.
Measure tool
Choose two points and read a distance within the conceptual model. The tool does not calibrate the model or change it.
Model details
The viewer prints model-space area, room count with room names, footprint and height estimates, plus the openings the conversion found by kind.
Start with the plan you already have.
Free is for public projects. Private work needs a paid plan.