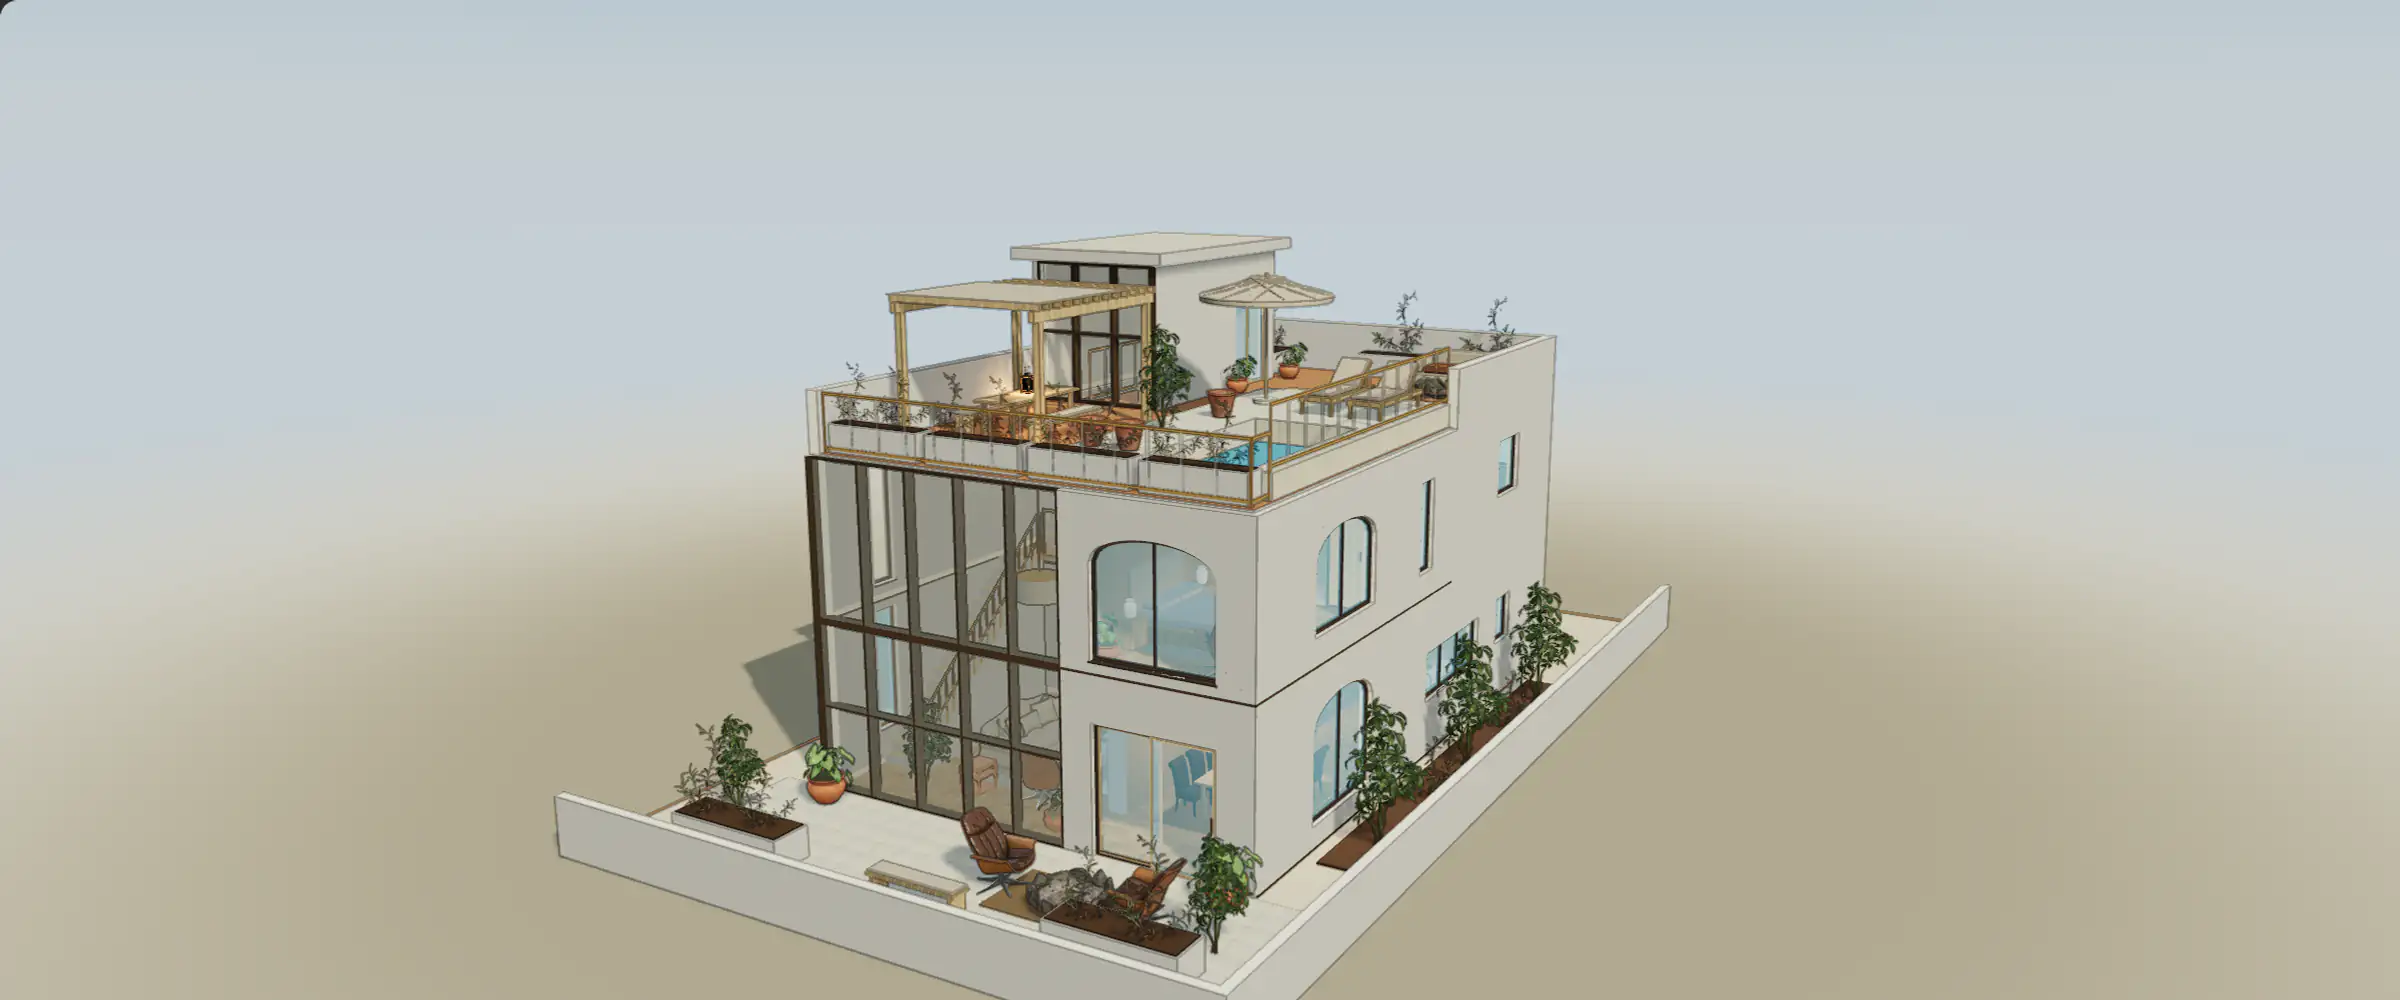
Use this workflow when a 3D model upload stalls, arrives at the wrong size or loses something you need to edit. Keep the original authoring file and a saved baseline of an existing project. A conversion preview is a chance to reject a bad handoff before placing it; a successfully opened model still needs source checks.
1. Choose the right import entry point
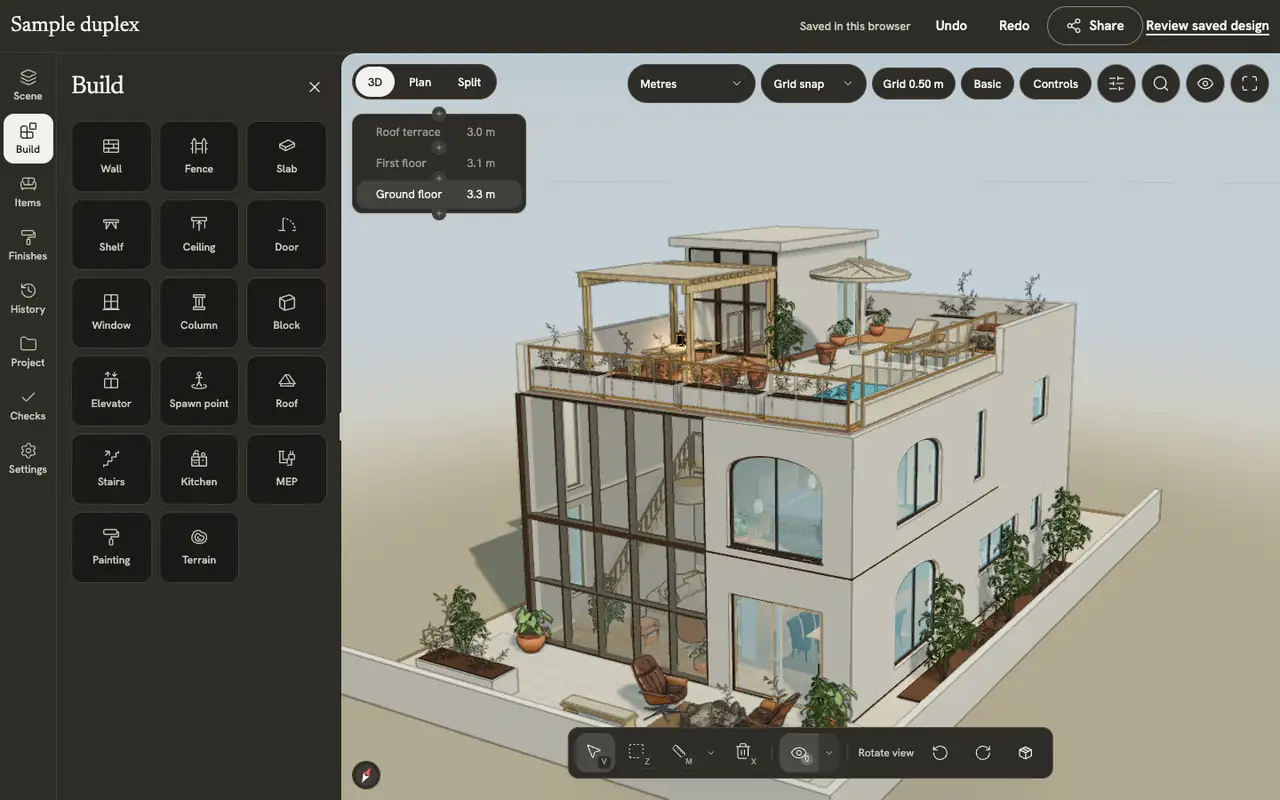
For a new home, create a project and use its model import flow. Opening that imported project requires an available import allowance; check your plan before assuming the free drawing-reconstruction offer covers a model import. Inside an existing editor, choose Import model and finish any current preview before opening another import. This adds reviewed model content to that project. PDF and image reconstruction are different workflows; do not rename a drawing as a 3D file.
2. Prepare the file bundle the dialog can accept
- Read Enabled in the dialog for the formats currently available. Native RVT import is disabled and BLEND upload is unavailable: export IFC from Revit or GLB/glTF from Blender instead.
- Choose up to 512 files and 64 MB in total for model import. A file within the size limit can still exceed conversion complexity limits; follow the reported rejection.
- Include textures and companion files such as glTF buffers, OBJ material files or USD layers. Keep relative folders in a ZIP or selected folder; conversion does not fetch external dependencies from remote URLs.
- If several candidate models are present, choose the intended main model. Confirm that you have permission to upload the files and use them for this project.
3. Match source units and orientation
When Source units appears, choose the units actually used by the source: Metres, Centimetres, Millimetres, Feet or Inches. If conversion reports that units are required, set them and request the preview again. Where Source orientation is offered, use the source’s known up axis. Some formats define orientation themselves, so that selector is not always shown. The result summary uses metres and Y up in the project.
Worked example: a source object is 800 millimetres wide. Its width should be 0.8 m in the converted result, not 800 m. Choose Millimetres when source units are missing, then verify the preview and another axis. The Width × height × depth summary describes the whole imported bundle; it does not prove an interior room or door has the right dimensions. Check the intended object or opening after placement as well.
4. Choose recovery from the visible failure
The dialog can show a retry instruction while its action button still says Preview model. Keep the same dialog, files and settings for that retry; choosing new files resets the upload. Cancel or Cancel import closes the pending workflow. In an existing project, cancelling its placement preview restores the drawing from before the preview. Cancelling does not erase already uploaded private source assets or promise that a remote job has finished cancelling.
5. Review what remains editable and where it goes
Read Architectural editing, Object editing and Conversion notes. Supported IFC elements can become native architecture when their shape is recoverable; other content remains imported objects with move, rotate, scale, duplicate and delete. A mesh named wall does not become a native wall just because of its name. If your task needs a hosted door or a parametric wall, test that exact editing requirement rather than accepting the model solely because it looks right.
In an existing project, orbit and zoom around the placement preview. Check Placement in metres: X, Y, Z and Rotation (degrees). Floor is offered for object-only results; imports with native architecture follow their own level structure. Inspect two nearby walls, vertical placement and overlaps before Place in project. For a new project, review the conversion preview before Open project. Do not accept a bad orientation to fix it later by eye.
6. Place once, save and verify the handoff
- Choose Place in project only after the placement agrees with your intended baseline. After insertion, Cmd/Ctrl + Z can undo the import as one change.
- Inspect a known length, a second axis, an important opening and a textured surface in the project. Test one edit you actually need.
- Wait for the project to report a successful save, then reopen the intended option and check that the imported content and its edit are present.
- Before sending a file or view link, confirm the saved revision and compare the received result with the source. Keep the source authoring file for corrections that the imported objects cannot express.
For source preparation, use the import formats and companion-file guide or the Revit and Blender handoff. If placement succeeded but saving stopped, follow editor save recovery before sharing or exporting.
Inspect a reference in 3D
Zoom in, then use Fit model to see the whole model again. This reference does not recover your project or reproduce its error.