Comparing housing unit types before a sales presentation
Two unit types may have the same bedroom count but very different entries, storage, and usable living space. Build a clearly labeled comparison of the layouts before the sales team chooses which model and image to show a buyer. This is unit-type review, not an inventory or reservation system.
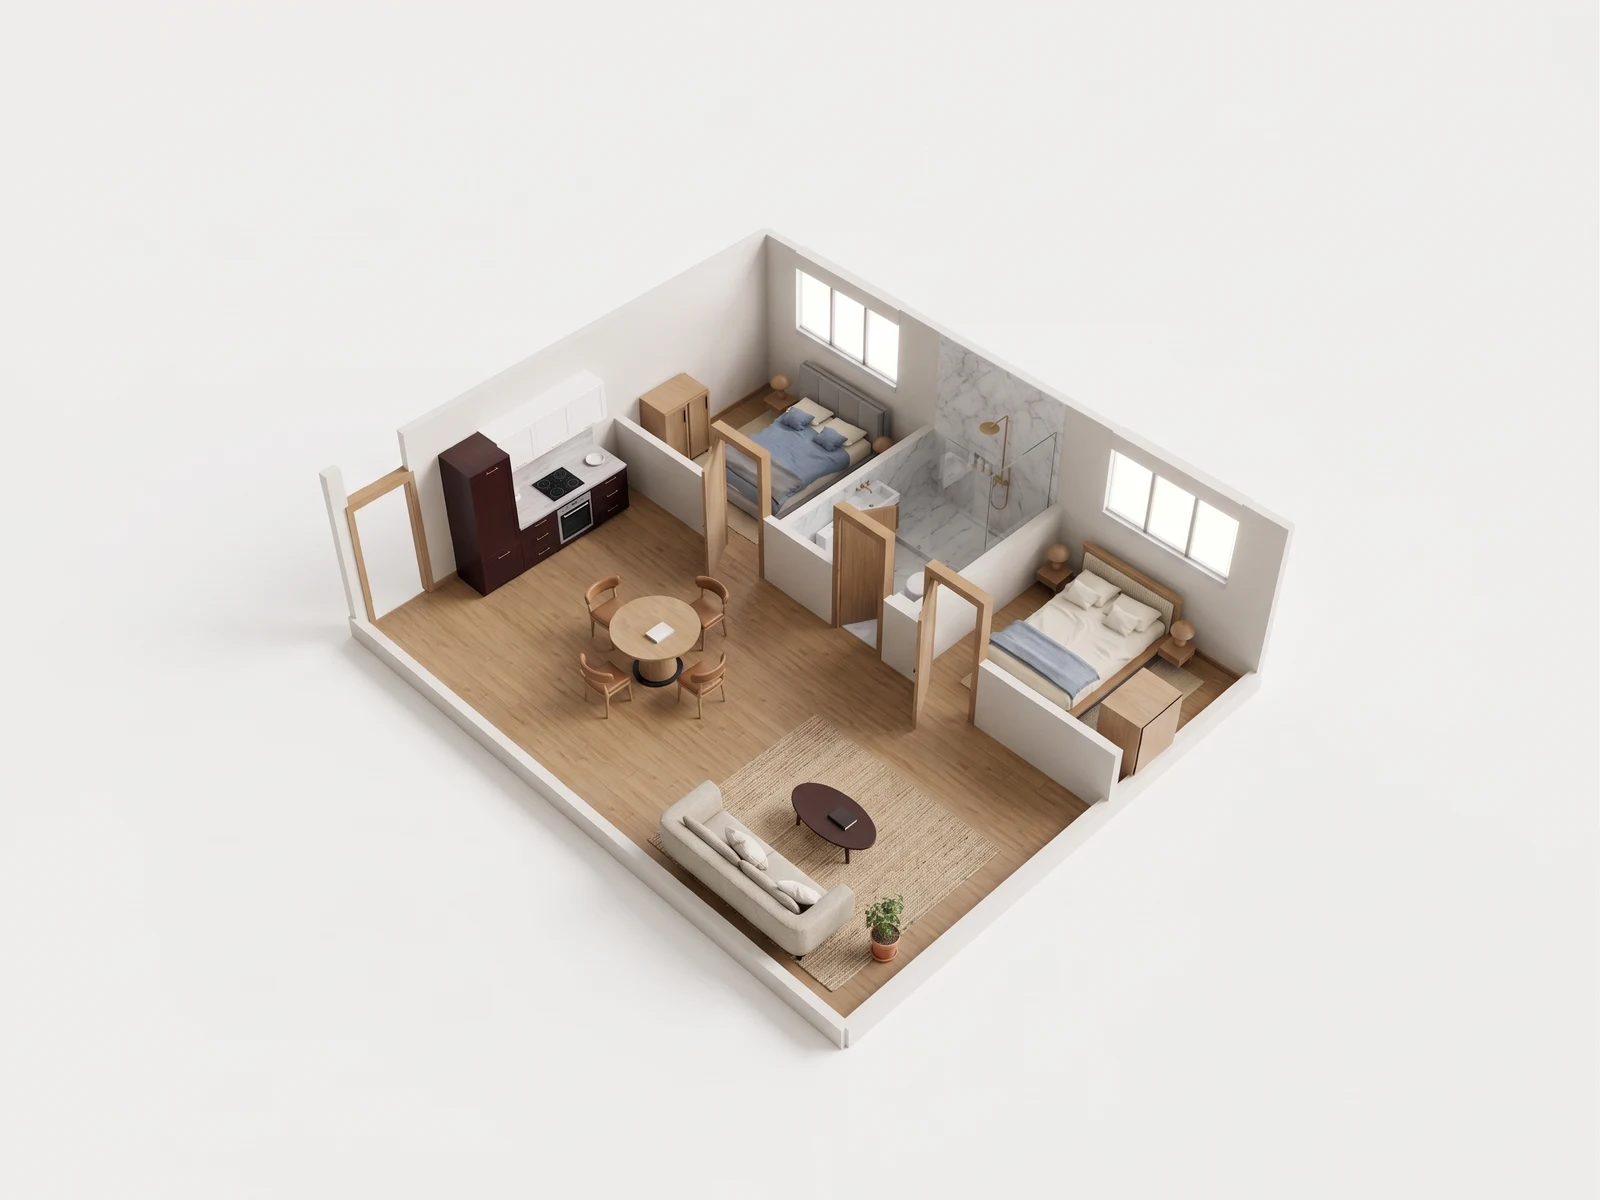
Show the shared room between two private bedrooms.
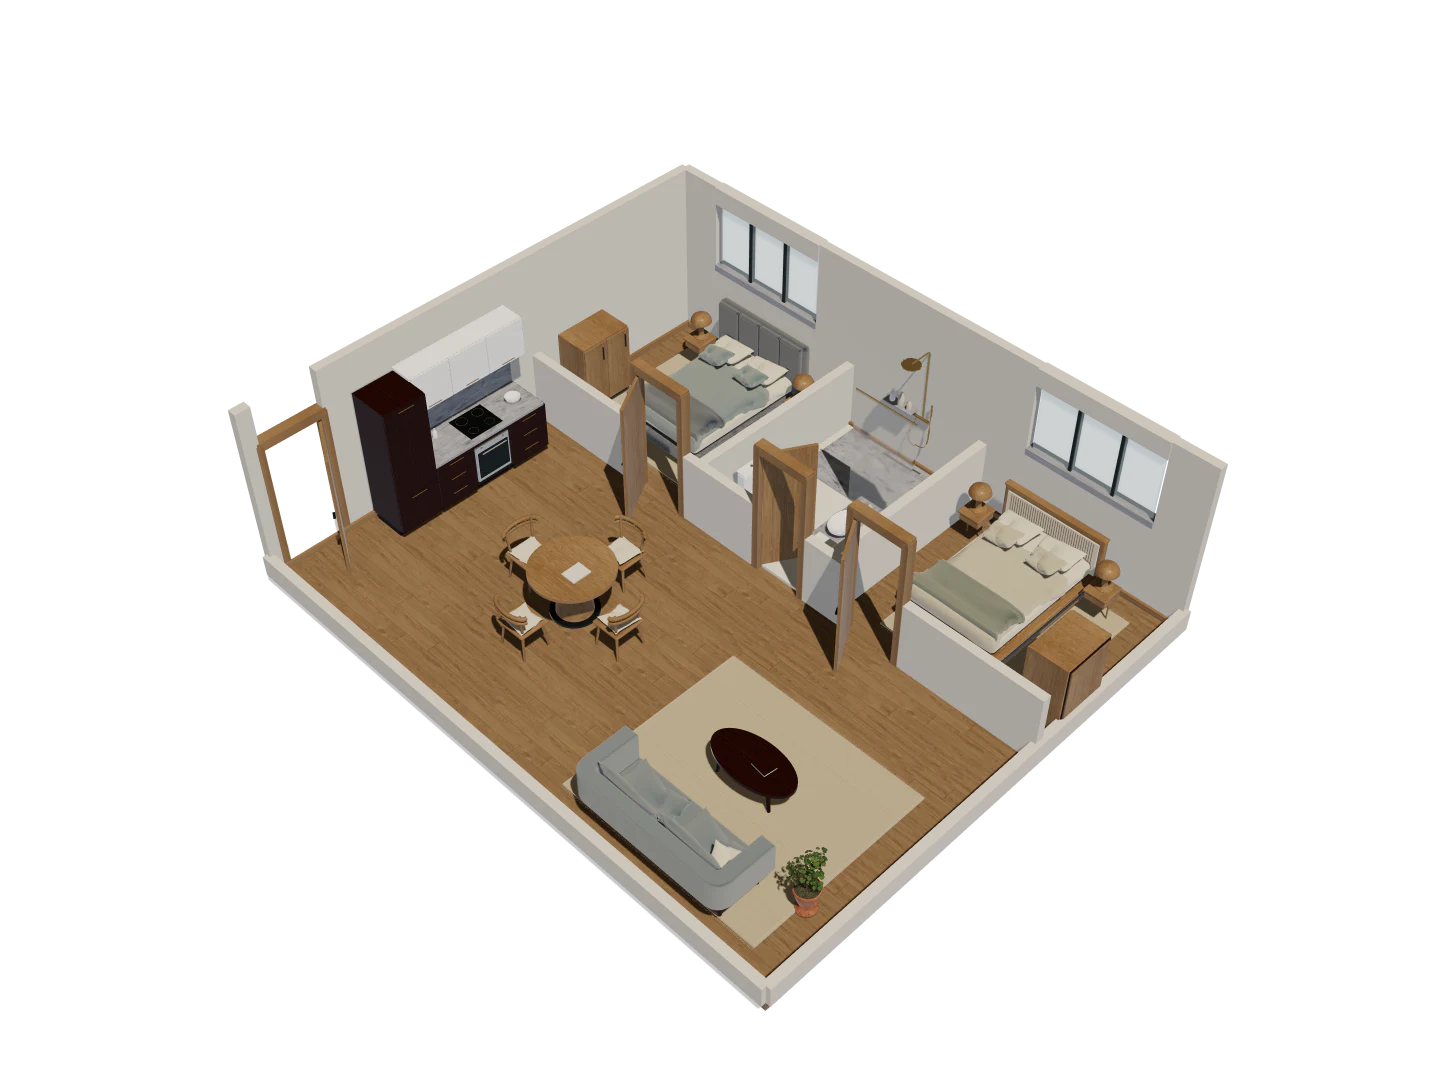
- Open one public model for each unit type a buyer needs to compare.
- Inspect the kitchen, living and bedroom relationships before sharing the link.
- Keep area, inclusions and contract terms in the sales documents.
Compact two-bed · Eight camera views
One model. A fuller picture.
Explore five overview angles and three eye-level interior views. Each image starts with a capture of this 3D model. Drag the divider to compare the image with its source.
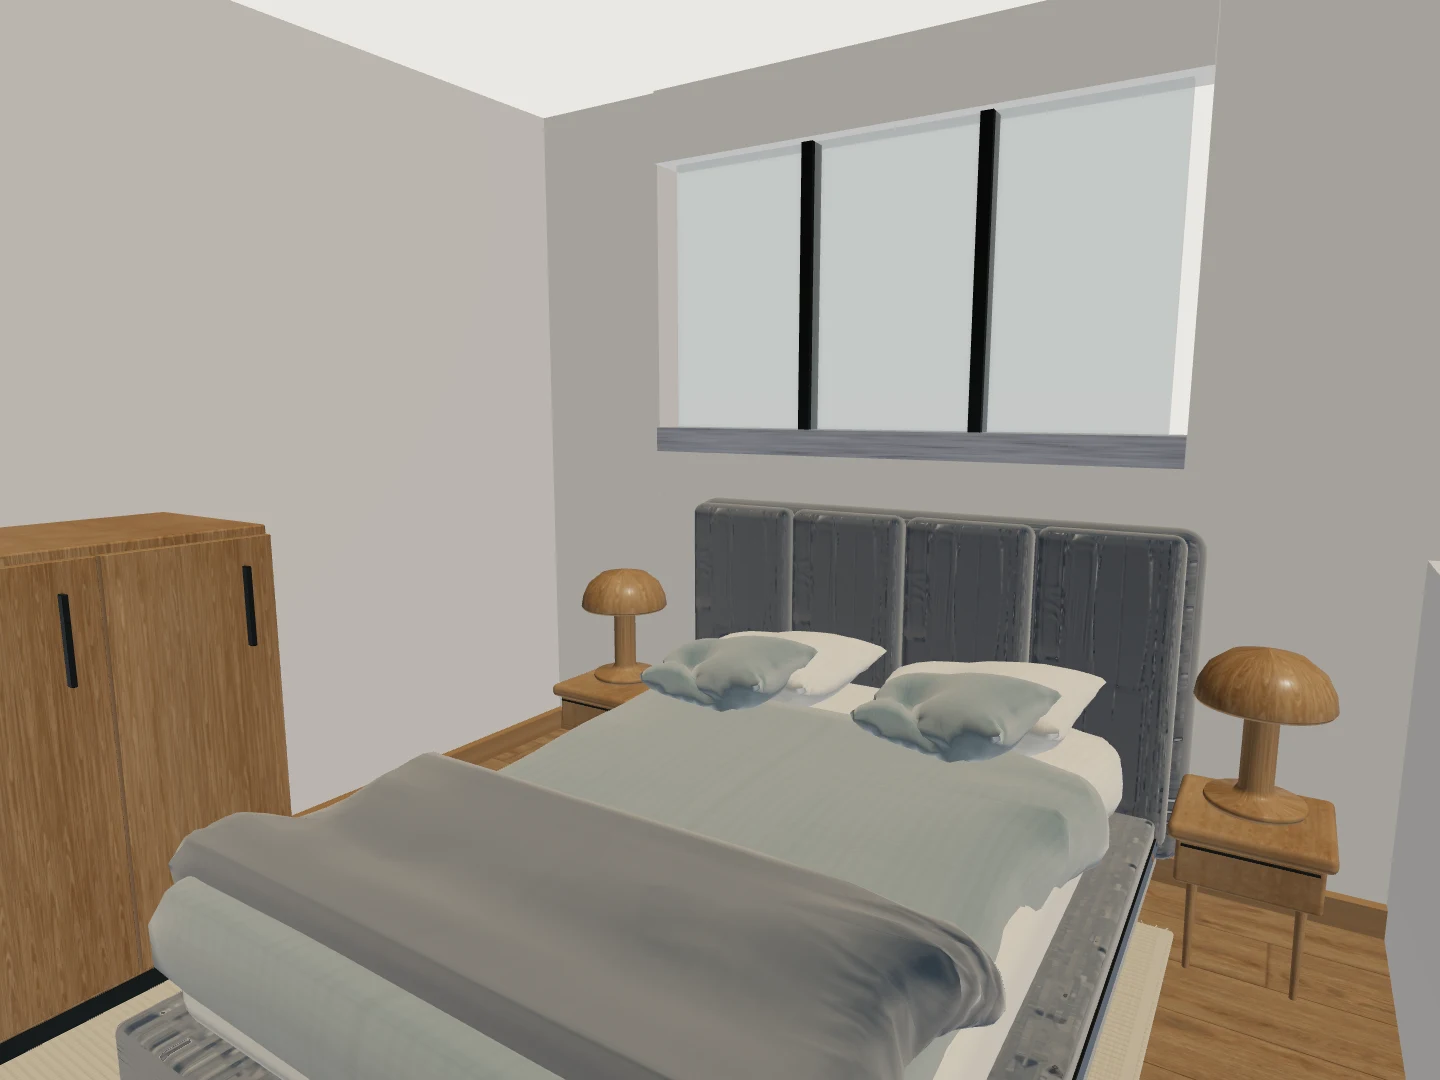
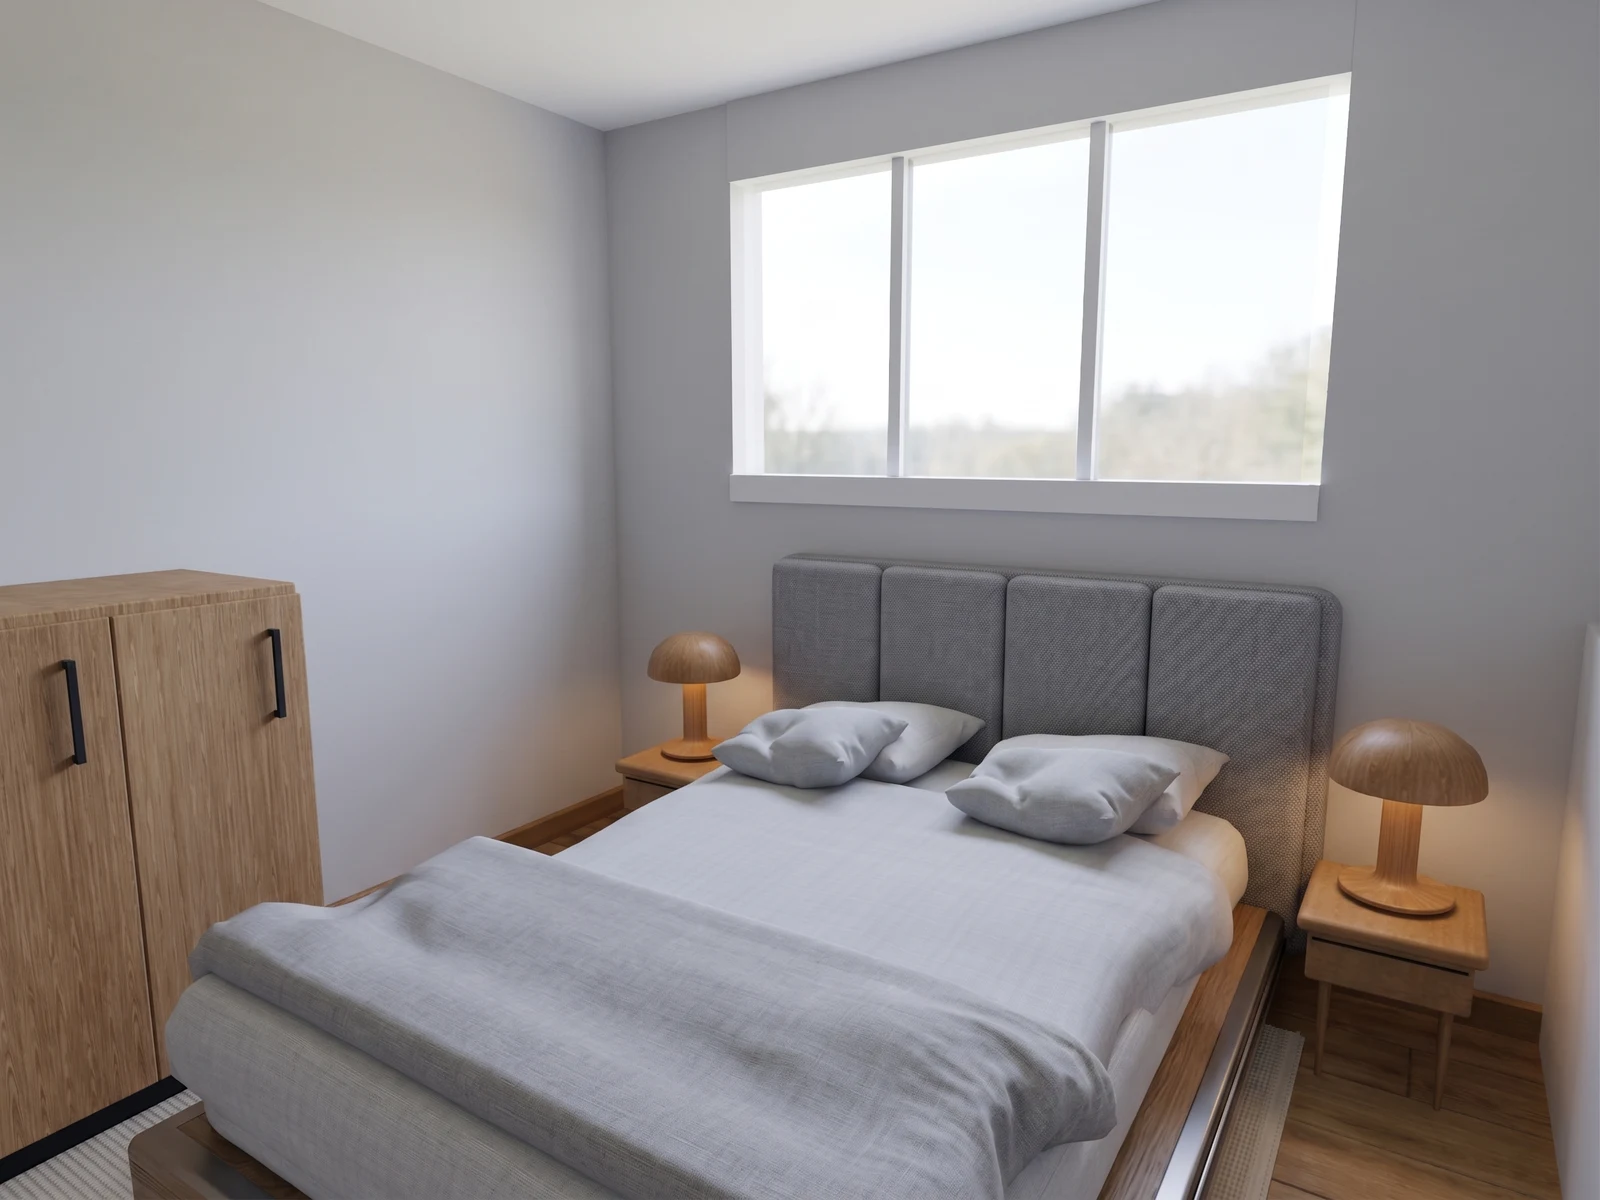
Inspect the bed, window and bedside furniture from inside a bedroom.
Drag the divider to reveal the source 3D view.
Label the source and the unit type
Create a project for each distinct apartment or house layout. Use a neutral type code, such as “Two-bedroom A,” and record the source drawing revision in your comparison notes. Treat a mirrored layout or changed door position as a different source to review, not as a furniture option. If you later publish, the project title and summary become public; leave buyer names and private addresses out of them.
Upload the complete plan for that type. For a single-floor PDF upload, extract the required sheet as its own one-page PDF first. A Business building project can combine floors of one design; it does not turn alternative unit types into a sales comparison or availability list.
Compare the same questions for every type
| Record | Why it matters |
|---|---|
| Type code, source revision, and mirrored variant | Prevents a furnished view from being paired with a different floor plan. |
| Entry, bedroom access, and storage locations | Shows which routes and usable spaces change even when bedroom counts match. |
| The same furniture dimensions and intended use | Avoids making one type appear larger by furnishing it with smaller pieces. |
| Quoted area and the boundary used to measure it | Keeps the developer’s approved area separate from a conceptual model estimate. |
Check the reported scale status and two independent dimensions against reliable plans for each model. Use comparable camera angles and furnishing assumptions when you review the types. A compact entry, a door swing, or a longer route to the bedroom may explain the difference better than a total-area figure.
Keep each comparison tied to its revision
Save the selected furniture and finishes within the correct unit-type project. If you generate a photoreal image from the current view, keep it beside its source capture and exact source GLB in the project gallery. Check the model for layout decisions; an image can add details that are not modeled.
Once the unit-type labels, source revisions, and comparison notes are settled, follow the public model release workflow for selling from a plan to review the public fields, preview the release, and publish intentionally. That page covers release updates and the limits of taking a public model down.
One project per unit type
Keep each apartment or house layout in its own project with a clear type label and saved revisions.
Comparable model views
Inspect the entry, circulation, and furniture footprint in each model rather than comparing brochure images drawn at different scales.
Source-linked images
Keep each visualization tied to the captured view and saved model revision so an image is not mistaken for a different unit type.
Start with the plan you already have.
Free is for public projects. Private work needs a paid plan.