Planning a short-term rental layout
A short-term rental has to work for arrival, sleep, luggage, meals and cleaning in the same small footprint. Test those physical decisions in the model before buying the second bed or adding another dining chair.
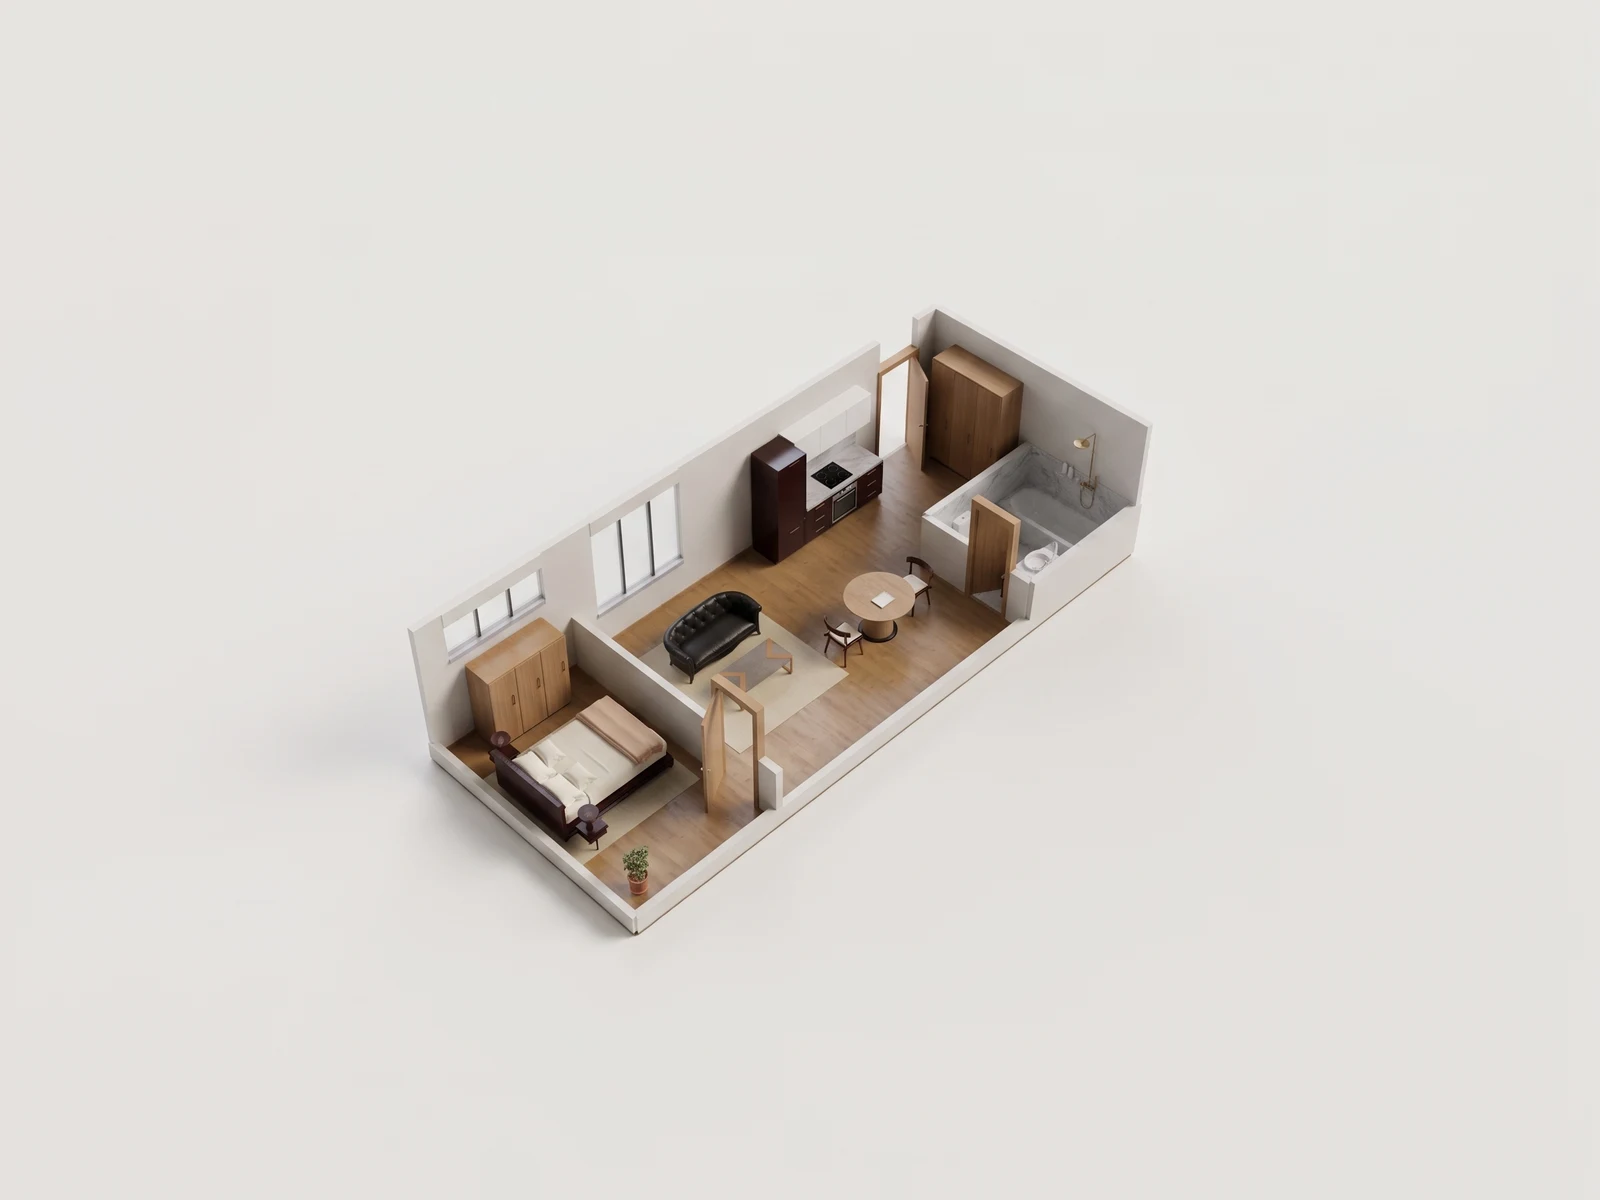
Check how a guest moves through the stay.
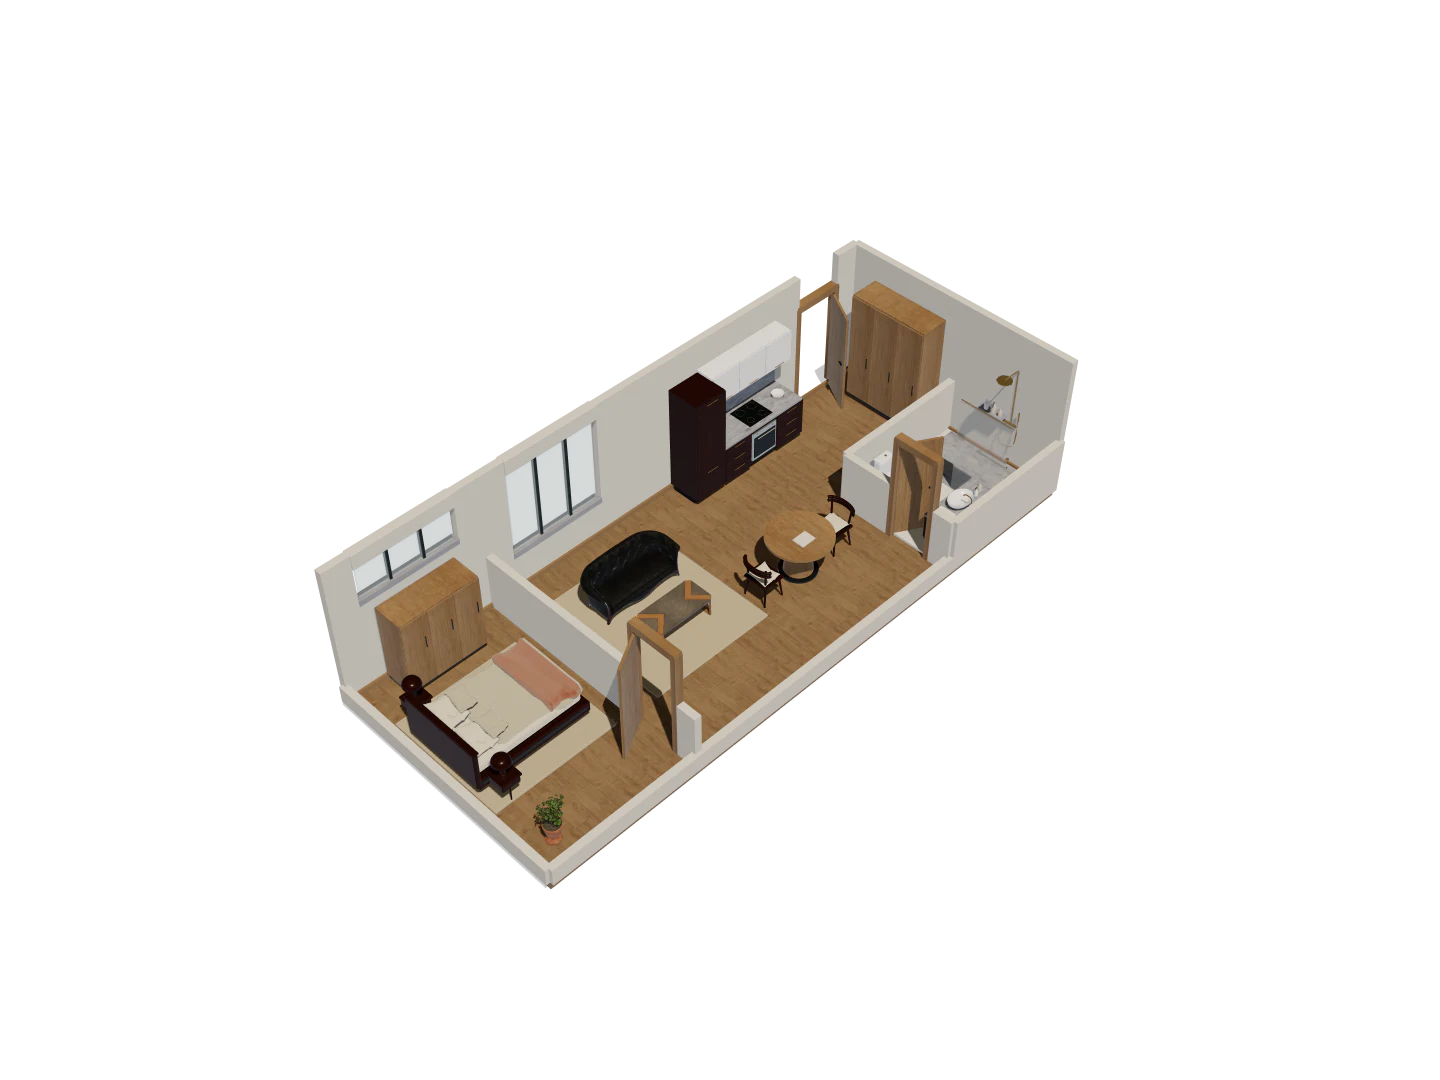
- Place beds, luggage, dining and work furniture in the rental footprint.
- Inspect the route from entry to sleeping, bathing and storage zones.
- Use the model for the layout decision, not occupancy or revenue forecasts.
Long narrow rental · Eight camera views
One model. A fuller picture.
Explore five overview angles and three eye-level interior views. Each image starts with a capture of this 3D model. Drag the divider to compare the image with its source.
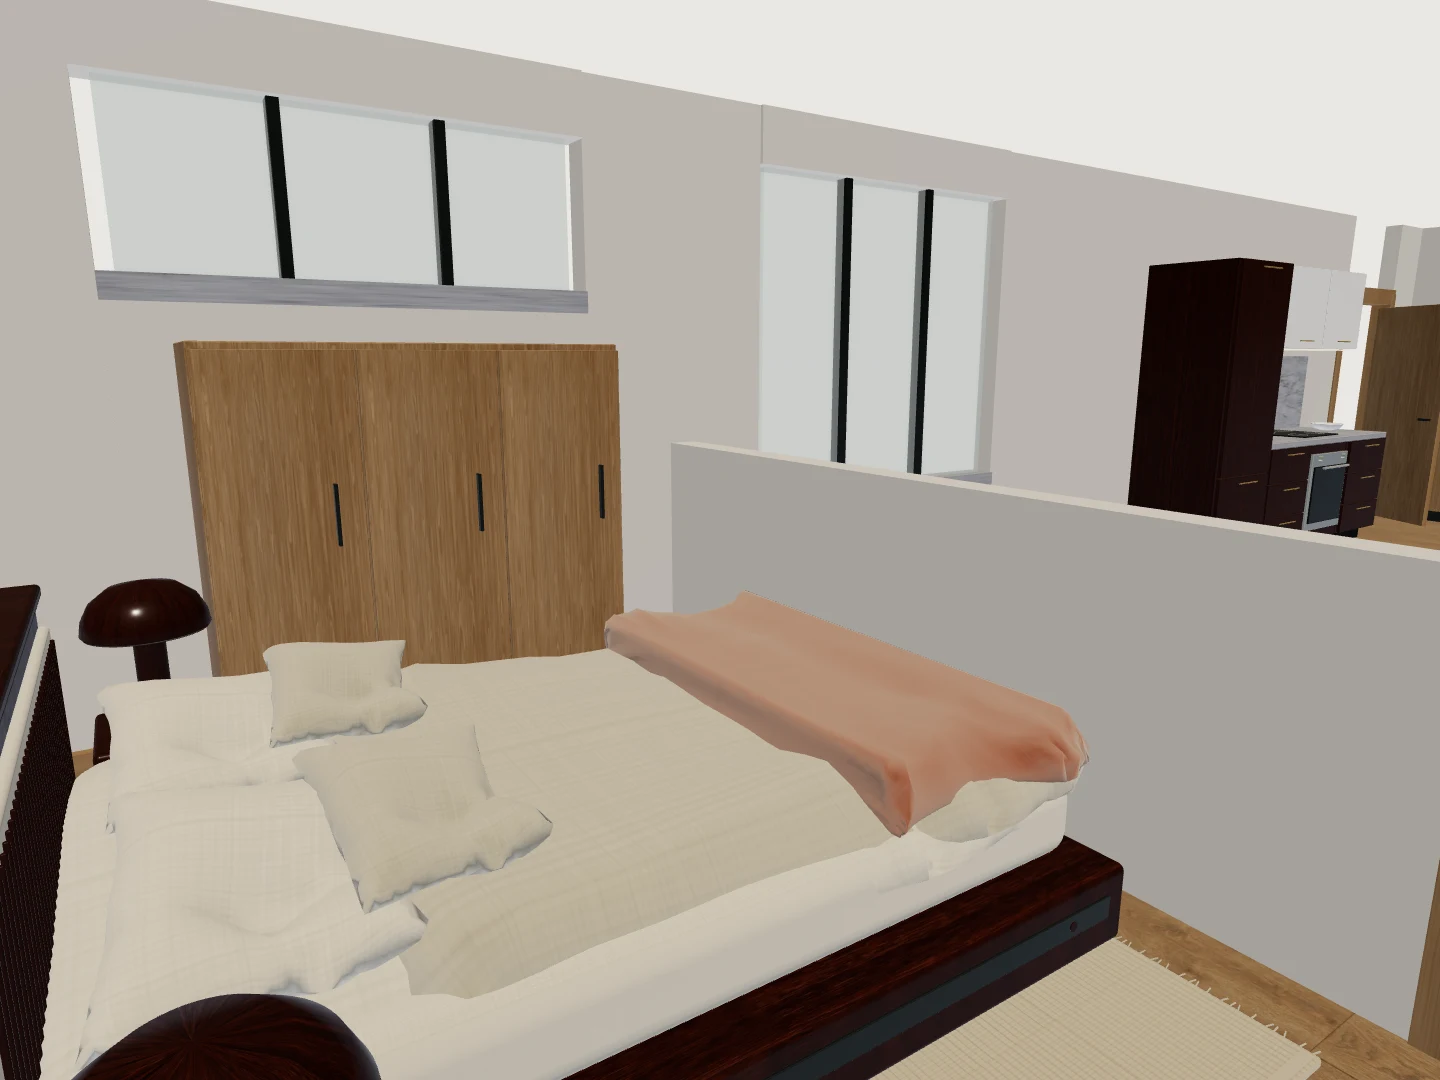
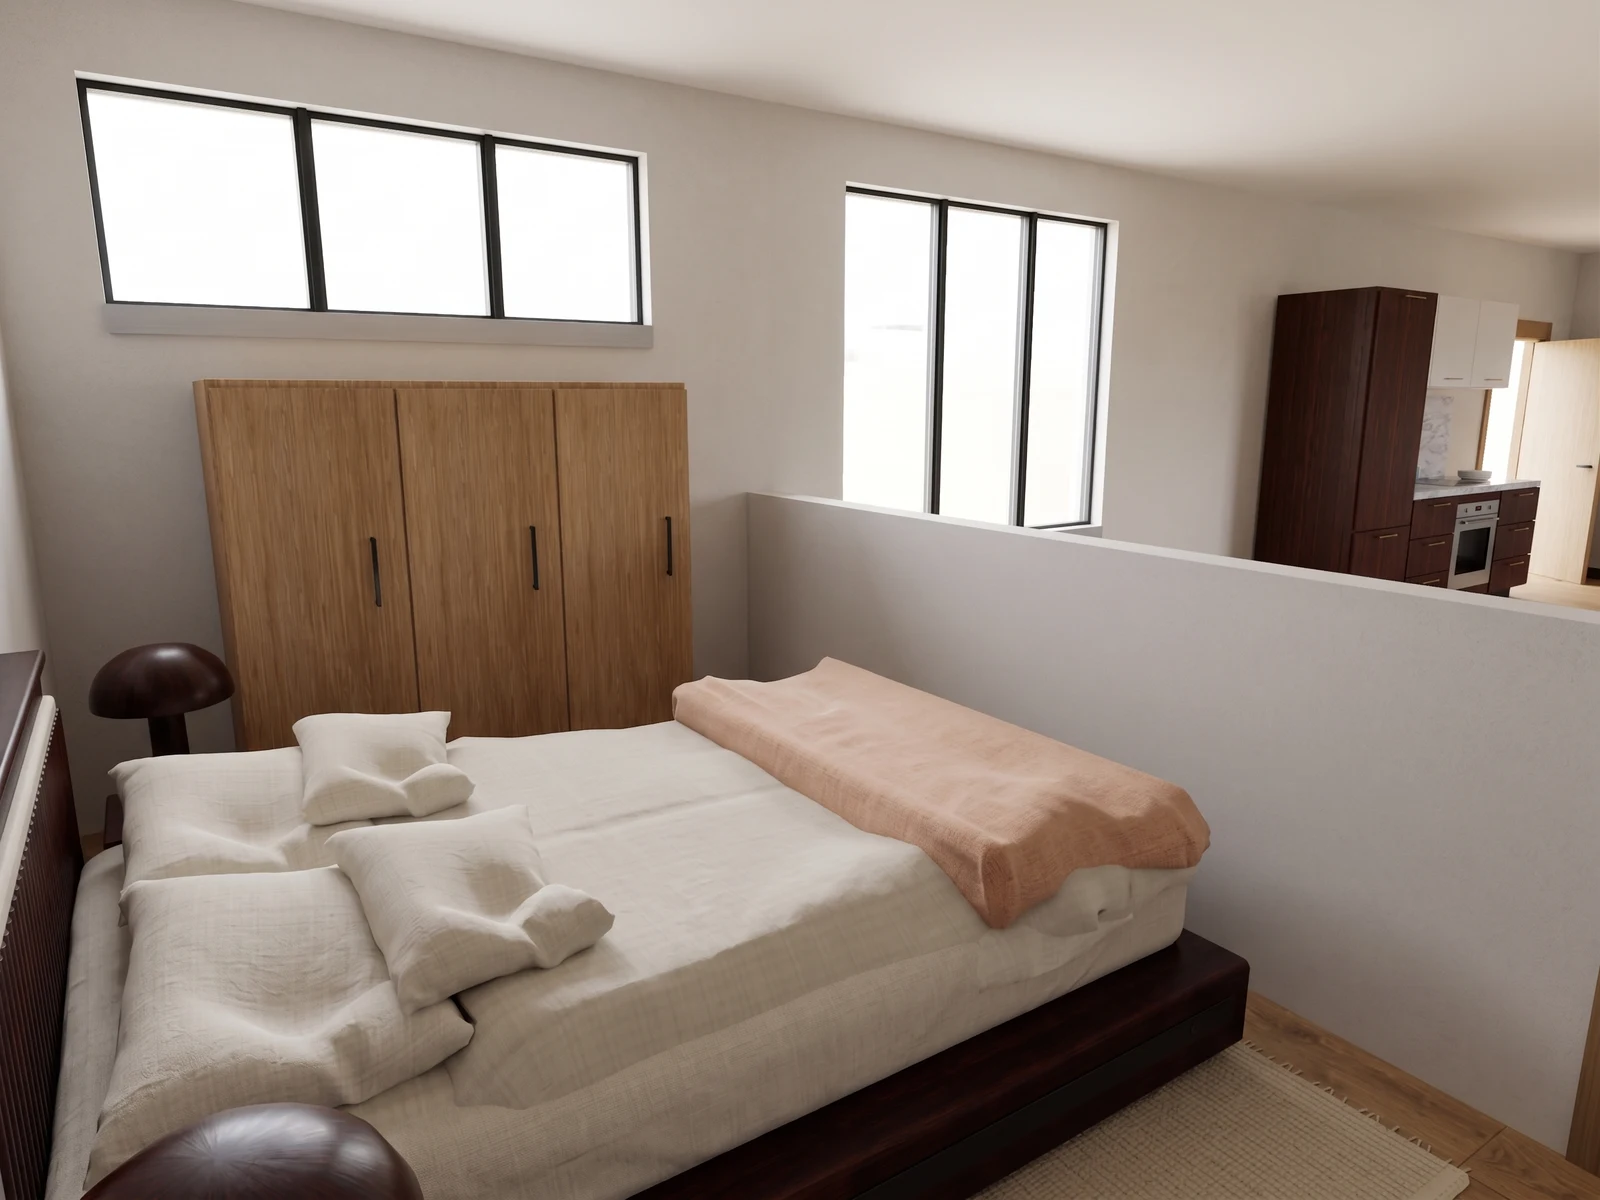
Inspect the bedroom furnishings from inside the private room.
Drag the divider to reveal the source 3D view.
Make the small footprint work harder
Upload the whole floorplan and inspect the reconstructed rooms against the drawing. Mark the decisions that shape the stay: bed placement, a luggage drop, dining seats, a work surface and useful storage.
Test one complete guest route
Create a Design Option, place the actual furniture sizes you are considering and follow the route from the entrance to the bed, bathroom and kitchen. Use the two-point measure tool for model distances, then verify critical clearances and delivery access in the property.
Frame a useful 3D view and generate a photoreal visualization. Compare it with the captured source view, then share the proposed setup with the owner, furnishing team or co-host.
Furniture-sized layout
Place, move and rotate catalog-sized beds, tables, seating and storage inside the reconstructed rooms.
Source-linked visualization
Capture the current 3D view, generate a furnished image with Gemini and compare it with the source view in the project gallery.
Public project page
Share the navigable model in a browser so an owner or furnishing partner can inspect the room connections.
Start with the plan you already have.
Free is for public projects. Private work needs a paid plan.