INK TO BRICK vs Hypar: program-driven space planning and Revit exchange
Hypar documents collaborative space planning from a program and underlay, with detailed Revit exchange. Compare that coordination workflow with INK TO BRICK’s source reconstruction and renovation review.[1][6]
Where each one fits
Choose INK TO BRICK if
Browser review of a supplied drawing/model and saved renovation alternatives, without setting up a firm-wide generative design system.[3][4]
Choose Hypar if
Program targets, collaborative layouts and professional model exchange.[1]
Task by task
See the editing workflow
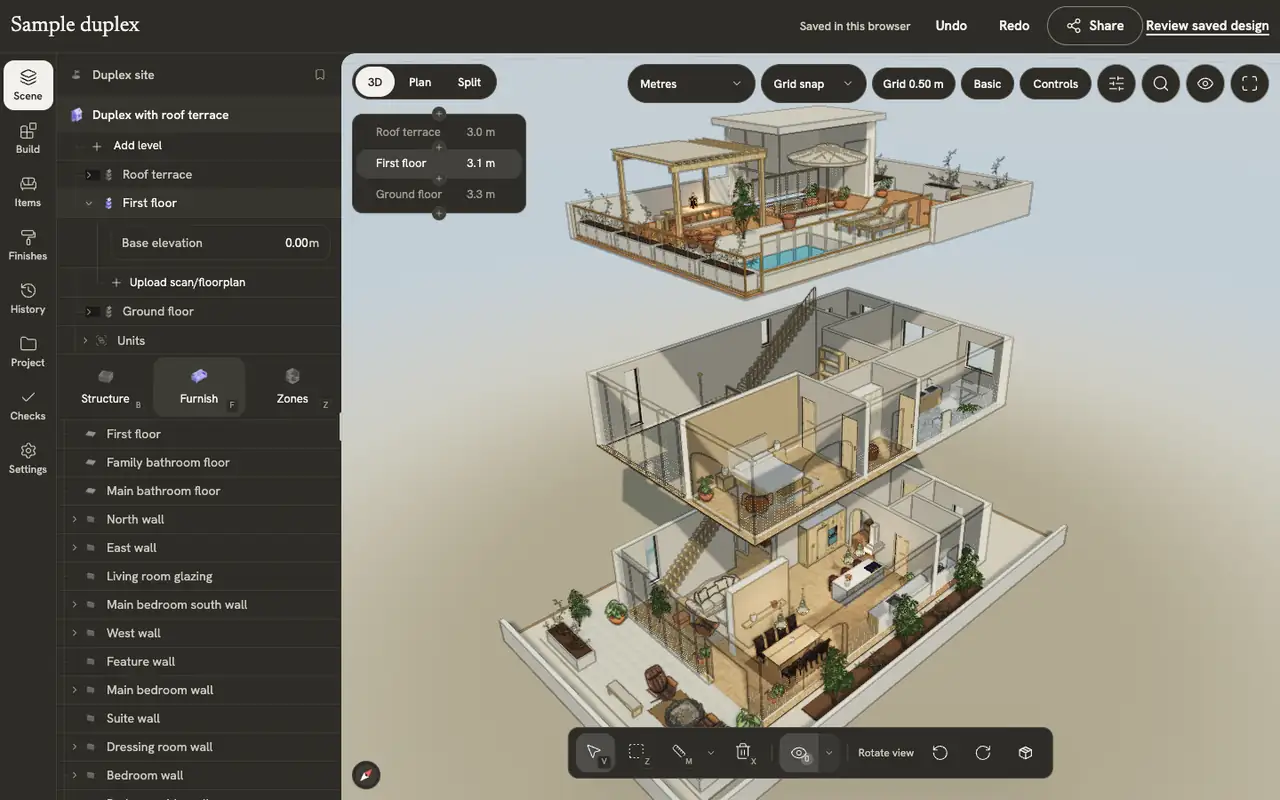
For a generated arrangement, compare how you would inspect the level structure and make a specific spatial change afterward. The examples show the sample building’s level list and a native wall being drawn, rather than a generated image being painted over.
The demonstrations use native elements in the sample duplex authored in INK TO BRICK.
Floors, ceilings and stairs
Automatic floors and ceilings, drawing your own slabs, adding levels, moving between them, and placing stairs.
Walls, fences and columns
Draw walls corner by corner, control snapping and continuation, reshape a wall, and draw fences and columns.

The program gives a layout measurable intent
Start with room counts and areas, then change one requirement. Inspect circulation and the resulting shortfalls, not only total area. Compare how collaborators resolve conflicting edits and recover a prior alternative before relying on shared planning.
Revit exchange has explicit limits
Official help describes simplified wall widths and exclusions for some imported geometry/families, plus replacement behavior on repeated project loads. Test a copy of the recipient model and inspect rooms and element types. In INK TO BRICK, use supported IFC rather than direct RVT.[2][3]
Planning coordination or source continuation
Shortlist Hypar for program-led layouts and collaboration tied to professional applications. Evaluate INK TO BRICK for an existing drawing/model and renovation alternatives. We reviewed official documentation without installing the add-in, joining a collaborative session or validating a Revit round trip.[3][4]
Sources and scope
The cited vendor pages support the capability comparison. Any direct demo observation is identified in the article; this is not a matched-source accuracy benchmark. Product details can change. Unavailable sources are identified, and older claims are not treated as current limitations. Check the linked plan, price and export details.